
My layout is having two levels with the bottom one containing the fiddling bits. Therefore, I need this to be running perfectly prior to constructing the top board over it. With all the track laid and tested I installed peco point motors and had dozens of wires hanging all over the place so the time came for me to knock up a box for the switches. If it works okay, I'll have a similar one for my upper level postioned on the left of my controllers - this ones going in on the right hand side.
First thing to do is decide what type of switches/buttons you need and go get some. Also decide whether you'll be having any connectors in the box - again buy a couple and take em all along to wherever you buy the box and make sure you can get them all in - especially vertically.
The box used in this example is from Maplins
Aluminium Box PC24 (Part No: KR55 about £9:25) 12"x10"x1.5"
Push to make buttons (Part 78-0030 at 0.19p each) and
SPDT switches (Part 75-0211 at 0.65p each) both from
Rapid Electronics - brilliant postal service.
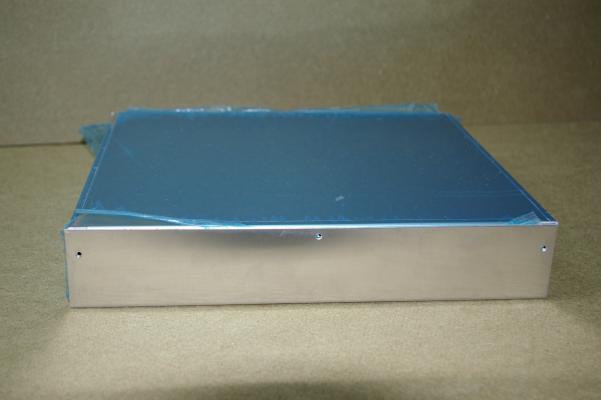
The virgin box. (It's upside down by the way)

Check clearance for your switches.
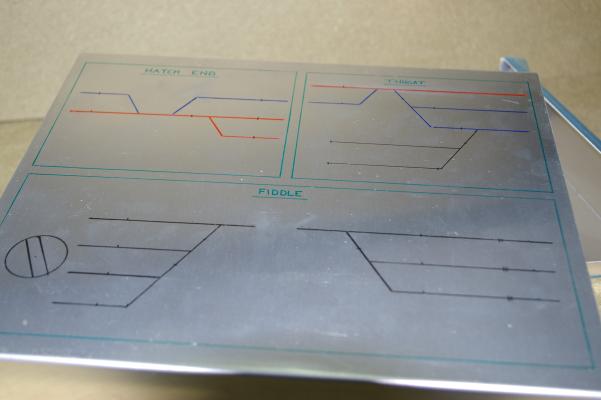
Mark out your plan on the top (I used CD Marker pens)
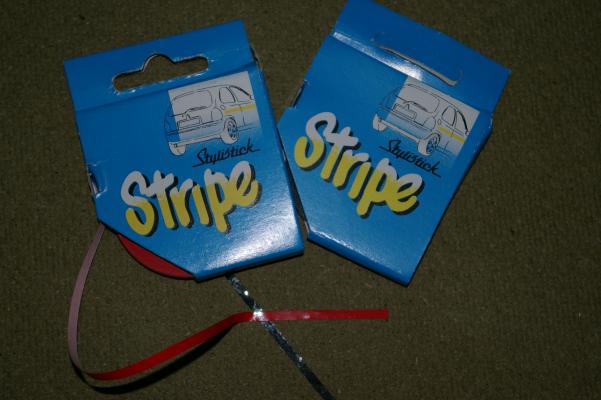
I went over the lines drawn with some 5mm coloured tape like this from Halfords which is £1.27 a roll
A bit like this
tip: It's easier if you drill the holes and then tape up otherwise the drilling makes an awful mess of your nice neat taping.

To provide added protection and keep grubby finger marks off, I used some 2mm thick clear polycarbonate sheeting cut to size for the top.
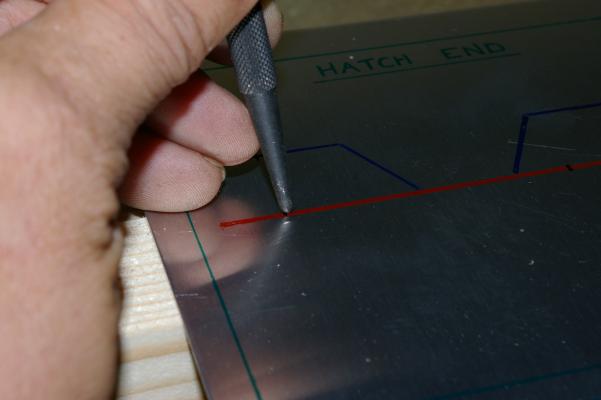
Mark the position of your switches and gently centre punch these marks.

Drill 1mm pilot holes through each button/switch punch mark
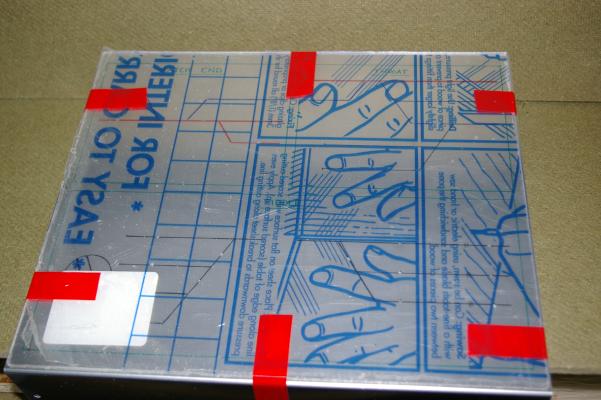
Tape the poly sheet over the top of your plan to aid accurate drilling.

Turn the box upside down and drill back through the poly using the pilot holes as guides.
nb. The pilot holes act as accurate centres for you to drill out larger holes to accept the buttons and switches.

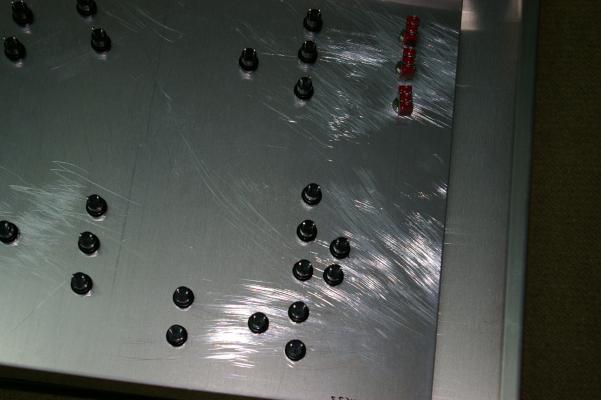
Using a suitably sized drill bit to accept your buttons and switches (mine was 7mm) drill thro all the pilot holes in the box and the poly sheet - I found it easier and neater to drill the box and sheet as separate items.
Don't worry about having to fix the sheeting to the box as the buttons and switches will do that nicely for you.
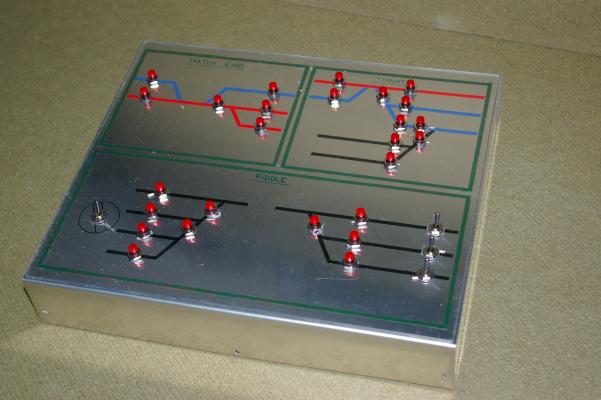
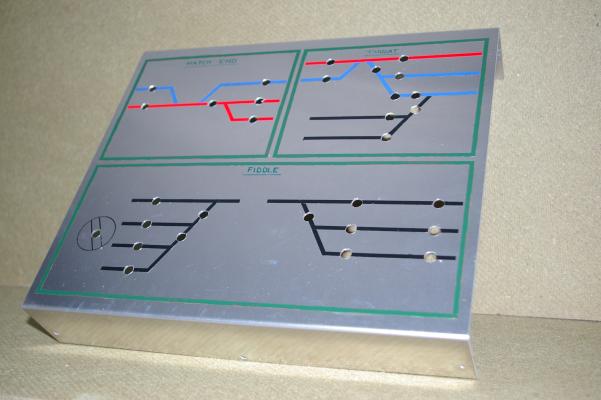
Install your buttons and switches thro the box face and the poly sheet, tighten them up and hey-presto you have one reasonable looking switch control box for under £20.
Just got a bit of soldering to do now..........
The screw connectors will be installed in the base of the box and the wiring loom will exit through a hole in the rear to terminate at a suitable multi-pin plug and socket. This will allow the box to be removed to the work bench for any repairs, alterations or additions.
Hope it's of some help
Mike.
