
here's an guide to how i made my platforms. very easy, cheap, and much better than off the shelf as you can fit them to your layout, not your layout to your platforms!
if you have made your own patforms or converted ready made hornby ones or used peco platform sides [you know who you are!] please add your guide to make a comprehensive selection of options for people to see and try
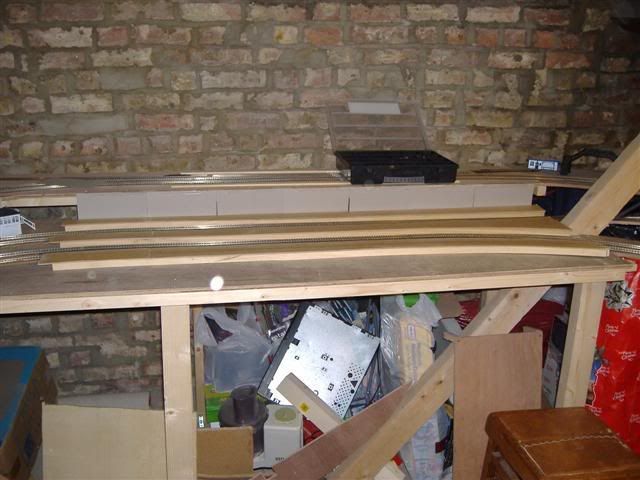
so, using some old hardboard that had been recycled and some wooden edging at about 2 quid a strip, the platfoms cost less than 4 quid a piece so far as they each have about 1 1/2 lengths of stripwood each
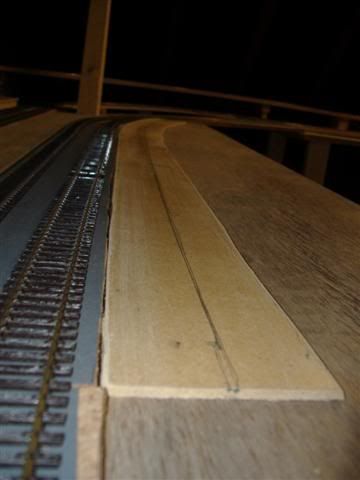
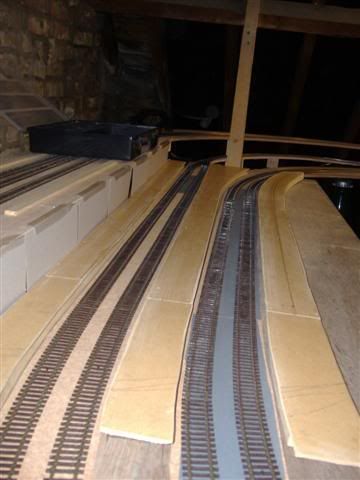
first i cut out the platform top, using the trusted pencil to side of longest carriage [i lifted the track and slid the hardboard under it to be able to do this;
then i glued;
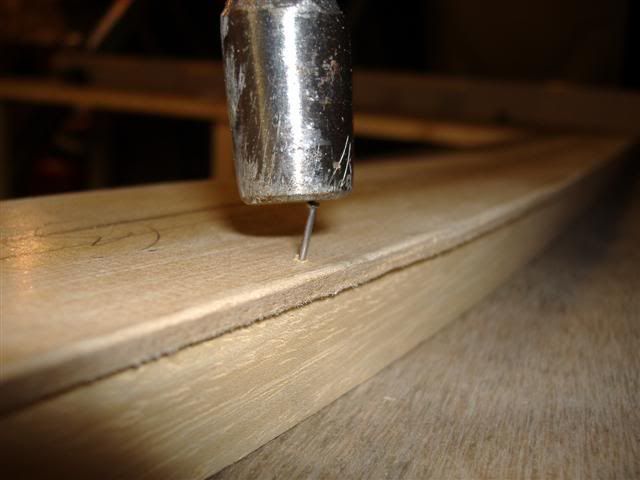
and tacked
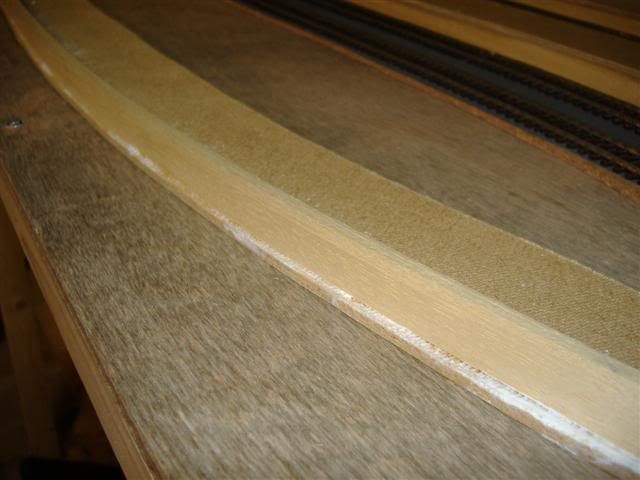
and did three times [sanding rough edges];
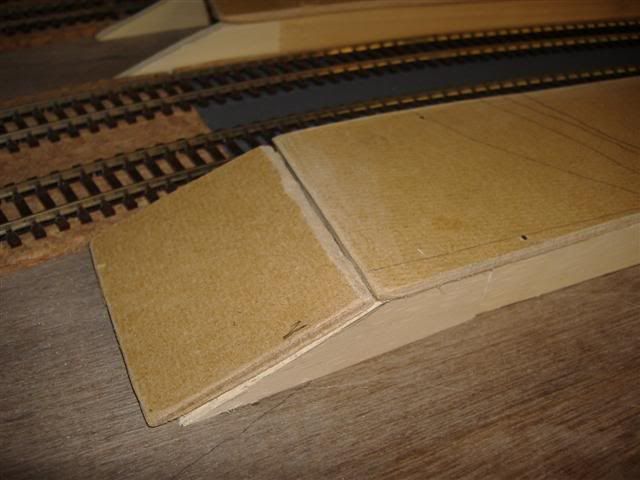
the i cut some ramp end supports;

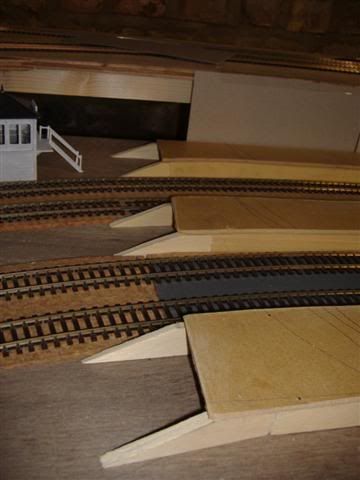
and the ramps themselves;
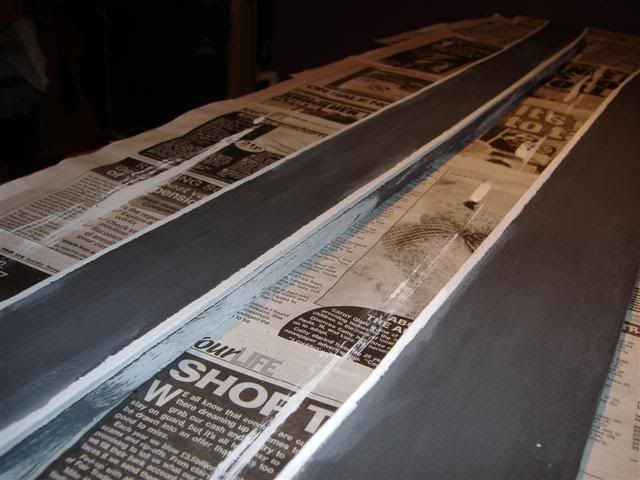
then i used polyfilla to fill gaps between joins in hardboard, and then watered some down so it was like a paste and brushed it on to create a texture;
coat of paint...

mask and paint white stripes [not the band];
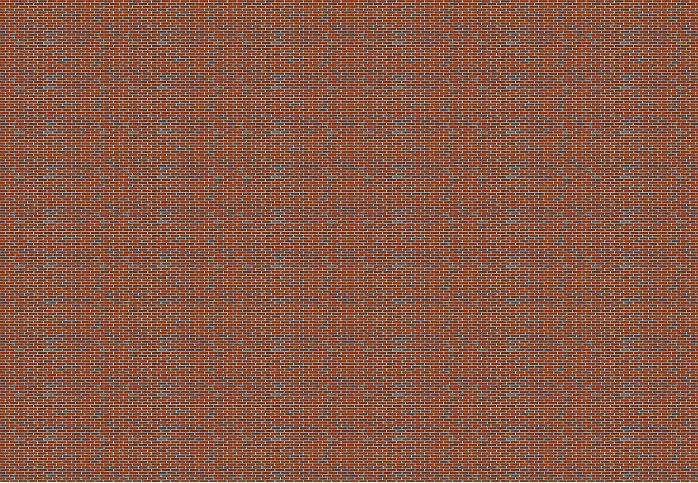
cut and paste!

link to the bricksheet i used;
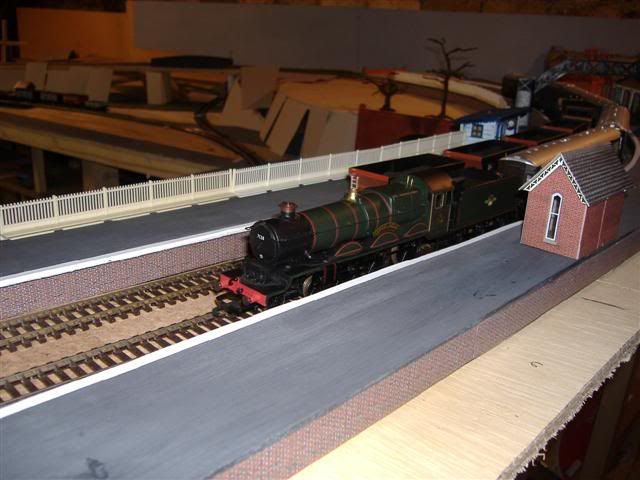
and done;
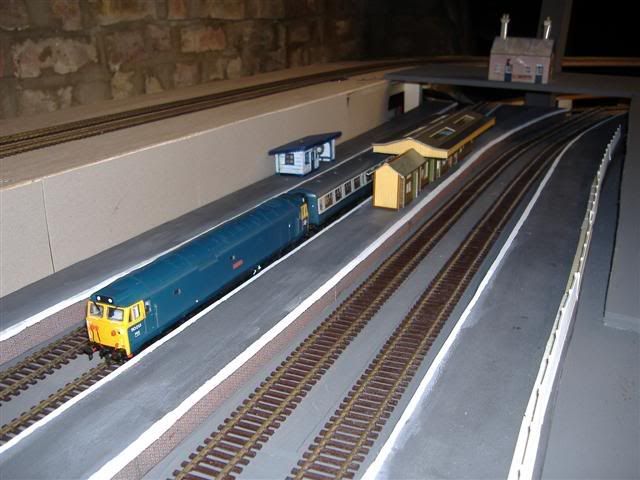
in position with class 50 and mark 2 coach for effect
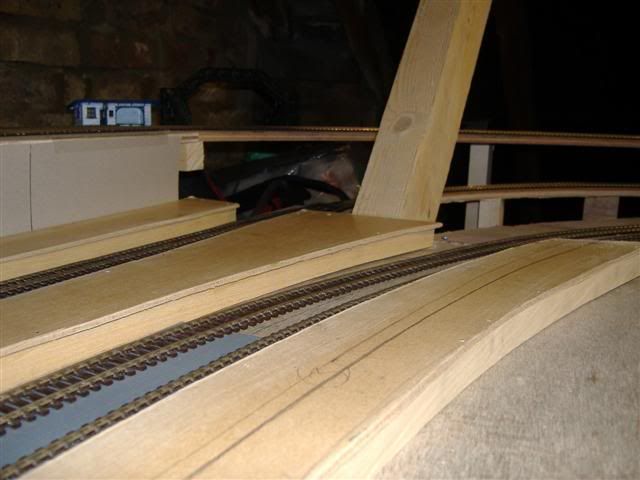
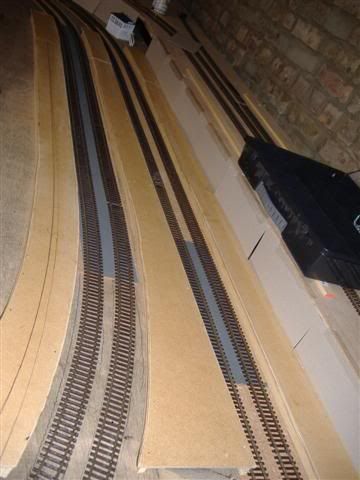
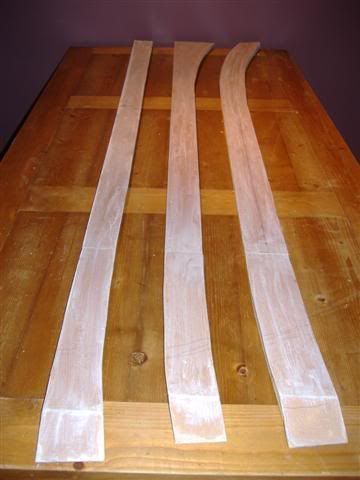
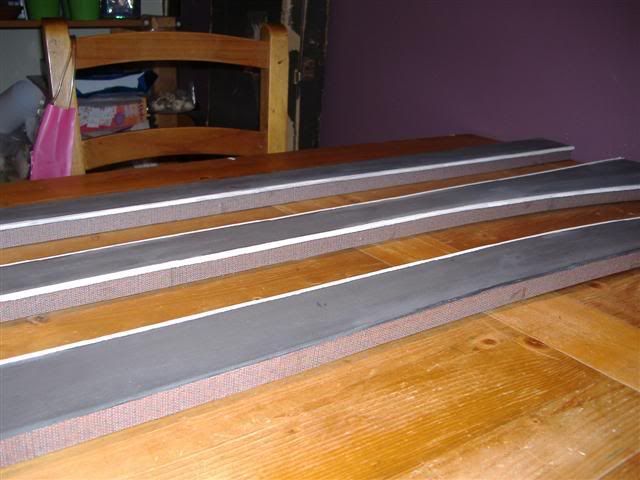
and some others i made, you can see there is quite a curve on these ones, the strip wood bends to shape no problem ;
hardboard; £3
strip wood; £12
paint, nails and glue; pennies
brick print-outs; price of printer ink
having retroman think you've done a lovely job...
priceless
michael
my thread where i more or less cut and paste this from to make the article