
There are two different methods of renumbering, although there are a number of different ways to achieve the first method. The first method is to remove the numbers already on the locomotive, now this can not always be done, due to a resent development in the manufacturing process. Tampth (Spl?) Printing, which is basically like a giant laser printer which prints the whole locomotive livery on to the model in one go. The traditional way is of course to paint the locomotive, then apply transfers. Older locomotives, will have the later technique, the newer technique only really applies to bachmann locomotives released with the last year to year and a half.
Now to remove numbers I have been recommend to use methylated sprits on a cotton wool bud, and to rub away at the numbers. Now I found this method left a nasty white residue, which was hard to remove. So what I do is to use a Cotton wool bud dipped in thinners, and then to rub away at the numbers. Now this method only works on models that have has the numbers transfered to the locomotive, using this method on tampth printed models will remove not just the numbers, but the whole bit of paint, leaving a nasty hole which is difficult to fix. Now there is no discernible test for tampth printing, other than to try it, but be very careful and if the numbers don't begin to fade, STOP immediately. If in doubt, don't do it, and skip to method two. Method two is to paint over the the numbers, I recommend the use of an airbrush to do any painting.
Now I'm going to talk you through re-numbering a few of my locomotives.
Method one.
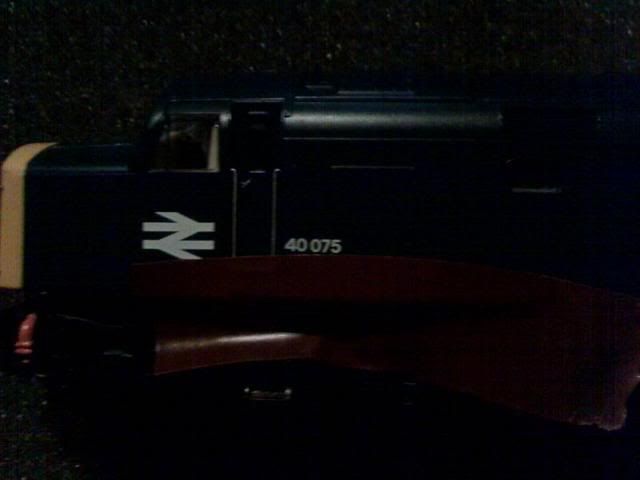
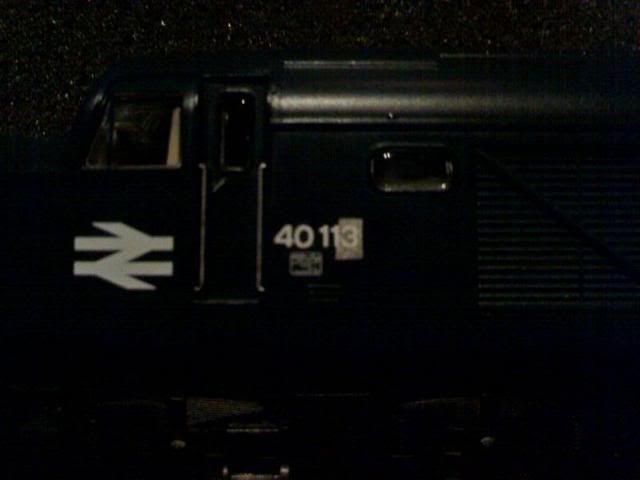
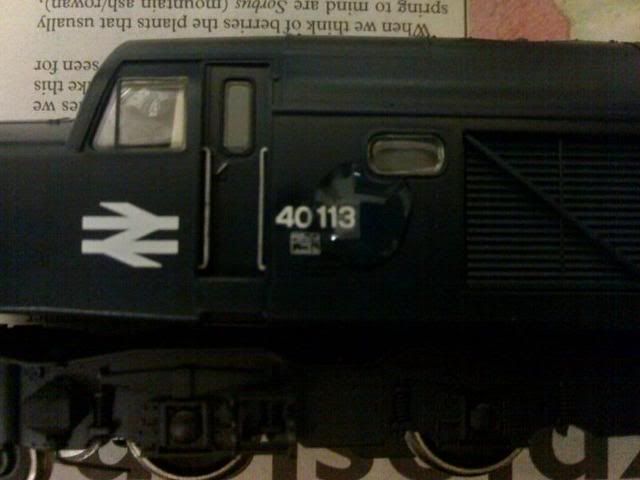
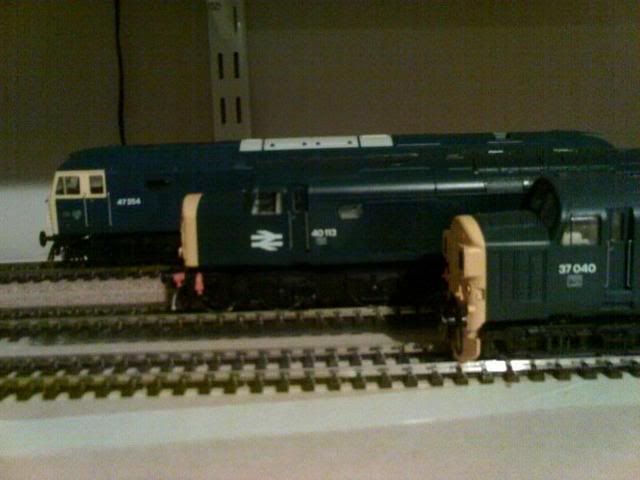
This is my Class 40, which I picked up at warley. This locomotive is a traditional transfer number design. First up, as you can see I have applied some tape to mask off the TOPS data panel, which is very well represented on the bachmann model. I ned used a cotton wool bud dipped in railmatch thinners, and rub away until the numbers faded, as shown here on my Bachmann class 37.
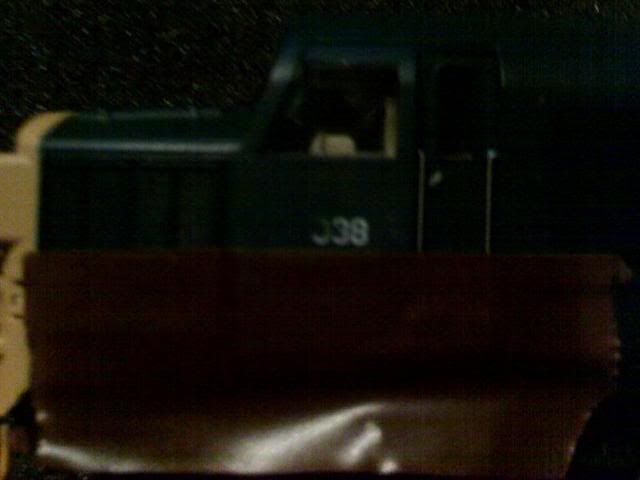
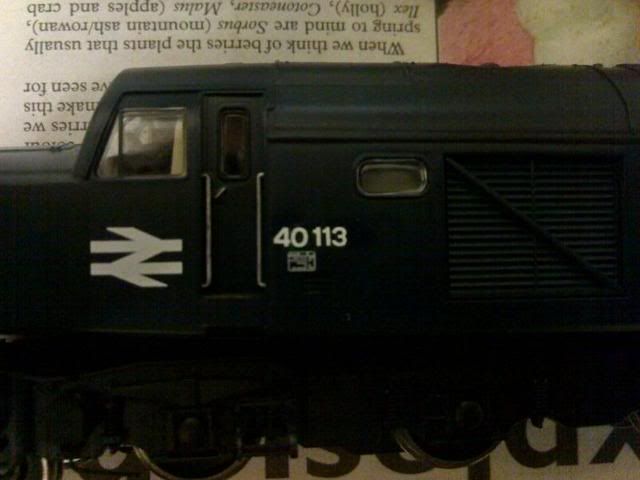
And here you have the numbers completely removed.
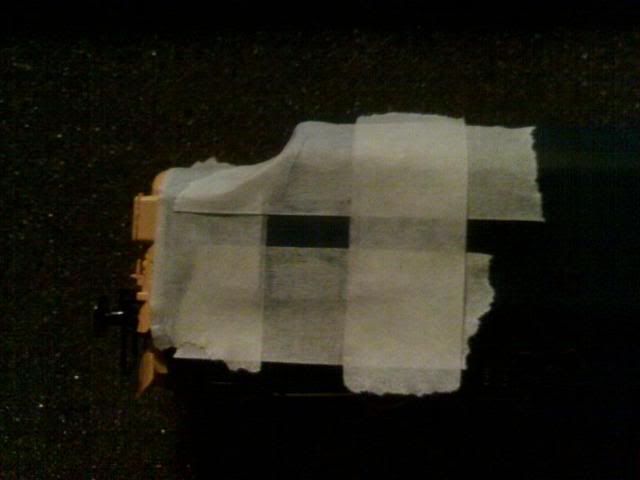
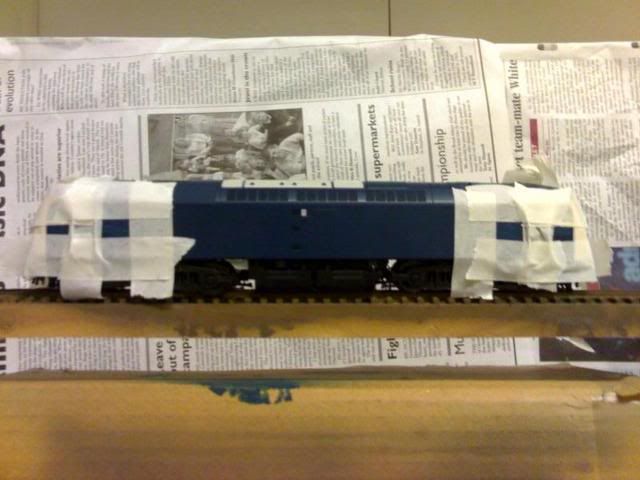
Now at this point, I'd recommend applying a squirt of Gloss varnish from an airbrush, this will give a firm seating for the new transfers. So here is my Class 37 masked up for gloss varnish.
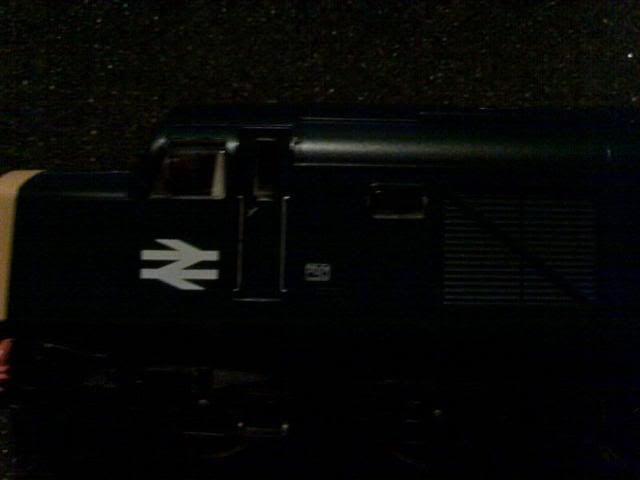
Now I have carefully cut out the HRMS numbers with a scalpel, and positioned them onto the model as shown here.
Once you have lined up the numbers, and are happy with the positioning, press them firmly in place, and apply a few drops of warm water over the transfer.
Leave for 30 seconds, then wipe the water and transfer backing paper gently away. This should leave the model looking like this.
To finish up, apply a squirt of Satin Varnish, this seals the numbers off, and prevents damage to the numbers.
Method two.
Method two is similar to method one in the latter steps, but to being with you must paint out the numbers first with an airbrush.
Here you can see my heljan class 47, it took 5 coats of Railmatch Rail Blue paint to block out the numbers. I then applied a squirt of gloss varnish to the areas required for transfers and decals, and followed the steps in method one to number and then to finish off with satin varnish.
Once finished you will hopefully end up with model looking like this.
Well I hope you have found this guide useful, please don't hesitate to ask any questions, and I'll edit this guide to cover anything I may have missed.
Regards
Matt


