Picture time guys as promised. Sorry about the picture quality as I've been using my phone but still an improvement on the other photos so far.

- assembled side view.jpg (107.26 KiB) Viewed 4316 times
Just for you GeraldH is my 94XX from the side. The front and rear wheels are pretty spot on however the middle set is off by quite a few mils however it is only noticeable when you look at it dead on from the side.

- altered cab.jpg (408.33 KiB) Viewed 4316 times
Here is something I probably should have done before painting. Originally on both sides there was a piece of molded plastic set within the cab sides which covered up half the opening. On the real thing there is none of this so I have shaven and filed this away to open up the cabsides to make it look more like the prototype. Still in need of the new number-plates which I have ordered from Fox Transfers and should be receiving them next week along with the BR insignia and the new number-plates for my 14XX. One thing I have noticed is that I have marked up the power classification wrong on this loco. The real thing has a power classification of C whereas I have marked mine as D. This will be easy to recitify as I have still got the transfer set for this.

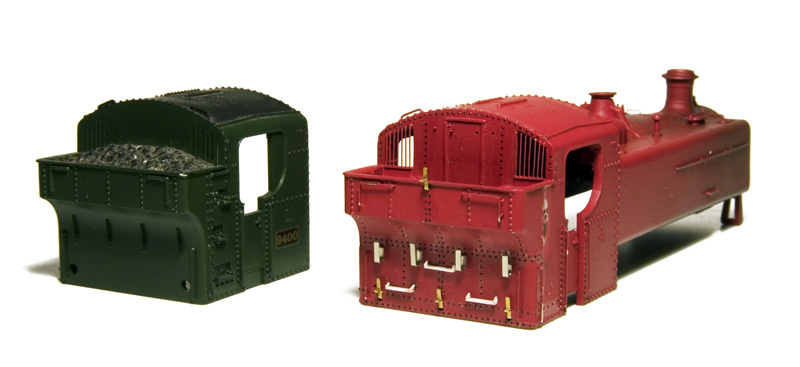
- Bunker.jpg (422.3 KiB) Viewed 4316 times
This is a new idea I have thought of today, the plastic coal in the bunker is removable as seen and this present me with an opportunity to add realistic coal into the bunker. First I will need to add plastic card to the inside rear of the cab and inside the bunker to make a floor for the bunker then glue in some "proper" coal. I'm also considering removing the plastic grilles on the rear cab viewing ports and replacing them with wire and adding clear plastic to the ports as-well. Whether or not this is feasible I do not know but it is something I could look into. I will add clear plastic sheet to the front ports as these are pretty straight forward to do.

- wiring harness.jpg (449.3 KiB) Viewed 4316 times
Here is the decoder socket fitted to the chassis, It is very straight forward to wire one but I recommend getting a helping hand to hold the bits in place while soldering. If anyone is wondering what the green and blue wires are for, it so that I can solder a small LED in to act as the glowing firebox.

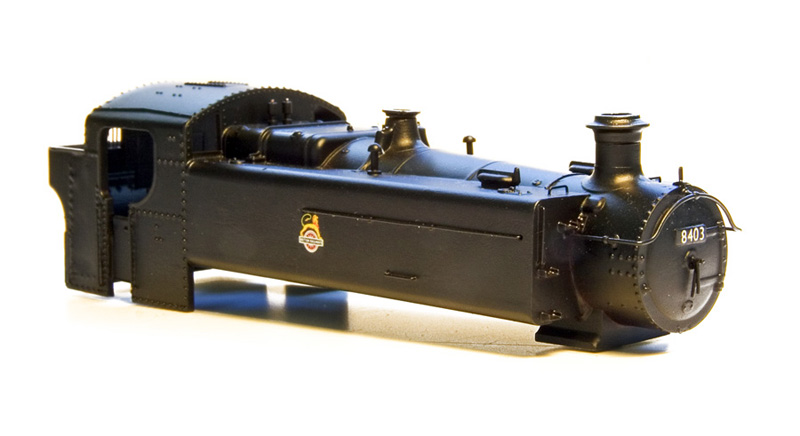
- assembled modified.jpg (470.71 KiB) Viewed 4316 times
And finally here is the loco assembled with the modifications done so far. Next on the to do list is to fit the number-plates when received, change the power classification letter, add the BR insignia when received, add plastic card and realistic coal to the bunker, fit the firebox led and glue in some clear plastic for the viewing ports. On the possibilities list is replacing the plastic grill on the rear viewing ports with wire and add plastic sheet to them, replacing the molded handle bars and brackets with wire ones and making a cab end of the boiler to stick in the cab to hide the motor, decoder and the LED. I could either make a molded copy of one from a Collet Goods if I ever get hold of one or I could just make a mock one from plastic card.