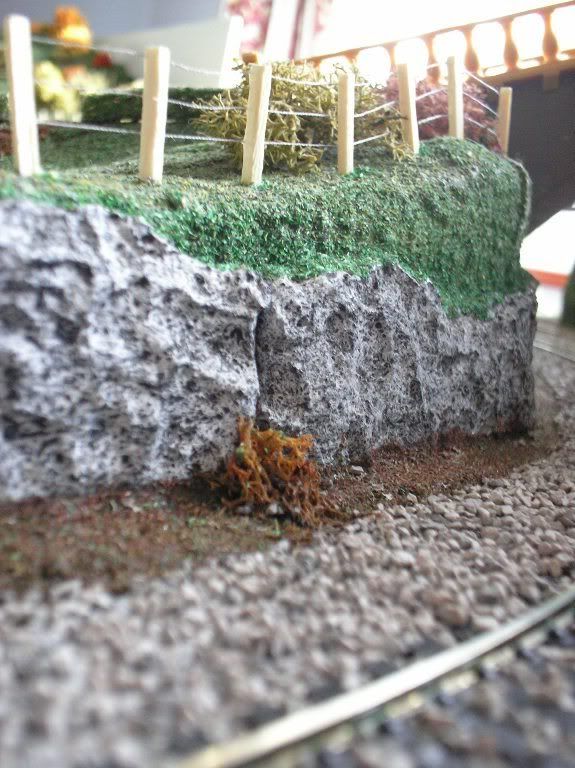
Regardless, this is the end result, made for less than a penny:
With the application of a bit of scenic scatter and foliage along the top and bottom, the effect is quite convincing.
So you want to know how to do it?
Well, to begin, this is what you'll need:
* Some Expanded polystyrene, the stuff used to package trains
* A Hacksaw or stanley knife
* A Soldering Iron
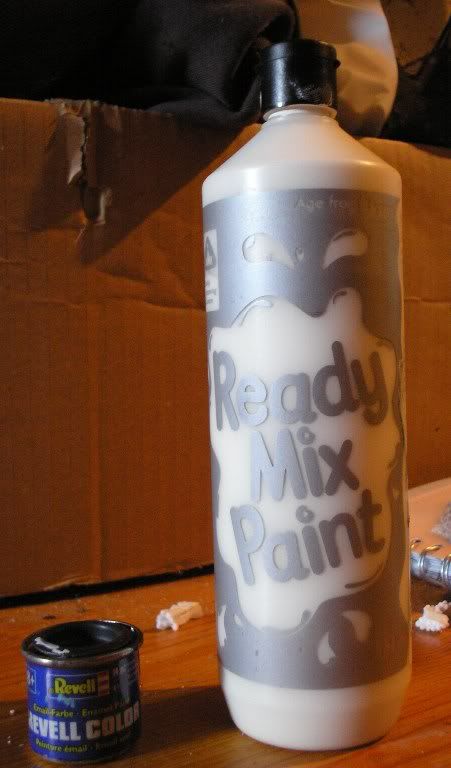
* White poster paint
* Black enamel paint
* A paintbrush
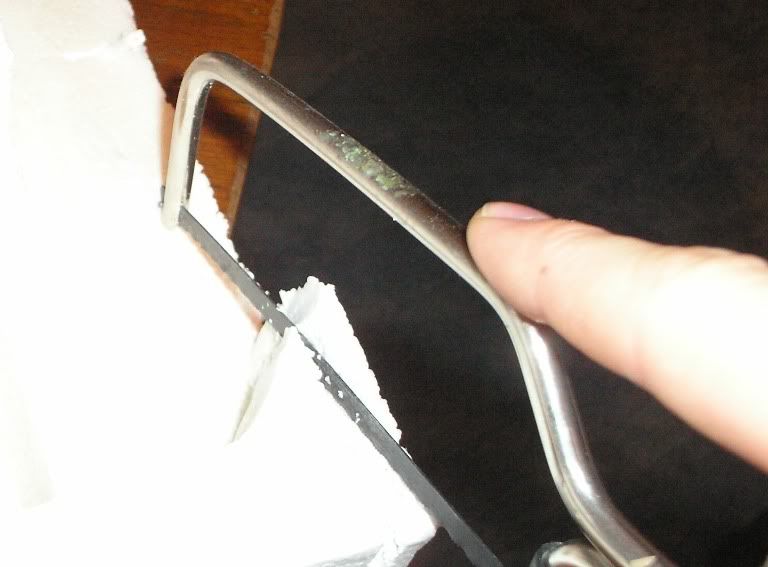
First, grab your polystyrene and cut off a (or a number of) thin slivers with either a hacksaw or a knife. Keep in mind the size of the gap you are going to fill.
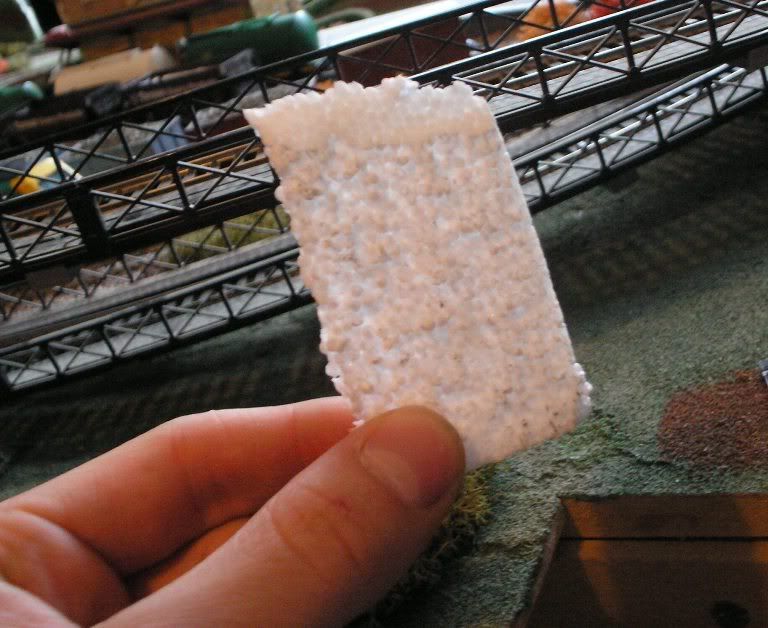
Your sliver should look something like this:
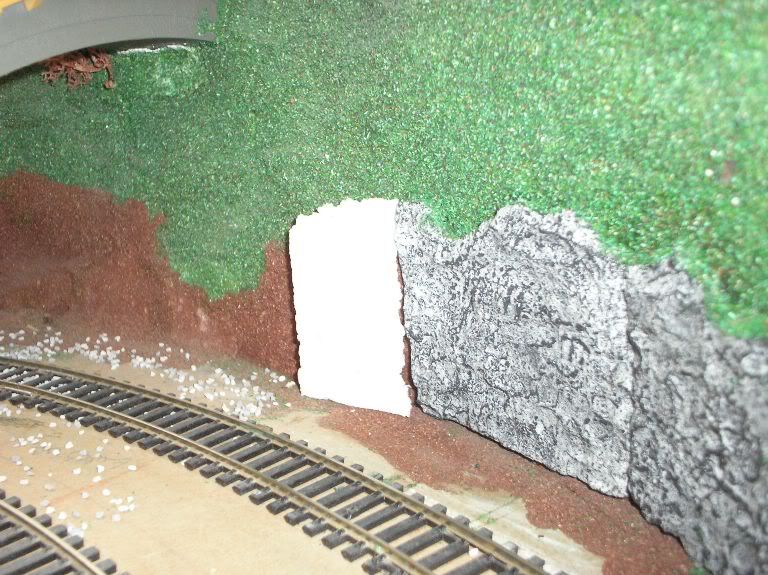
Now put it into your gap to check the fit, and line it up with other rock faces, or other scenic features.
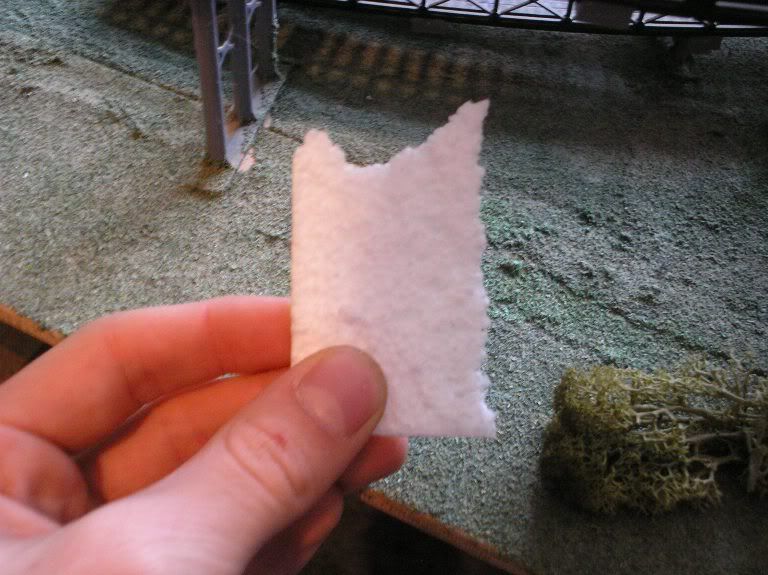
Now we know it fits, it pays to break off some of the top to make the shape more random, as I'm yet to see a perfectly rectangular rock face. Don't worry about neatness here, just as long as you don't tamper with the edges you've just lined up.
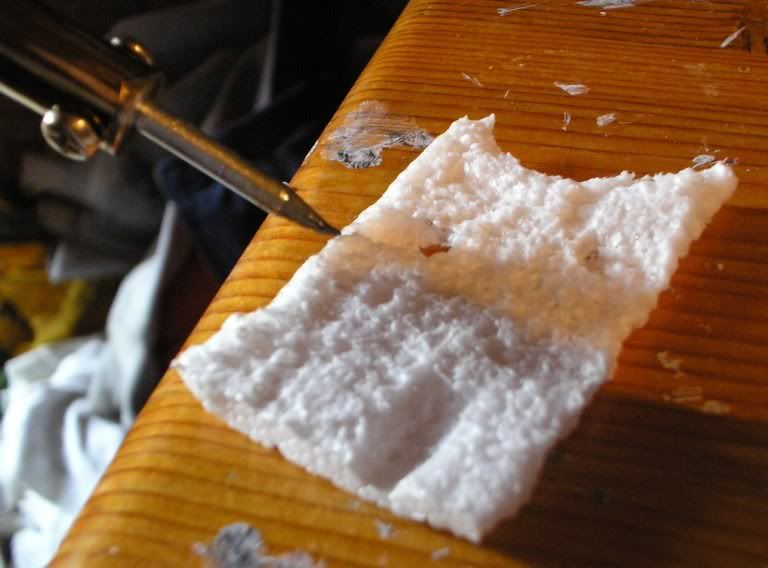
Now, to the tricky part: the soldering. For this it's best you use a VERY well-ventilated room, i suggest a garage with the back door flung open, or if it's a nice day do it outside. When the soldering iron is hot, gently sweep across the polystyrene to melt the surface. The fumes are PROBABLy toxic, so it's not recommended to breathe them in, so try to avoid this. When you've got the soldering iron you can be quite artistic and follow your own path for this bit. Just use the tool like a pencil and carve various shapes and formations into the rock. Remember that the polystyrene is thin, so don't press too hard, but if you do, a suitable 'filler' piece can be made quite easily.
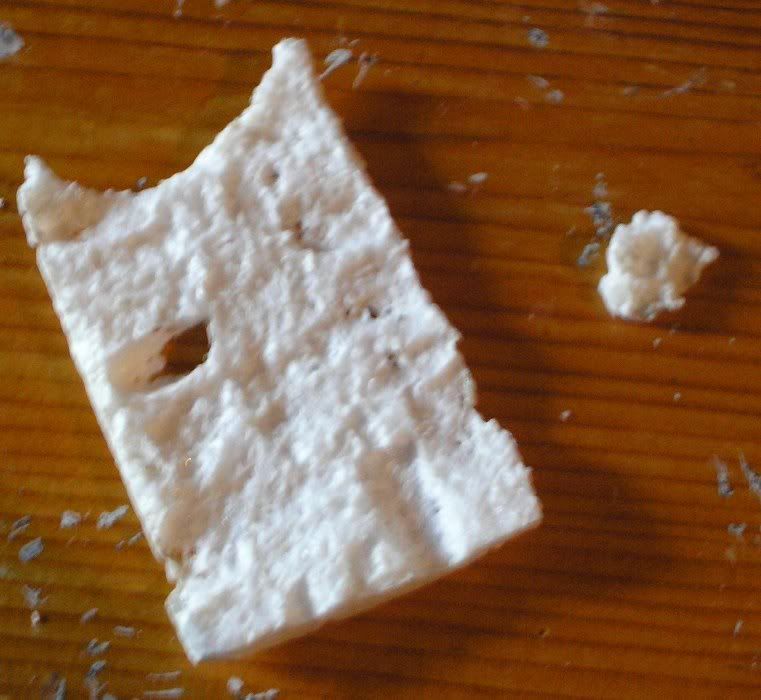
And here's my finished piece. I managed to burn right through so you can see the filler piece i made to fix to the back, covering the hole.
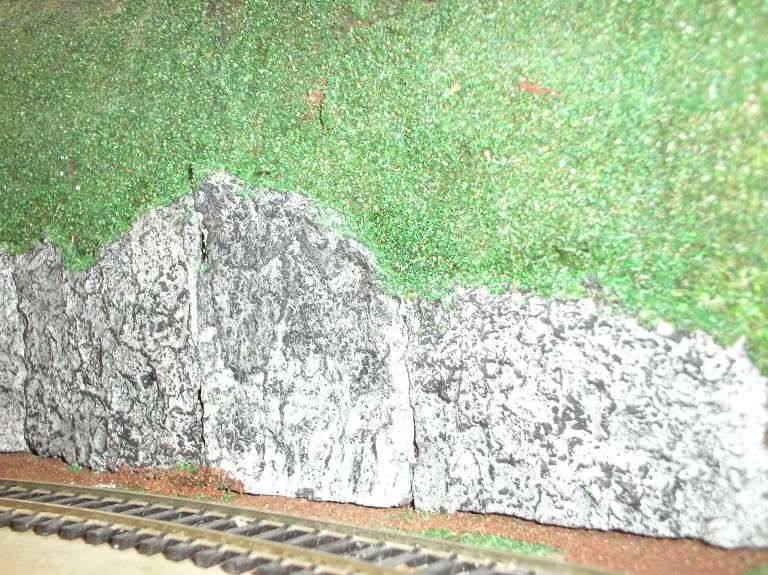
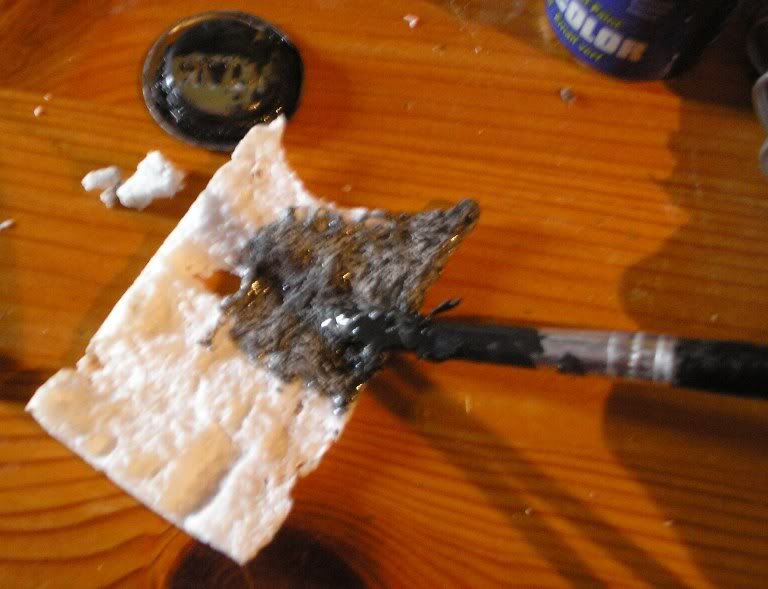
Next, to the paint. For this it's best to mix white poster paint and black enamel paint. These two won't mix properly, but this is good because it will give the rock a weathered, more realistic texture which really brings the rock to life.
Mix them around but don't be too worried if they aren't completely mixed, rocks often look better darker in places and lighter in others!
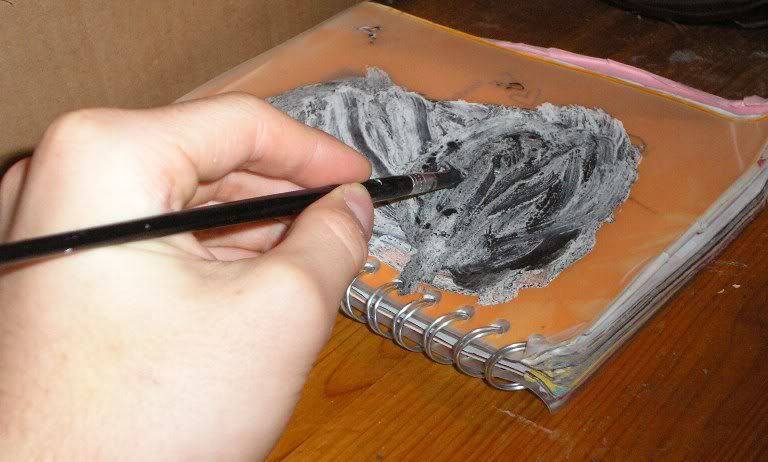
Apply the paint liberally so that there is no white visible. You don't need to paint the back but in my experience it pays to paint the top and sides as these may become visible when placed on the layout.
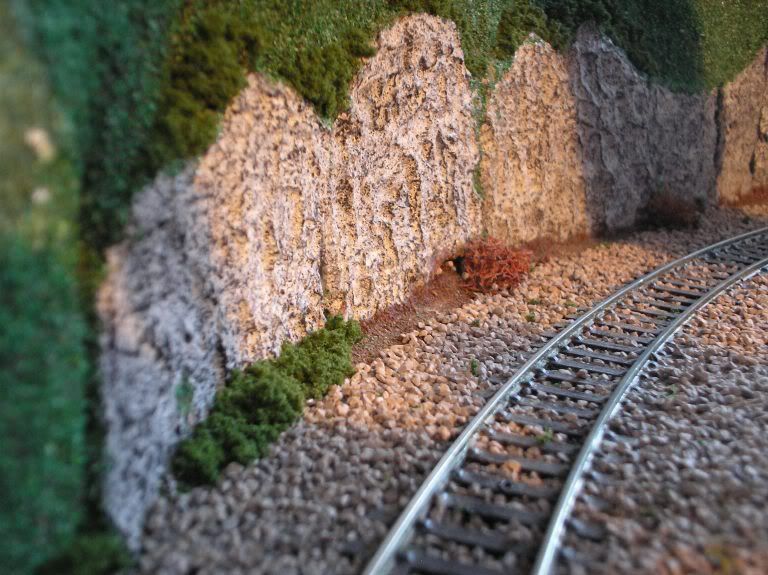
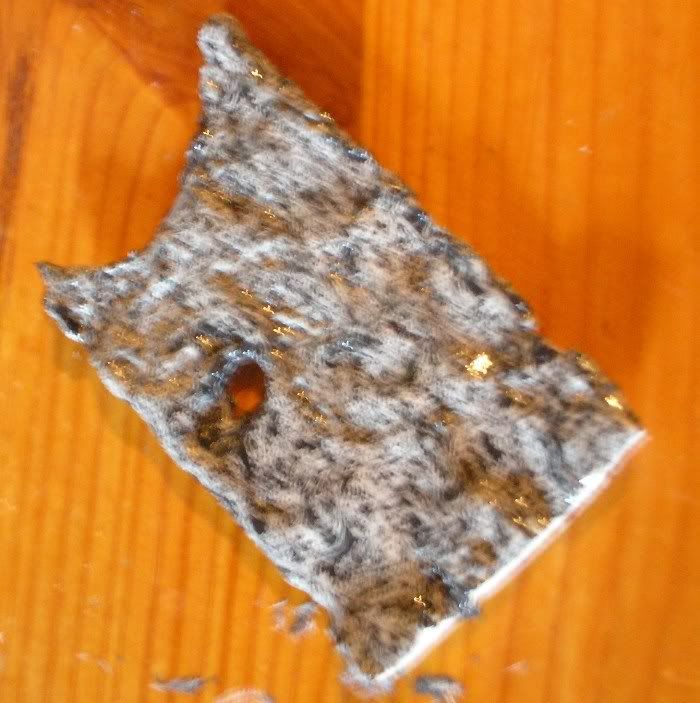
Viola! One painted rock face. This will take a few hours to dry, as although the poster paint dries relatively quickly, the nature of the enamel paint and the mixture means it takes longer.
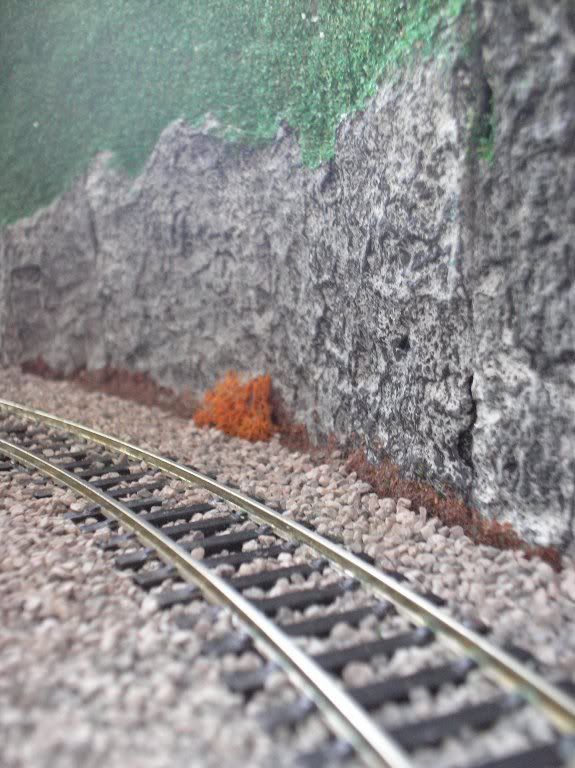
Once dry, the rock face can be fixed in placed with wood glue, pva or hob-e-tac, just steer clear of superglue, which will melt your rockface and half an hours work into a sticky mess. When in position, apply some scenic scatter to the top to make the rock face seem 'integrated' into the hill, and make it look less like someone's just stuck it there!
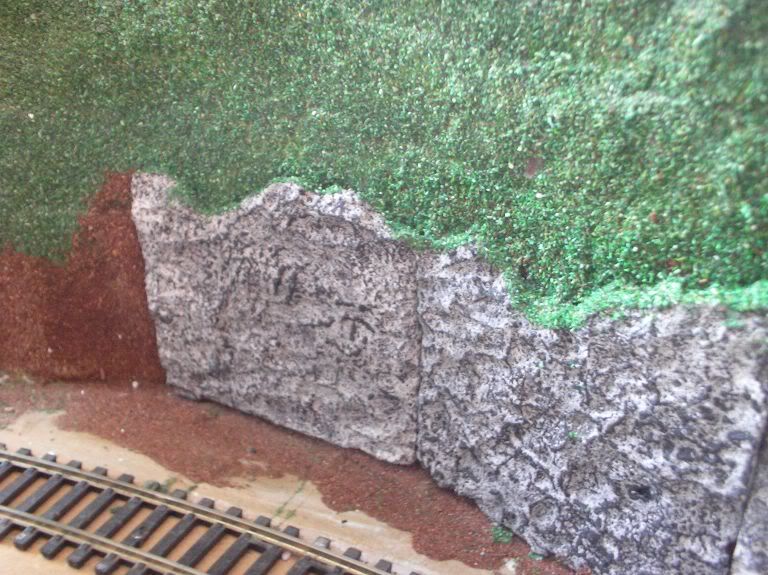
Some scenic scatter at the bottom to hide any gaps completes the illusion. And all this for absolutely nothing! (well, except the scatter, glue and foliage but hey, it sounded good) Have fun!
Copyright Michael Rhodes 2006
If you want to copy or reproduce any of this document, please seek my permission by e-mailing me at mich_inda_house@hotmail.com