
The one I am showing here is a small river which has been built up with concrete sides etc as in runs through a city centre. No boats travel on this as it is too small but I wanted to add a pathway alongside for interest.
The pictures and words below describe the work done, which took about a day to complete.
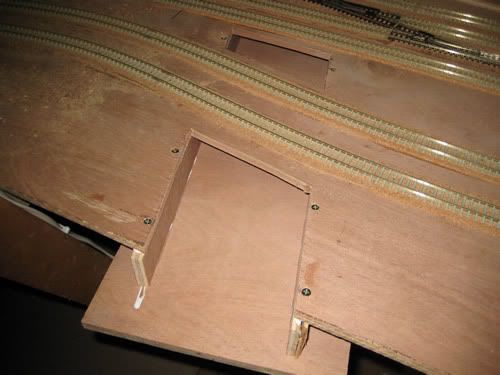
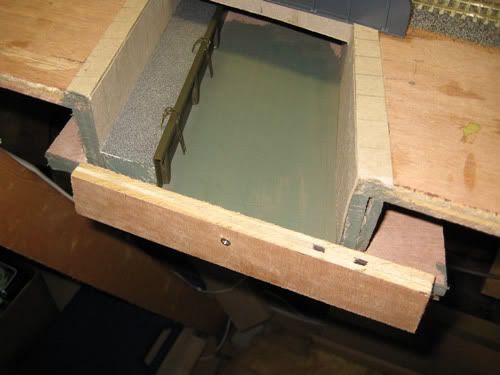
Here, the track has been laid, and the cutouts made with a jig saw. A base and sides were glued and screwed in using the same plywood as the baseboard.

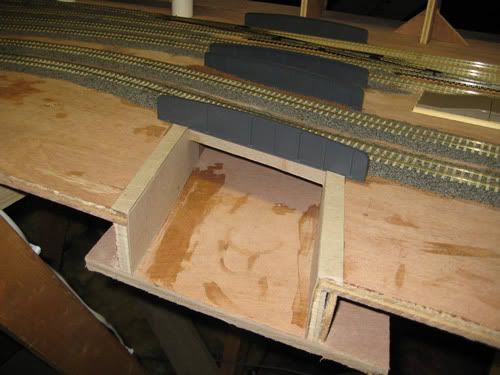
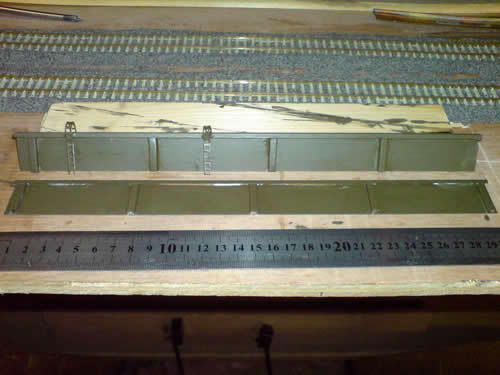
These Peco girder sides were added, not exactly German but look OK.
The end and sides are trimmed off with a tenon saw.
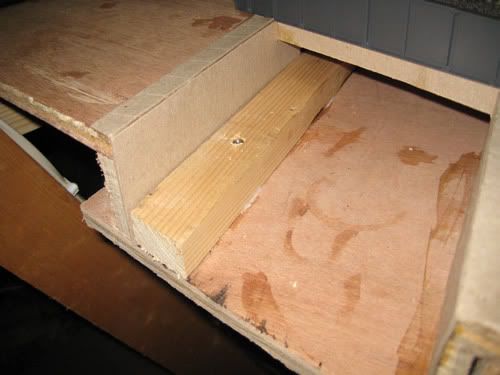
Adding a piece of wood for the footpath. This is glued and screwed in place.
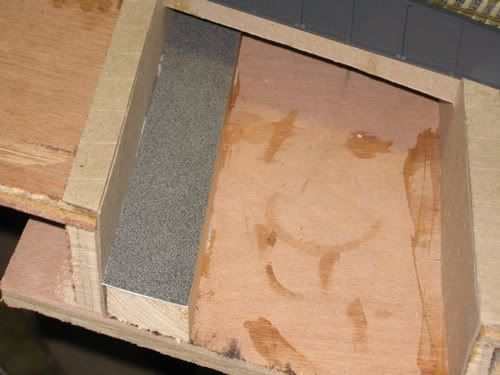
Some Metcalfe tarmac sheet is now glued on top of the wood.
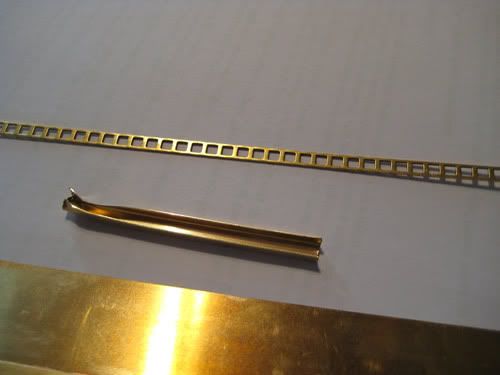
In my brass bits box I found the parts needed for the wall. Its also possible to use plastic but I like soldering!
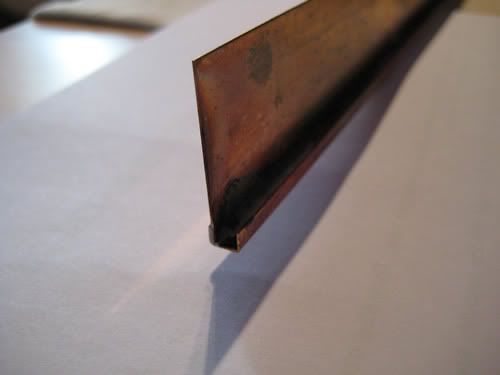
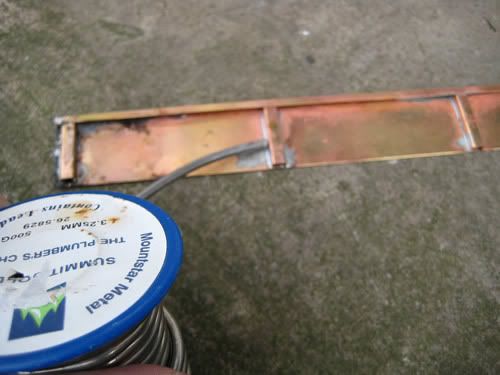
Brass channel is soldered to some 1 inch sheet.
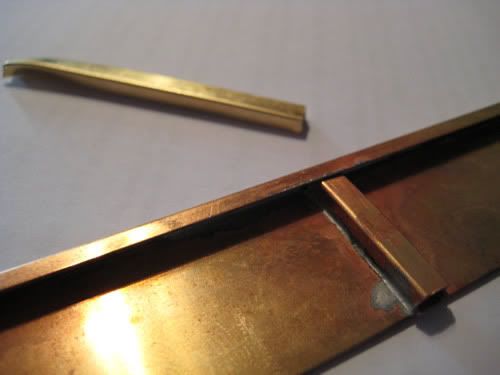
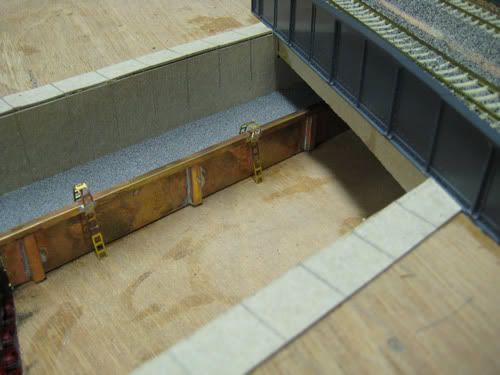
These 1 inch long bits of channel are soldered to the wall.
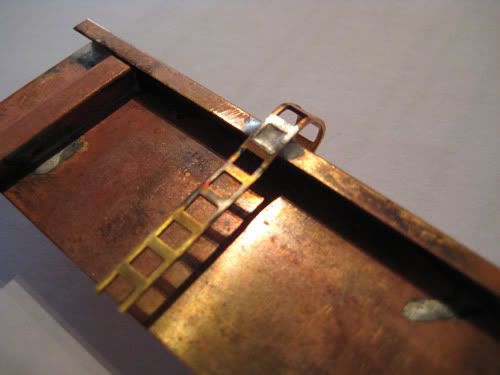
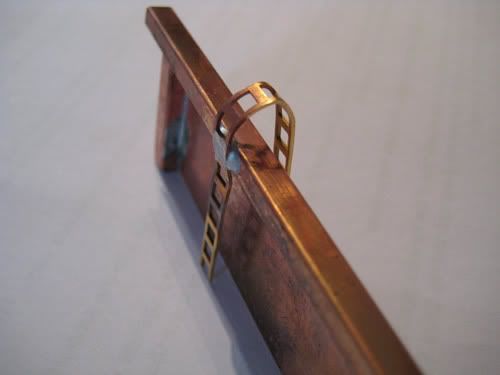
I also found a few bits of ladder which I soldered on as access ladders. These are not really needed here but the detail is interesting.
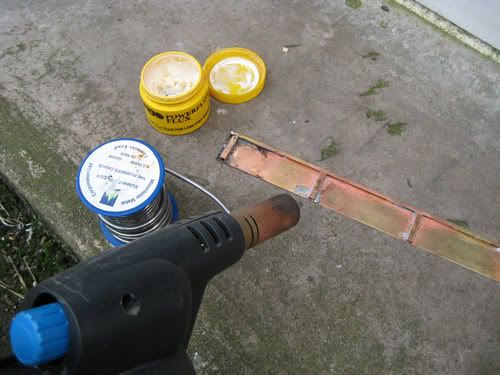
I used this blowtorch on a low setting. Spread a little flux onto the joint area and....
Add a little solder while the brass is hot. It should spread around the flux.
The soldering is done.
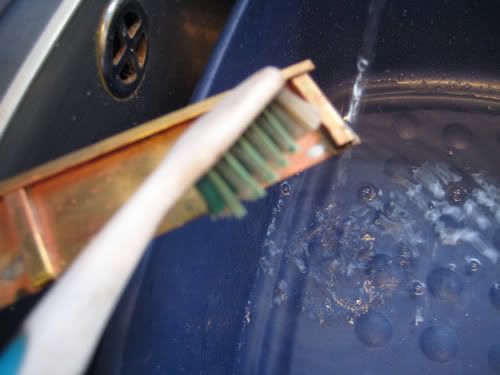
Wash down the parts to remove any left over flux, otherwise it will ruin the paint.
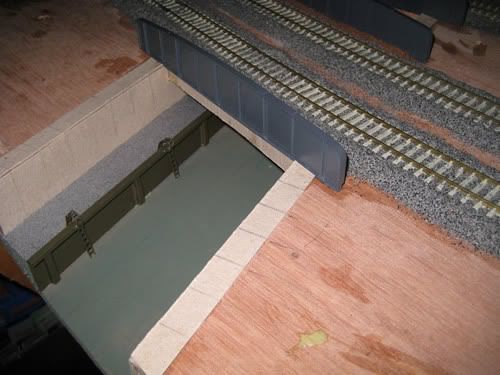
Trying the work for size. Notice that cardboard facings have been added to the walls and top of the cut out.
Getting some matt enamel paint onto the finished article. At this stage I also painted the river bed in a mix of green and brown acrylics.
Showing the walls fixed in place. I glued them in with evo stick.
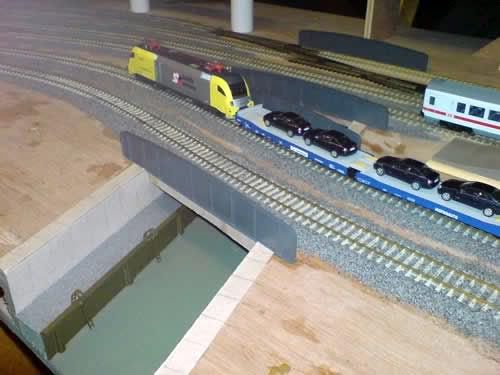
The same with a train passing over !
Before pouring in the EZ water, I blocked up the ends with a bit of scrap wood. This stops you getting molten plastic all over your feet !
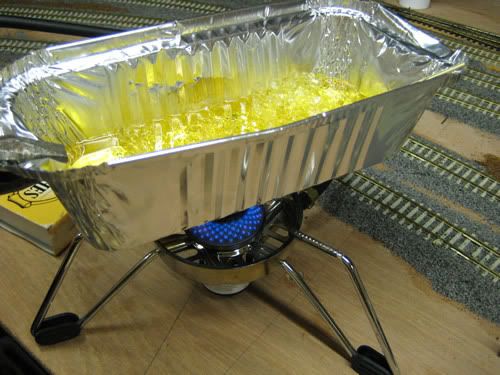
Heating up the EZ water on a little camping stove. DONT use a really good saucepan for this !!
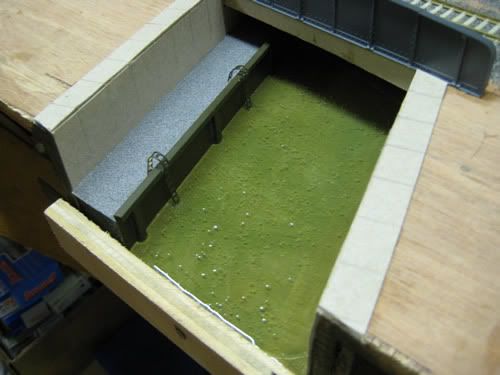
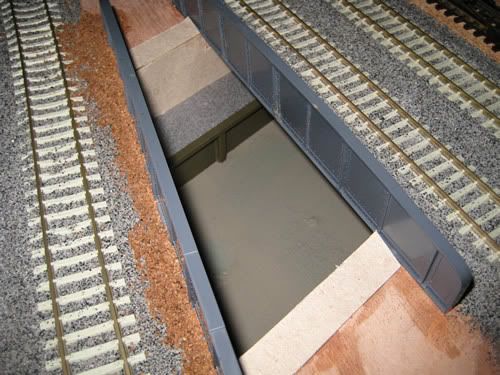
This stuff takes a few minutes to set hard. looks OK for my 1st go. A few bubbles in it but all adds to the appearance !!
An enjoyable little job, which looks good I think, and fairly inexpensive. I will be adding a bit of lighting to it soon.
David
