Back to N...Under construction. Building Bridges.

Post pictures and information about your own personal model railway layout that is under construction. Keep members up-to-date with what you are doing and discuss problems that you are having.
User avatar
Zunnan
Posts: 1208
Joined: Mon Dec 03, 2007 2:54 pm
Location: On the cusp of spaghetti...B23

Re: Back to N...Under construction. Building Bridges.

Post by Zunnan »

After a very stressful few days of work (thank you to the buggers who all took leave for the bank holiday, I had to cover you over the weekend AND work a 12 hour shift today) I have decided to have a little break from the bridge just in case I make some stupid mistakes (like the jack arches built to thew wrong skew angle...). So I thought I'd unwind a bit by defacing a few Peco 60th Anniversary limited edition CDAs, and two normal ECC versions just for good measure.

Image
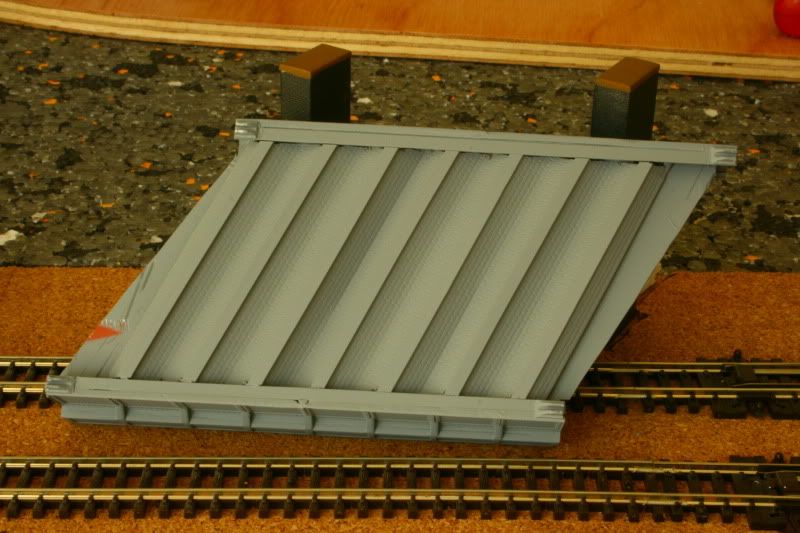
You know the ones I mean, these ugly things...

Image
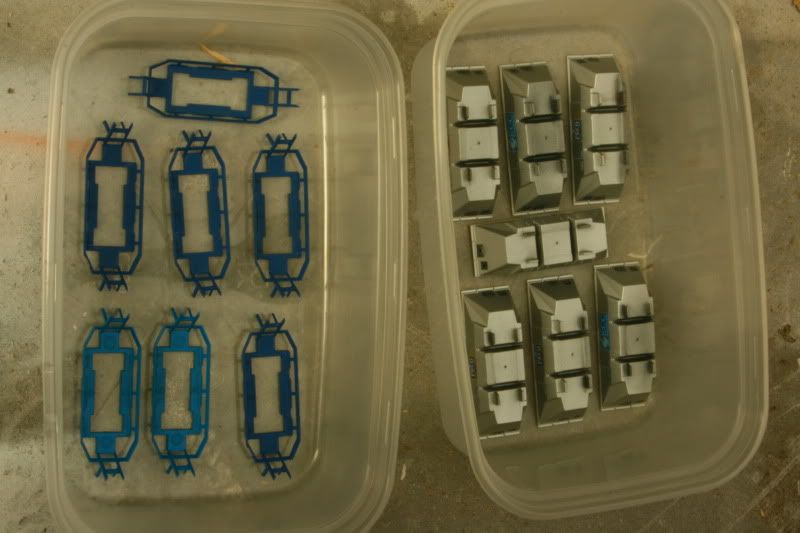
I have no need for china clay traffic on my layout, but I do have a need for a lot of HAA hoppers which the CDAs are based upon. Within 30 minutes of getting home, this is how 10 of them looked! Stripped to component parts and ready for a date with Mr Muscle oven cleaner while I popped round to visit 0121modeller for a few hours.

Image
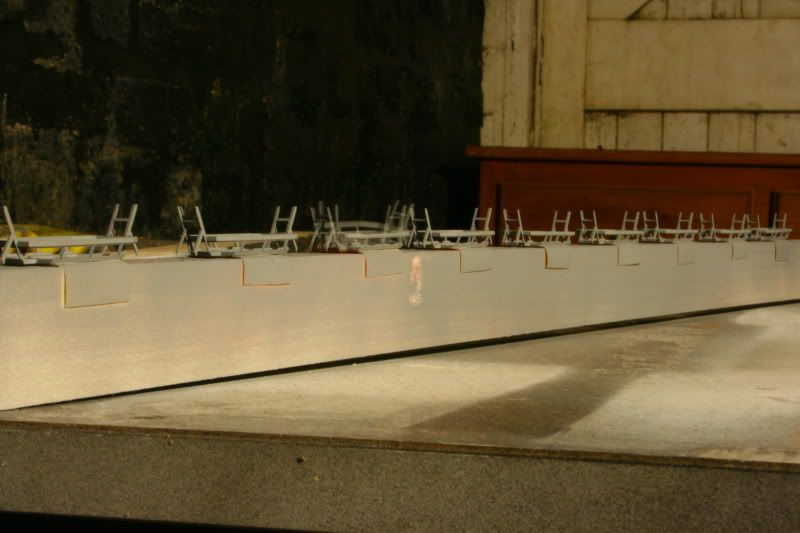
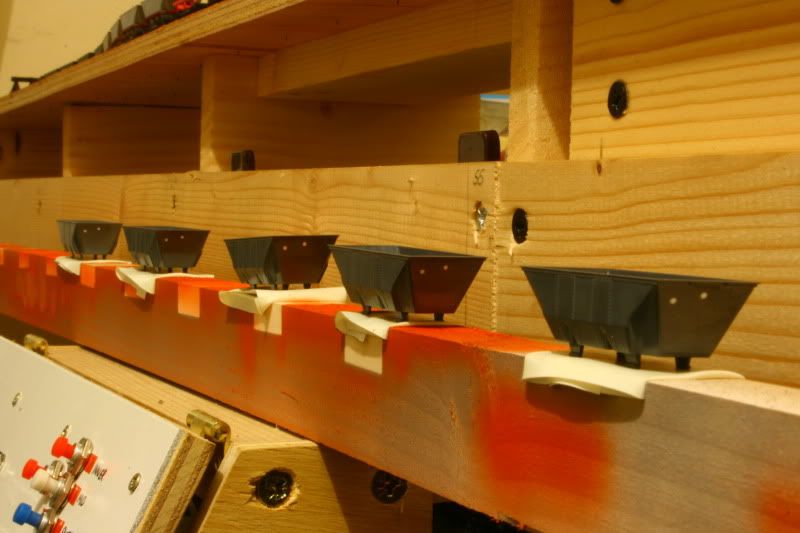
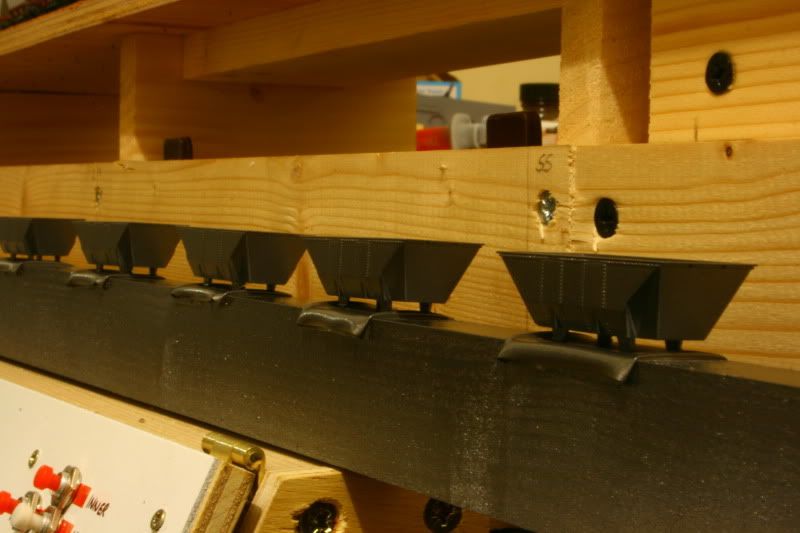
When I got home, 15 minutes with an old toothbrush and some hot soapy water and I ended up with a lot of naked bits of CDA hopper. The cradles are seen here after a liberal coat of primer.

Image
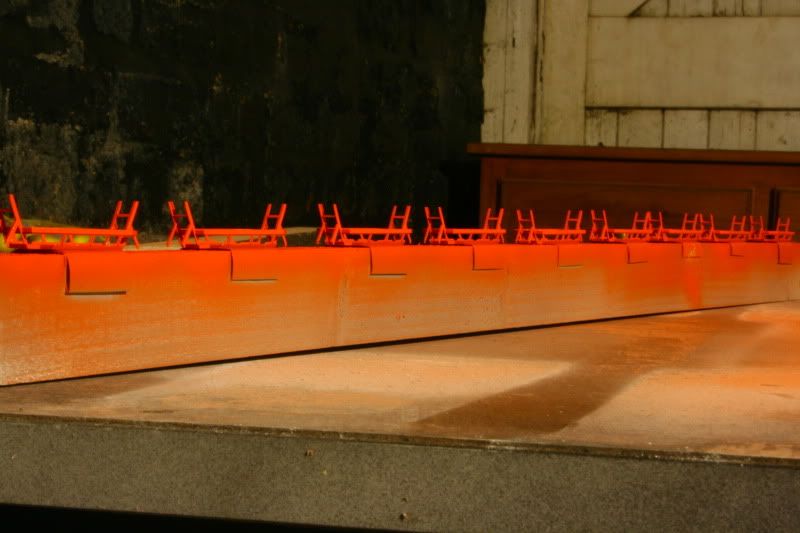
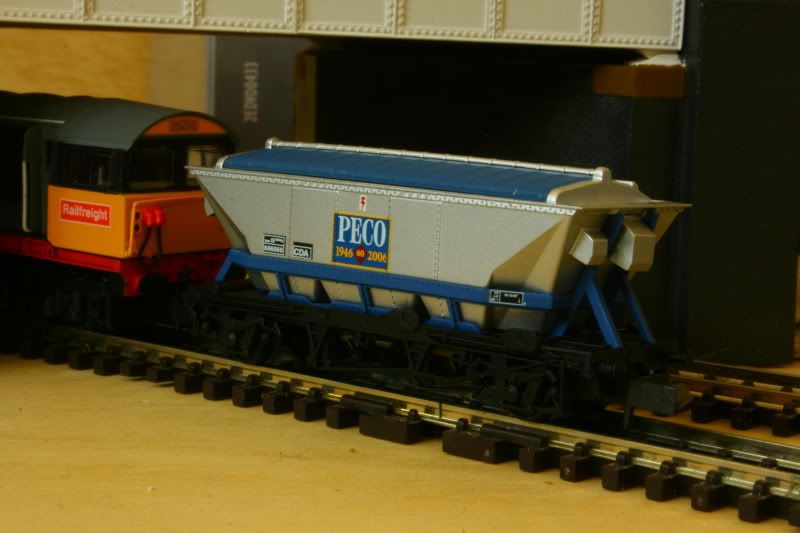
10 minutes later and a date with an airbrush loaded with Railfreight Red they looked a bit like this...

Image
The CDA moulding for the hoppers has four vents fitted to the hopper ends which need removing. Thankfully the Peco CDAs aren't glued together and the vents simply pulled out of their mounting holes. Sadly this meant I needed to fill 40 holes and get them flush with the inside and outside edge of the hopper body. No problem really, 1.6mm rod and lashings of Mek-Pak later and the holes were filled and ready to be flatted back prior to painting.

Image
As usual, a light plastic primer base coat goes on first to check that the holes are filled and filed flush. Once satisfied that all is well the full primer coat goes on and allowed to go tacky before the top coat is applied. For these I decided to use a metallic car spray rather than my airbrush...mostly because cleaning metallic paint from an airbrush is a royal pain in the backside; Rover Steel Grey being my choice.

Image
Although they have turned out a fair bit darker than I wanted (really should have used Arctic Silver) I think the darker metallic paint could be a blessing in disguise when it comes to weathering these as they will need a lighter coating of matt black to tone them down so the TOPS data panels and warning flashes should be a lot more prominant. Fox Transfers has come up trumps here, the transfers were ordered on Friday and arrived today so once the paint has dried and had a gloss varnish coat, its time to apply 10 pairs of data panels...joy... :|
Last edited by Zunnan on Wed Mar 09, 2011 9:25 pm, edited 1 time in total.
Under Construction N Gauge dog bone.
Canon Street. N Gauge
The Workbench.
User avatar
Zunnan
Posts: 1208
Joined: Mon Dec 03, 2007 2:54 pm
Location: On the cusp of spaghetti...B23

Re: Back to N...Under construction. Building Bridges.

Post by Zunnan »

Getting a little bit closer to finishing up the bridge now. I've built a mirror image of the jack arches shown on the previous page in exactly the same manner, this time with some 00 brick plasticard as a backing to give some strength to the bridge deck. No mistakes this time, it fits like a charm and finishes off the basic detail that this bridge needed.

Image
Trial assembled while the glue holding the jack arches to the girders sets, I'll take the completed deck shots once everything is nice and solid tomorrow. A change of colour to the grey that is so typical of many bridges and a low angle from the board edge highlights exactly why I went to the lengths that I have on this build. It may be N Gauge but you can still see under that bridge from an eye level viewing angle for the steel yard which will be sited behind.

Image
A view from one bridge to the other. This shows how compact this layout actually is with the storage loops immediately behind the camera and what will be 5' of scenic layout in front. The mottled grey area signifies the area taken up by the steel yard and is the next focus of my attention now that the bridges are effectively complete save some weathering. I really must make up some copperclad sleepers to fill those gaps at the board join as well!
Last edited by Zunnan on Wed Mar 09, 2011 9:25 pm, edited 1 time in total.
Under Construction N Gauge dog bone.
Canon Street. N Gauge
The Workbench.
User avatar
SouthernBoy
Posts: 1753
Joined: Sun Oct 08, 2006 11:01 pm
Location: The past: We do things differently there

Re: Back to N...Under construction. Building Bridges.

Post by SouthernBoy »

That's like a factory production line on those wagons Zunnan - I don't know how you turn some of these jobs around so quickly (and effectively)!
User avatar
Zunnan
Posts: 1208
Joined: Mon Dec 03, 2007 2:54 pm
Location: On the cusp of spaghetti...B23

Re: Back to N...Under construction. Building Bridges.

Post by Zunnan »

22 HAAs in the train, 12 started off as CDAs and 6 were HAAs in the wrong livery...so 18 repaints in total! Its not too bad when everything is going in to the same colours to be honest. If I had to mask off for more than one colour per piece being painted it would be a hellish job, but being able to separate them into chassis, cradle and hopper made it very easy and very quick. All get dunked in Mr Muscle and left to cook for a few hours, all then get washed off to remove whats left of the paint. Dry them all out and stick certain parts to a bit of wood with some tape and give them a squirt over with the right colour and Bobs your mothers brother. :wink: The hard part was plugging the holes on the CDAs, but the BBC iplayer helped with that (Blackbeards Ghost) and I had the final 10 done in next to no time yesterday.

Thankfully the storage loops will only hold 22 HAAs and a class 58 so unless I want another train load of them there is none left to repaint and only 10 left to add data panels and weather up. Saying that, if I see two dozen CDAs going cheaply I don't think I'd be very shy in doing another load. If only I could build bridges so quickly, I'd have built half a dozen plate girders and abutments! :lol:
Under Construction N Gauge dog bone.
Canon Street. N Gauge
The Workbench.
MrT
Posts: 431
Joined: Mon Sep 25, 2006 10:42 am
Location: Sheffield

Re: Back to N...Under construction. Building Bridges.

Post by MrT »

Corking work Zunnan, the layout is coming on really well. I repainted some HAA hoppers as well - as you say, it's pretty easy given that you can take them apart. I only did 4 though!
User avatar
Zunnan
Posts: 1208
Joined: Mon Dec 03, 2007 2:54 pm
Location: On the cusp of spaghetti...B23

Re: Back to N...Under construction. Building Bridges.

Post by Zunnan »

To draw a line under the bridge build, here is what I've done to the jack arch assembly. It is built in exactly the same way as the previous version, correctly skewed this time, the only addition being the thick 00 gauge plasticard deck being fitted to provide the floorplate at the approximate cess level (cess level is basically the earthworks level below the ballast and track). This was attached by doubling up the cross girders so that they stand higher than the jack arches, and then glued directly to the cross girders while the assembly was still attached to the temporary framing of medium 'H' section plastruct.

Image

Image

Image

As previously mentioned, this bridge will serve to carry a disused railway line with track lifted, so the brick plasticard will eventually be covered with what has become a muddy overgrown path; probably used by spotters wanting to watch the comings and goings to the steel yeard. The embankment beyond the bridge will be breached and truncated where expansion of the yard has required it and will continue on the other side with an abandoned bridge abutment at the far side of the layout where it again crosses the running lines. Obviously the yard will have to be built first so I know just how much space I can give to the disused line.
Last edited by Zunnan on Wed Mar 09, 2011 9:26 pm, edited 1 time in total.
Under Construction N Gauge dog bone.
Canon Street. N Gauge
The Workbench.
User avatar
SouthernBoy
Posts: 1753
Joined: Sun Oct 08, 2006 11:01 pm
Location: The past: We do things differently there

Re: Back to N...Under construction. Building Bridges.

Post by SouthernBoy »

Thanks again for posting these detail updates on bridge construction - it's been inspiring and educational.
In fact on my way home today I caught myself really scrutinising a bridge at Clapham Junction without even noticing at first what I was doing :shock:
User avatar
Zunnan
Posts: 1208
Joined: Mon Dec 03, 2007 2:54 pm
Location: On the cusp of spaghetti...B23

Re: Back to N...Under construction. Building Bridges.

Post by Zunnan »

Thats the start of a very slippery slope! Ever since I started putting a bit of effort into my bridges I've found myself looking closer and closer at the real thing! The book that Dave recommends is absolutely fantastic for that by the way (Bridges for Modellers, L.V. Wood), I've borrowed it from him and it really is one to look out for. I'm actually regretting only giving my current layout 2 bridges to build to the point that I've found myself trying to create reasons to build more!
Under Construction N Gauge dog bone.
Canon Street. N Gauge
The Workbench.
User avatar
SouthernBoy
Posts: 1753
Joined: Sun Oct 08, 2006 11:01 pm
Location: The past: We do things differently there

Re: Back to N...Under construction. Building Bridges.

Post by SouthernBoy »

I'll definitely be looking out for the book.

'Thats the start of a very slippery slope!'
Don't worry - my layout only had two bridges and work is too advanced to change that.
But now they'll probably be more realistic than they otherwise would :)
0121modeller
Posts: 1205
Joined: Sun Mar 09, 2008 1:16 am
Location: Erdington, Birmingham,.... but can also be found at various railway bridges !

Re: Back to N...Under construction. Building Bridges.

Post by 0121modeller »

Excellent stuff Zunnan :D , a great achievement in detailed N gauge modelling with that bridge,
Just love that idea of that slippery slope too, a box girder bridge next maybe 8) ? ... :lol: :wink: ,,,.. (struggling to contain myself now :oops: )

On a serious note, I've seen close up a lot of Zunnans layout progression, & his passion & knowledge for the real subject/item & modelling this is amazing, the work on those hoppers is another example of inspiring us with new idea's.

Along with other N gauge layouts & threads, this has to be one of the most inspirational, I look forward to the future progression of the steel yard, as for a few idea's for my own unfinished project in 00 :D

Dave.
Scratchbuilding 4mm scale JXA scrapwagons ; - http://www.newrailwaymodellers.co.uk/Fo ... =6&t=37620
Scratchbuilt & kit built grappler claw cranes ; - http://www.newrailwaymodellers.co.uk/Fo ... =6&t=36342
Post Reply