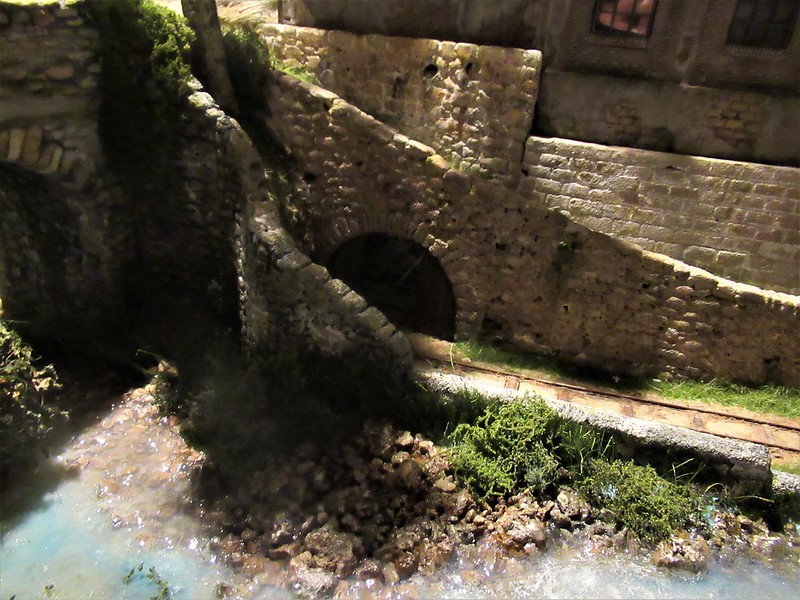
Back to work.
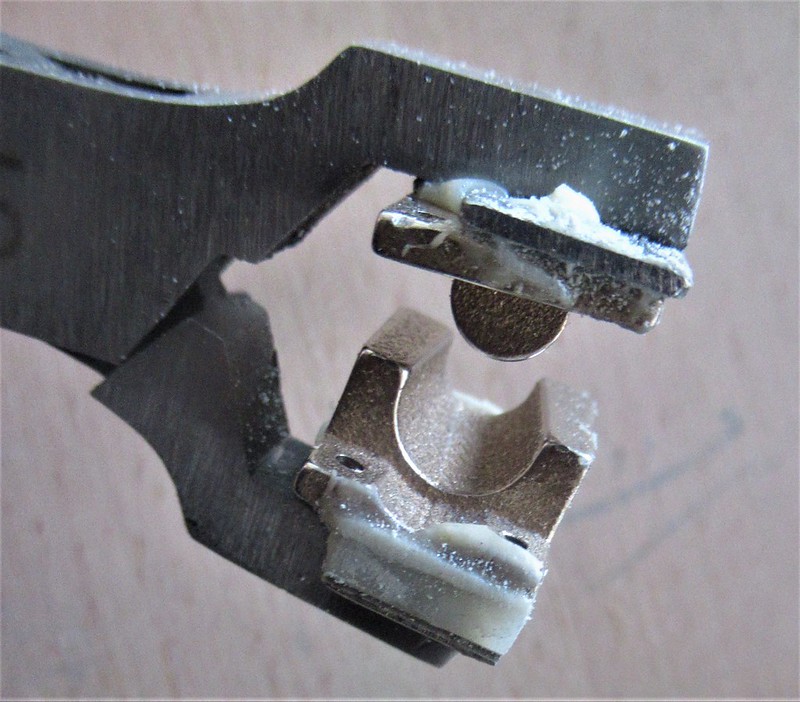
May be you remember I had a 3Dprinted steel mold for forming the barrel tiles and was going to install it in a pliers...
Well, for many weeks I had totally lost trace of the mold but two days ago it came to say 'hello' smiling...
 IMG_0029 (153)
 by
Daniel Osvaldo Caso, on Flickr
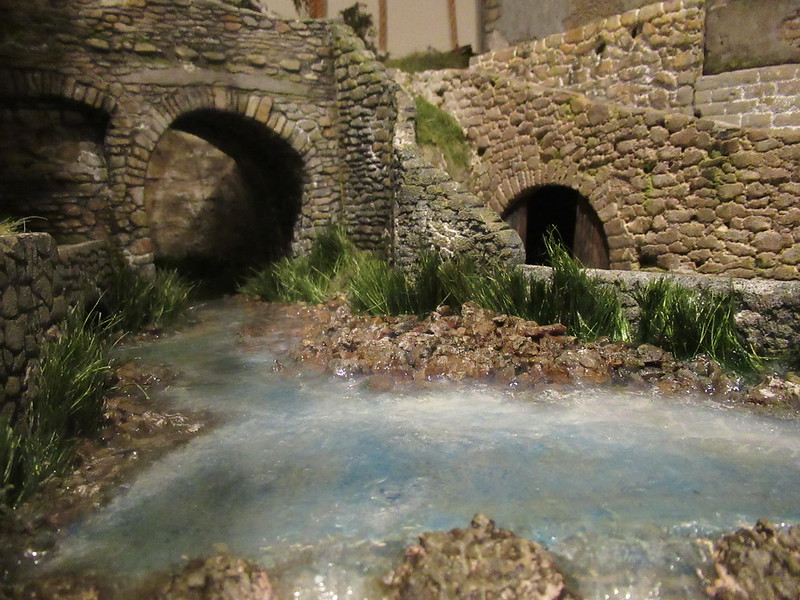
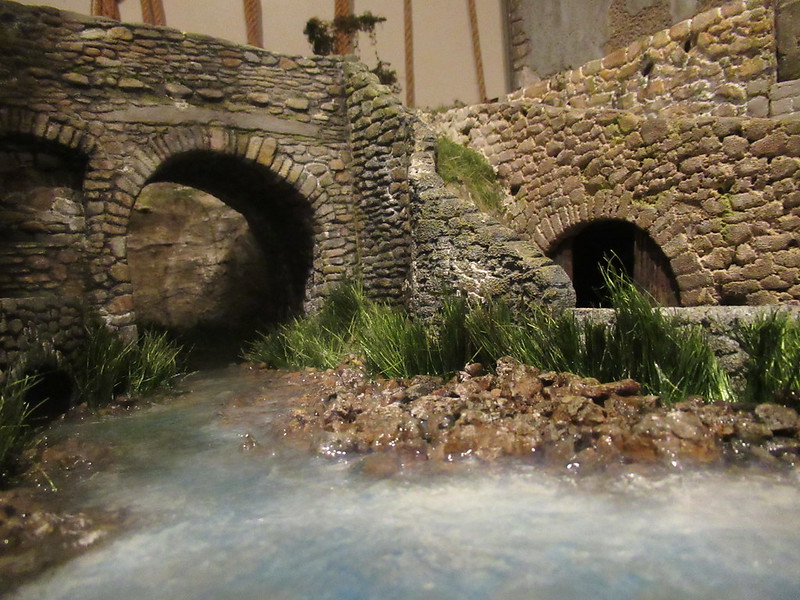
Using the steel rod registers for aligning the two mold parts while glueing worked perfectly...
 IMG_0030 (161)
 by
Daniel Osvaldo Caso, on Flickr
 IMG_0031 (160)
 by
Daniel Osvaldo Caso, on Flickr
 IMG_0032 (158)
 by
Daniel Osvaldo Caso, on Flickr
 IMG_0033 (155)
 by
Daniel Osvaldo Caso, on Flickr
 IMG_0034 (149)
 by
Daniel Osvaldo Caso, on Flickr
Removing trhe regiusters once the epoxy was ready was also very easy...
 IMG_0035 (152)
 by
Daniel Osvaldo Caso, on Flickr
 IMG_0036 (148)
 by
Daniel Osvaldo Caso, on Flickr
Alignement went perfect...
So far the story is a success...
 IMG_0038 (139)
 by
Daniel Osvaldo Caso, on Flickr
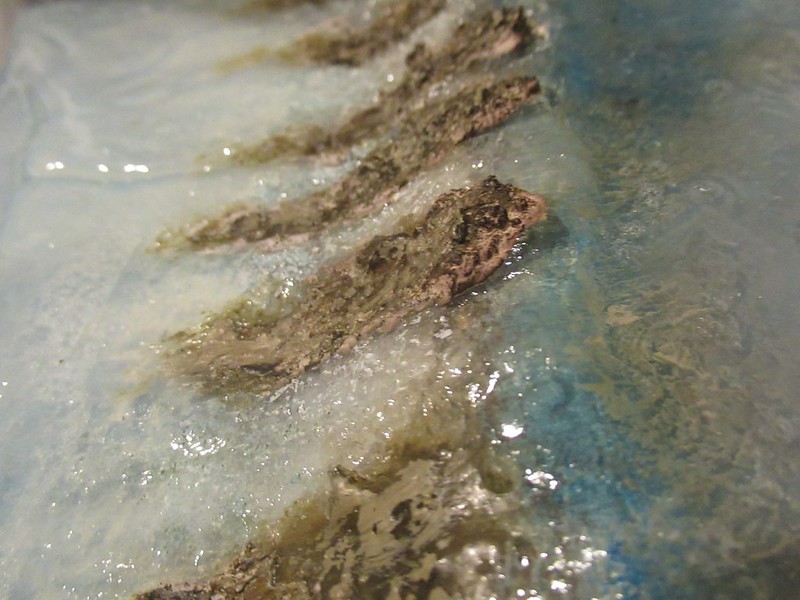
But what this photo let see is a lie:
It will work but not with a pliers construction. It will really need a lot more power because I am not able to get the work done by hand, as expected.
The formed tile in the photo was made with the previous method but to do it in just one step will requiere one of these which I bought a couple of years ago butr never used yet:
www.hbm-machines.com/nl/p/hbm-05-ton-tandheugelpers
And there is another thing: My plan was to file carefully a 0,5mm deep on both sides of the top surface of the female half so to keep the aluminium plate properly aligned until the pressing work do the forming... but my lone brain cell forgot. Anyway i must order now a new mold print because can't expect to recycle the one now epoxied to the pliers. (Mrs. Learning Curve is around here, again!)

 IMG_0078 (57) by Daniel Osvaldo Caso, on Flickr
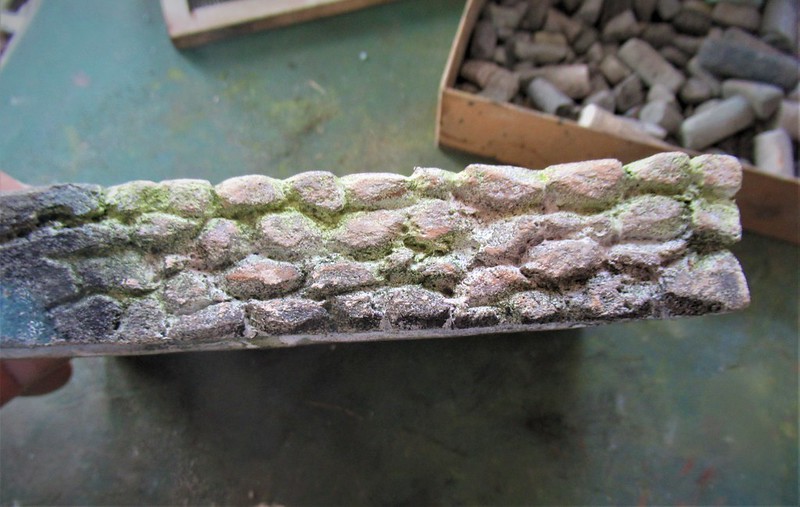 IMG_0079 (64) by Daniel Osvaldo Caso, on Flickr
 IMG_0080 (56) by Daniel Osvaldo Caso, on Flickr
 IMG_0081 (60) by Daniel Osvaldo Caso, on Flickr
 IMG_0082 (54) by Daniel Osvaldo Caso, on Flickr
 IMG_0083 (58) by Daniel Osvaldo Caso, on Flickr
 IMG_0086 (59) by Daniel Osvaldo Caso, on Flickr
 IMG_0087 (54) by Daniel Osvaldo Caso, on Flickr
 IMG_0089 (51) by Daniel Osvaldo Caso, on Flickr
 IMG_0101 (40) by Daniel Osvaldo Caso, on Flickr
 IMG_0102 (34) by Daniel Osvaldo Caso, on Flickr
 IMG_0103 (42) by Daniel Osvaldo Caso, on Flickr
 IMG_0104 (40) by Daniel Osvaldo Caso, on Flickr
 IMG_0105 (41) by Daniel Osvaldo Caso, on Flickr
 IMG_0106 (40) by Daniel Osvaldo Caso, on Flickr
 IMG_0001 (284) by Daniel Osvaldo Caso, on Flickr
 IMG_0002 (253) by Daniel Osvaldo Caso, on Flickr
 IMG_0004 (249) by Daniel Osvaldo Caso, on Flickr
 IMG_0006 (246) by Daniel Osvaldo Caso, on Flickr
 IMG_0024 (170) by Daniel Osvaldo Caso, on Flickr
 IMG_0025 (172) by Daniel Osvaldo Caso, on Flickr
 IMG_0026 (171) by Daniel Osvaldo Caso, on Flickr
 IMG_0027 (171) by Daniel Osvaldo Caso, on Flickr
 IMG_0028 (155) by Daniel Osvaldo Caso, on Flickr
 IMG_0029 (143) by Daniel Osvaldo Caso, on Flickr
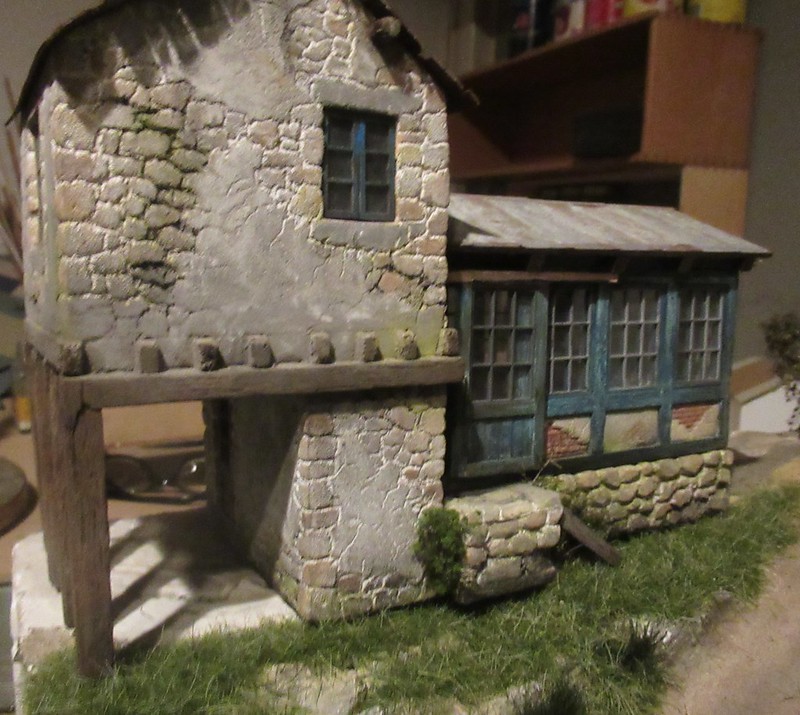 IMG_0030 (155) by Daniel Osvaldo Caso, on Flickr
 IMG_0031 (152) by Daniel Osvaldo Caso, on Flickr
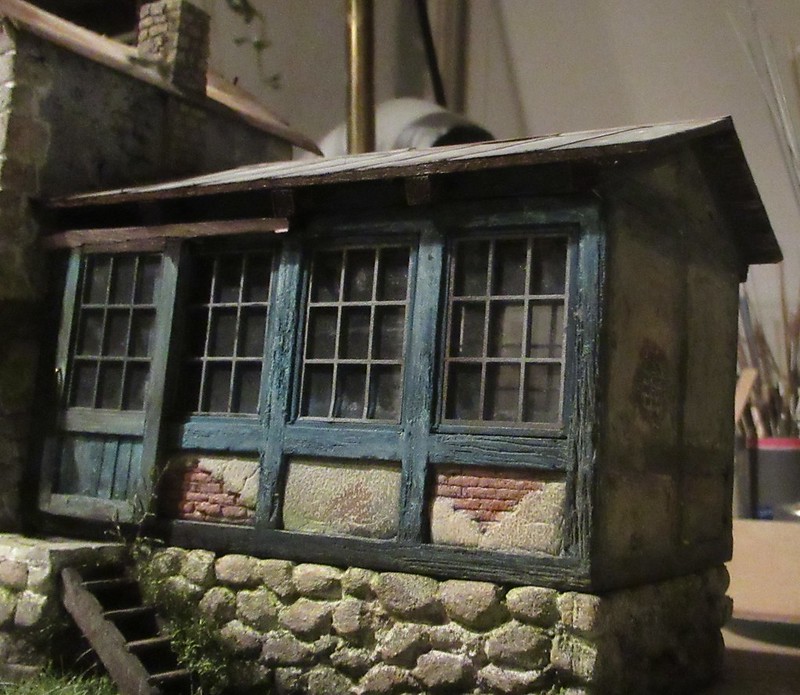 IMG_0034 (138) by Daniel Osvaldo Caso, on Flickr
 IMG_0036 (139) by Daniel Osvaldo Caso, on Flickr
 IMG_0024 (171) by Daniel Osvaldo Caso, on Flickr