Engineered wood flooring and progression of my board

Discussion of model railway baseboard design and construction
pmlondon
Posts: 145
Joined: Sun Sep 30, 2007 2:04 pm
Location: Troyes

Re: Engineered wood flooring and progression of my board

Post by pmlondon »

brit-in-bama wrote:That is looking real "classy", love your ingenuity for the electrics, as far as protecting the mdf from moisture (which is its real enemy) we use mdf for lots of furniture and cabinets here in the USA, also for moldings and skirting boards, most or the time we simply use a good white wood primer, as its cheap, it seals the board, dries in a couple of hours, and is a good base for all other paints and finishes, we tend to paint both sides of a sheet before we fix it in place, Alabama can be real humid in the summer (and don't forget to paint the cut ends) varnish or a gloss paint does not tend to sink into the surface, and can be difficult to get other things to stick to it without sanding it down, also using a pencil to draw on the undercoat you can erase the pencil with an ordinary eraser, this helps a lot when trying out ideas for it acts like white paper, we spray as its quicker,and dries fast and smooth, but a brush could be easier if you don't like the smell, we usually only need one coat, but get it everywhere.
Many thanks, that's even better than the varnish as I have some of this type of paint left from the work that I just finished in my son bedroom.

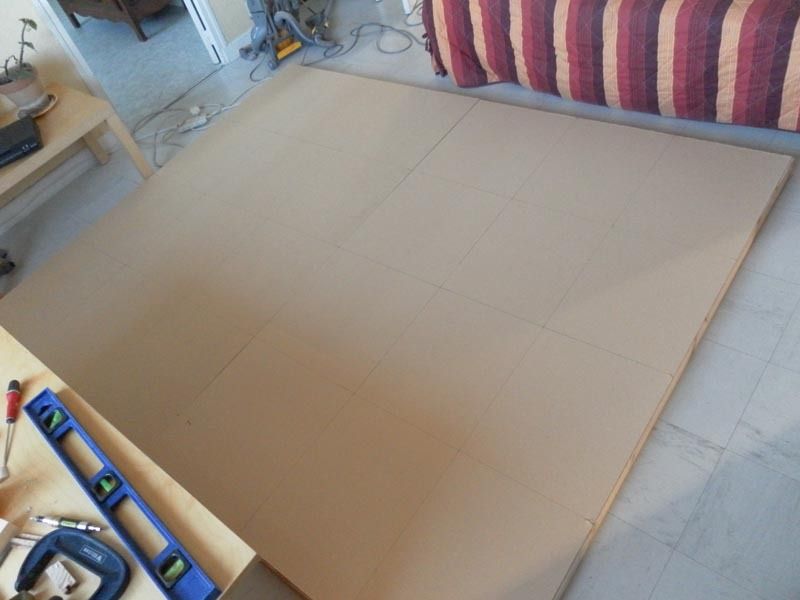
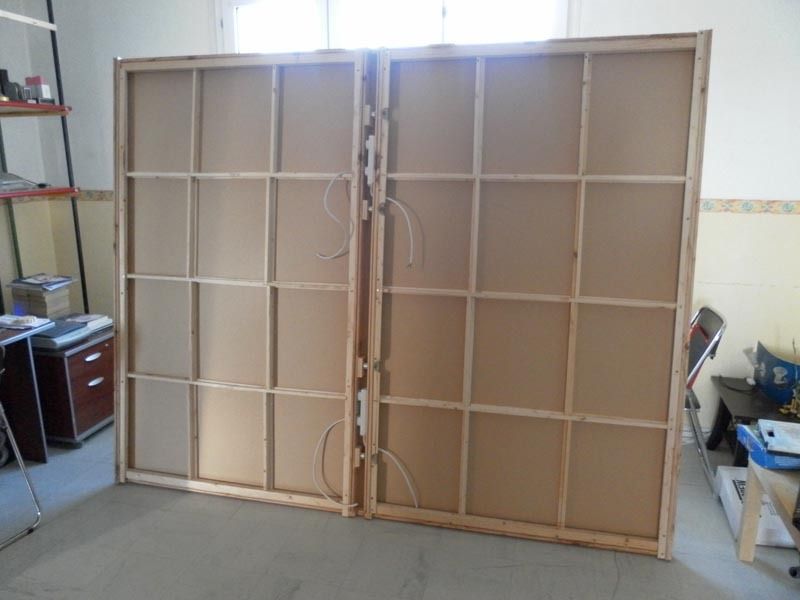
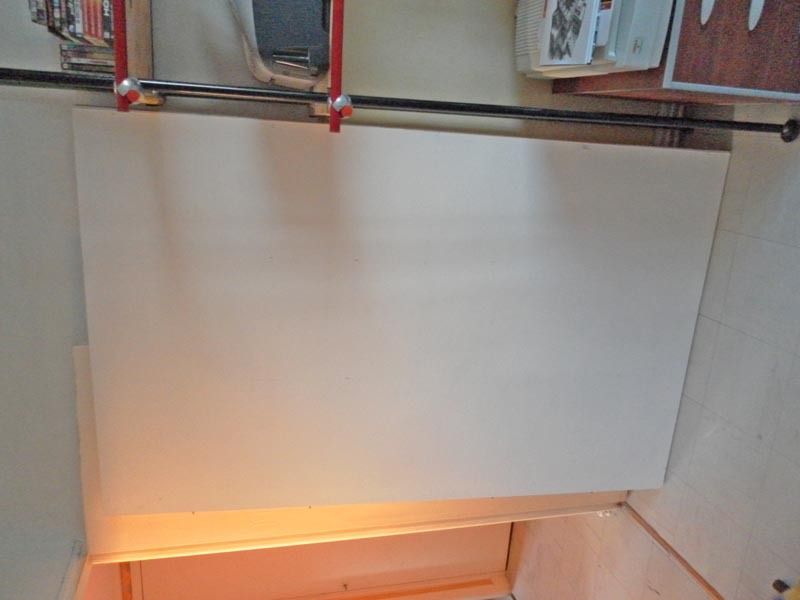
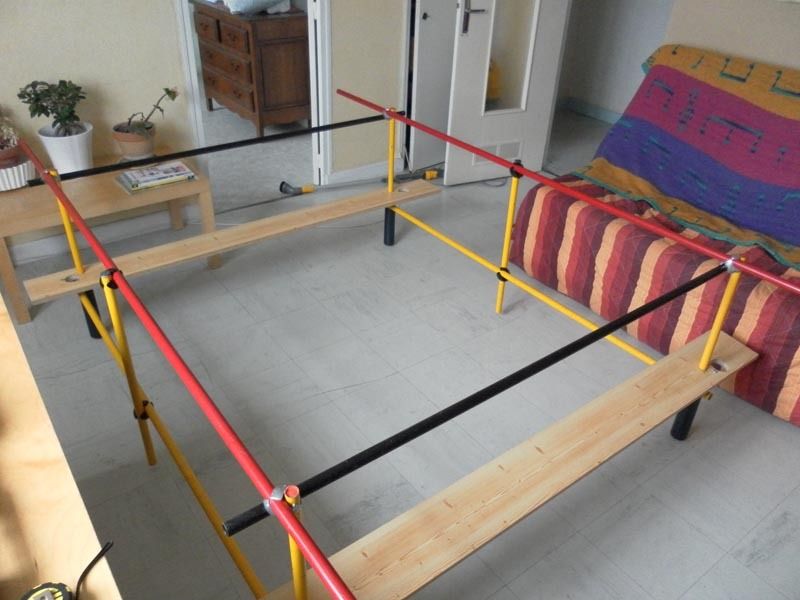
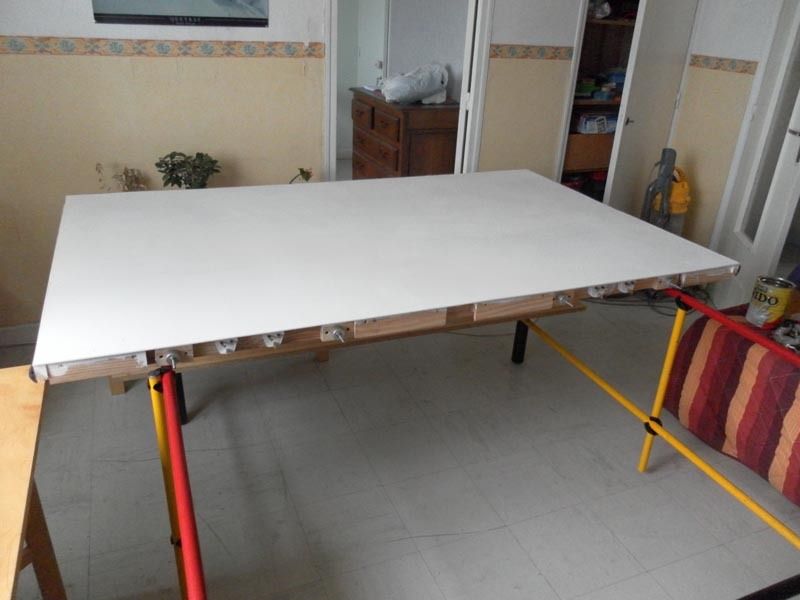
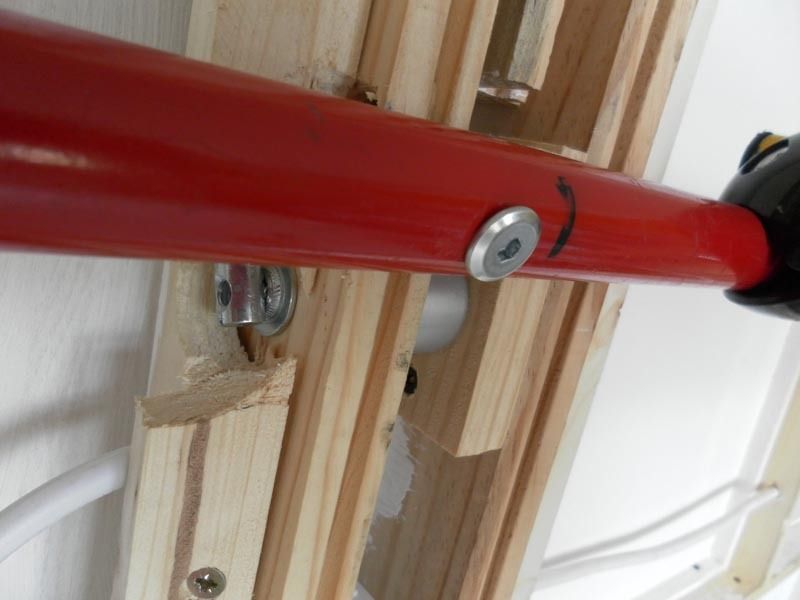
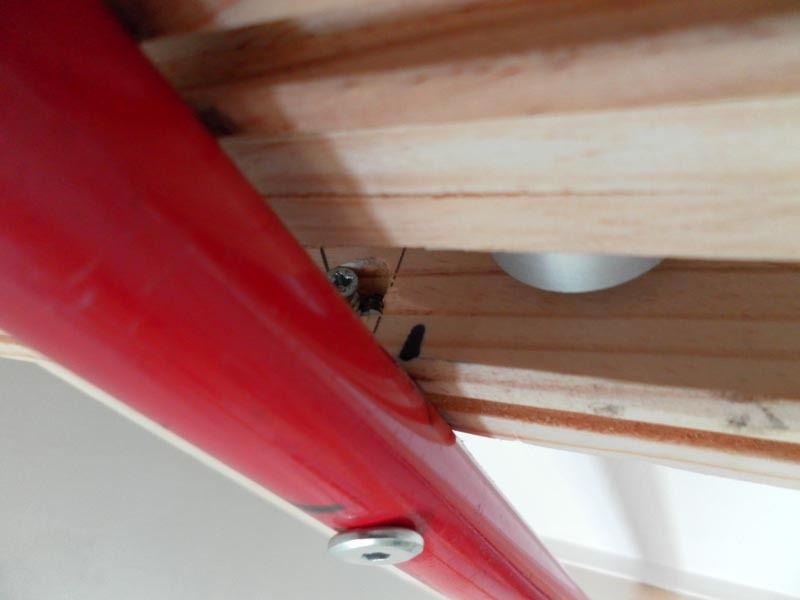
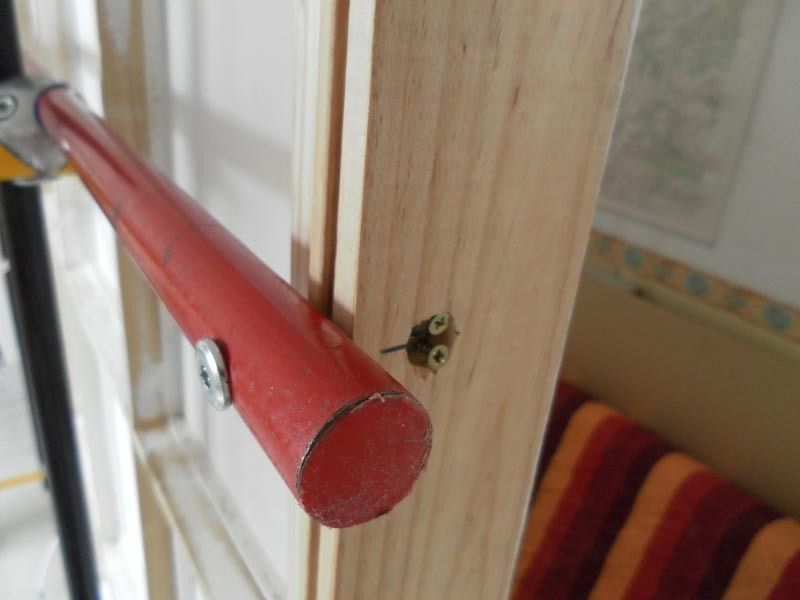
I have just finished the second board, here's the pictures:

Image

Image
2017 : Back to the Hobby
pmlondon
Posts: 145
Joined: Sun Sep 30, 2007 2:04 pm
Location: Troyes

Re: Engineered wood flooring and progression of my board

Post by pmlondon »

First board painted:

Image

The yellow red hallo is provided by the sunset.

Image

In the distance aligning with the apex of the Church roof one can see one of the pylones which is illuminating the SNCF shunting yard.
2017 : Back to the Hobby
User avatar
n2oo
Posts: 330
Joined: Wed Aug 18, 2010 8:35 pm

Re: Engineered wood flooring and progression of my board

Post by n2oo »

I'm sorry, but using mains cables and plugs in that way is asking for trouble. Mains cabling should be used for mains voltage and nothing else.
Use blocks of wood of the appropriate size for spacing, but not this.
If the option exists to plug something in, then the option exists to make your trailing socket live with mains voltage.
The consequences don't bear thinking about.

Lee.
Regards,
Lee.

My Flickr page
http://www.flickr.com/photos/br_blue/
pmlondon
Posts: 145
Joined: Sun Sep 30, 2007 2:04 pm
Location: Troyes

Re: Engineered wood flooring and progression of my board

Post by pmlondon »

n2oo wrote:I'm sorry, but using mains cables and plugs in that way is asking for trouble. Mains cabling should be used for mains voltage and nothing else.
Use blocks of wood of the appropriate size for spacing, but not this.
If the option exists to plug something in, then the option exists to make your trailing socket live with mains voltage.
The consequences don't bear thinking about.

Lee.
I had a thought about this but I dont even have in my possession an extension lead long enough to plug the board directly onto the main and I would need as well an adaptor as the continental sockets are so different.

Anyway because of the fuse in the male plugs I intend to leave it and connect some wires only on the earth and the unfused connexion which wont establish a conventional wiring and doesn't allow a return path for the electricity.
2017 : Back to the Hobby
johnco
Posts: 528
Joined: Sun Aug 28, 2011 9:30 pm

Re: Engineered wood flooring and progression of my board

Post by johnco »

I agree with n2oo, using 240v plugs and sockets is far too dangerous, if not for you then for someone else who does not know what you have done. You cannot be sure that you will be in attendance at all times.
I know because i breifly flirted with using mains sockets and plugs on the 12v supply, and hastily changed it all after inadvertently plugging the wrong sockets, the results were shocking.
The idea seems good but is inherently dangerous.
I'm not a great fan of silly H&S regulations but beleive in good common sense which in this case is "Don't use 240v equipment for 12v purposes and definately not 12v for 240v supplies.
pmlondon
Posts: 145
Joined: Sun Sep 30, 2007 2:04 pm
Location: Troyes

Re: Engineered wood flooring and progression of my board

Post by pmlondon »

At the origin I choose to use the plugs only for aligning the 2 boards as an alternative to dowels and while I was dismantling the wires the idea to establish the electrical connexion occured.

Now the wiring wouldn't be conventional if I continue along those lines as I'm not sure that the fuses wouldn't interfere with the DCC signal, Only the blue and yellow/green wires would be used and the brown disabled.

Anyway the beauty of a forum is about sharing concerns and tips and I will definitely set up a smaller specific electrical connexion between the 2 boards and eventually use the 240 volts cables to tidy up the cables around the boards.
2017 : Back to the Hobby
brit-in-bama
Posts: 214
Joined: Sun Dec 26, 2010 8:46 am
Location: Alabama U.S.A

Re: Engineered wood flooring and progression of my board

Post by brit-in-bama »

I would agree with n2oo and johnco, "IF" pmlondon was in the UK, but as you can see he is in "g*y-Paris" and as the sockets are different and cannot be interchanged, it would be just like me in the USA using them (god awful huge mega-plugs) over here, they cannot be plugged into any socket here, so why not, use them, I see lots of people use car stuff on model railways, and some of the stuff in cars is rated at 30 amps, and I dont see anyone complaining about that, let the guy be, its a unique and sturdy physical and electrical joint, still admire your ingenuity!
Shaun Wilson
Posts: 397
Joined: Tue Jan 10, 2012 5:57 pm
Location: Banff , Aberdeenshire

Re: Engineered wood flooring and progression of my board

Post by Shaun Wilson »

If its just 12v you will be using then look up VIBE FAST PLUG, picture below

Image
pmlondon
Posts: 145
Joined: Sun Sep 30, 2007 2:04 pm
Location: Troyes

Re: Engineered wood flooring and progression of my board

Post by pmlondon »

Thanks for the info about the Vibe plug, this looks like the plugs used in computers and I have some availables from a non repairable one.

I have a new set of pictures, the tube structure is now mounted :

Image

Image

and I have found a solution to hold the 2 boards precisely :

Image

Image

Image

Image

Well this is it for the board, the progression will continue on the main topic :

http://www.newrailwaymodellers.co.uk/Fo ... 0&start=45
2017 : Back to the Hobby
Pevensey Flyer
Posts: 188
Joined: Sun Dec 28, 2008 10:13 am

Re: Engineered wood flooring and progression of my board

Post by Pevensey Flyer »

Geez.....

That's different. I can't say that's the way I would go about things but it would be interesting to see how this pans out? Afterall, this is 'New Railway Modellers' website and we are all open to new ideas and helping each other.

It's such a wide/large baseboard. Can you reach into the centre? Where are you planning to place this layout? Spare room or garage etc? How heavy is it so far?

regards

PF
Visit my BOSHIP ABBEY layout
http://www.newrailwaymodellers.co.uk/Fo ... hp?t=28664
and my new BONNIE TOWN BY SEA 'T Gauge layout 'http://www.newrailwaymodellers.co.uk/Fo ... 22&t=35117
pmlondon
Posts: 145
Joined: Sun Sep 30, 2007 2:04 pm
Location: Troyes

Re: Engineered wood flooring and progression of my board

Post by pmlondon »

Well the layout is being built in the main room of my flat and this is where Its going to be used.

The dimensions give the possibility to lift it up straight and then standing next to the wall where the plants are at the moment.

There is enough space in the room to turn around the board and I manage easilly to reach the center except maybe if I'm trying from one of the corners.

Regarding the weight I'm still surprised to lift it up easilly as it is (tube structure and 2 boards). Obviously when populated the separation of the 2 boards will have to be done with someone to help and the tube structure can be dismantled in minutes.
2017 : Back to the Hobby
Post Reply