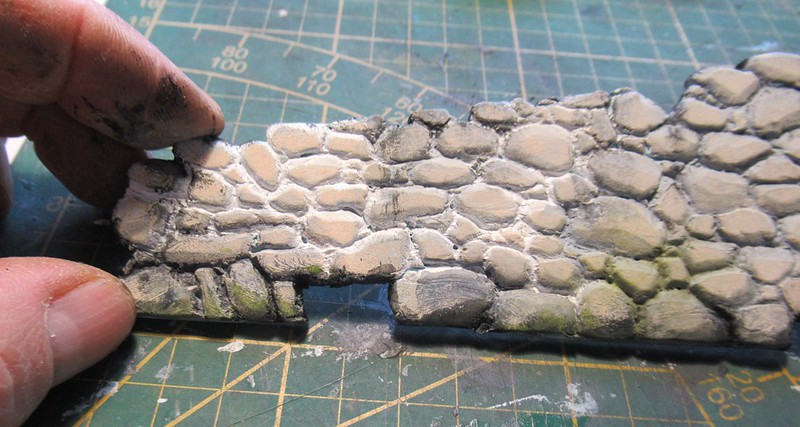
P1190187 (2) by Daniel Osvaldo Caso, on Flickr
 P1190188 (2) by Daniel Osvaldo Caso, on Flickr
(https://www.newrailwaymodellers.co.uk/F ... =5&t=55917)
It is inspired in an old postcard from an old French village and if I manage to recall where one of both is (the postcard or at least the village) I'll let you know.
No running trains but there will be at least a truck or two carrying a portable railway across the scene.
That is all I know. The rest I will learn underway assiting my hands at doing whatever they do.
Because this will be my first thread in this forum not related to work already done, it will be, in comparison with my other threads, a slow motion one wich you may enjoy more than my usual flooding the screen.
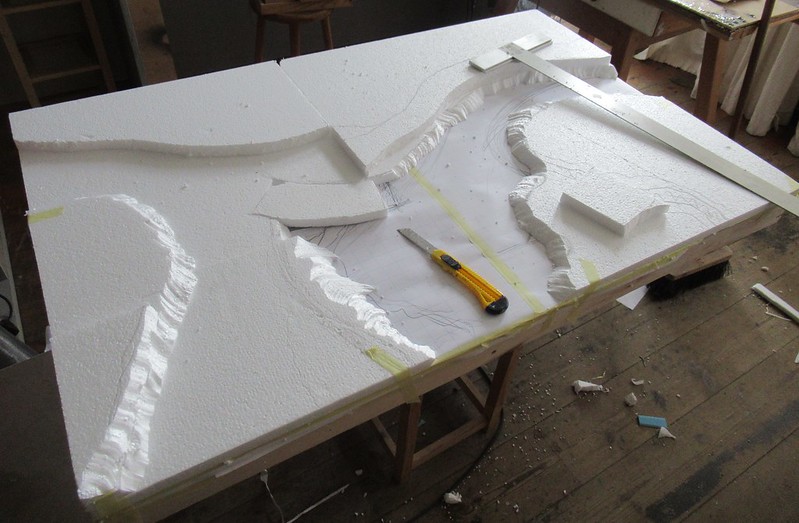
I would have prefered to use the blue styrofoam as I used in other layouts, but I didn't want to expose myself traveling as sardines in the full ferry during covid second round peak so I am using the old expanded polystyrene.
This time I started by laying a piece of paper on the baseboard and doing a fe rough lines following what I can remember of the lost photo situation.
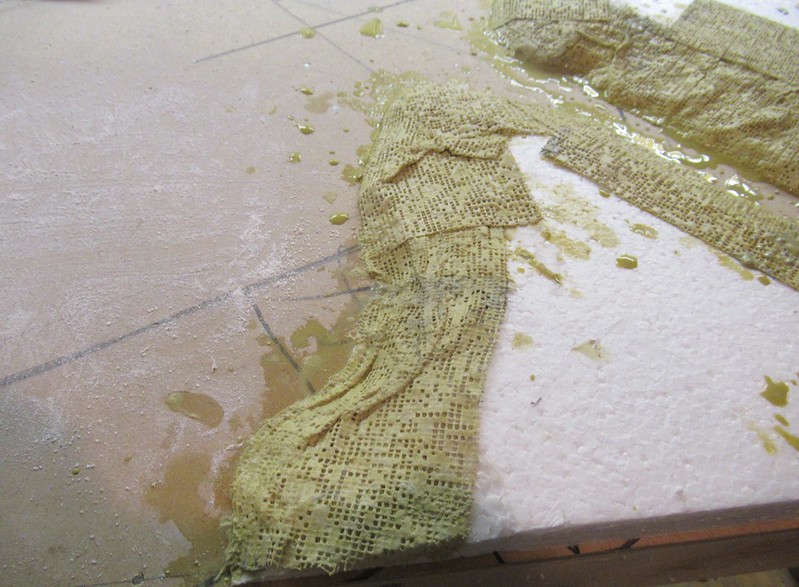
Then I started cutting a 2cm thick plate of the foam as to 'separate'the baseboard top that will be the water surface and the terrain around
 IMG_0006 (2) by Daniel Osvaldo Caso, on Flickr
I also use a common cheap hobby knife and also these two tools because I have them but one could do it with just the knife and the finger tips as well with no problems:
https://www.proxxon.com/en/micromot/27080.php
https://www.proxxon.com/en/micromot/27082.php
 IMG_0007 (2) by Daniel Osvaldo Caso, on Flickr
 IMG_0008 (2) by Daniel Osvaldo Caso, on Flickr
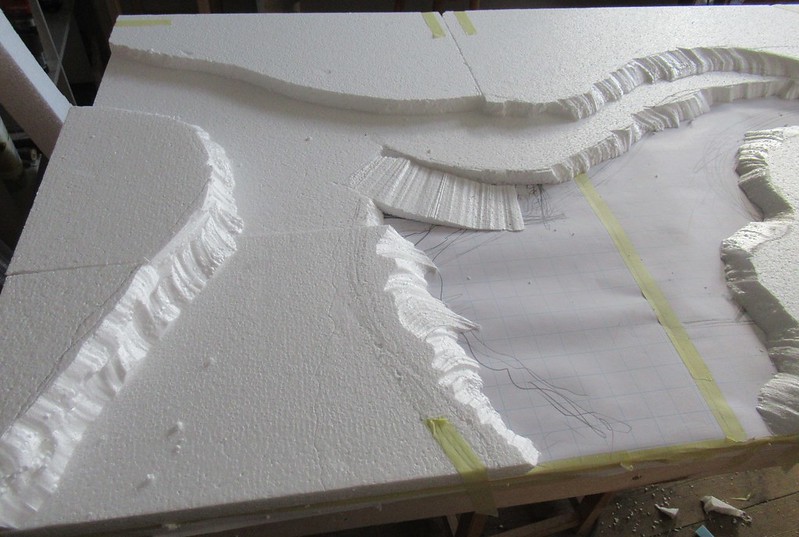 IMG_0009 (2) by Daniel Osvaldo Caso, on Flickr
At first I only hold the different layers and pieces of foam with bits of tape so no glue yet until I like what I have done enough to stamp it's passport
 IMG_0010 (2) by Daniel Osvaldo Caso, on Flickr
 IMG_0011 (2) by Daniel Osvaldo Caso, on Flickr
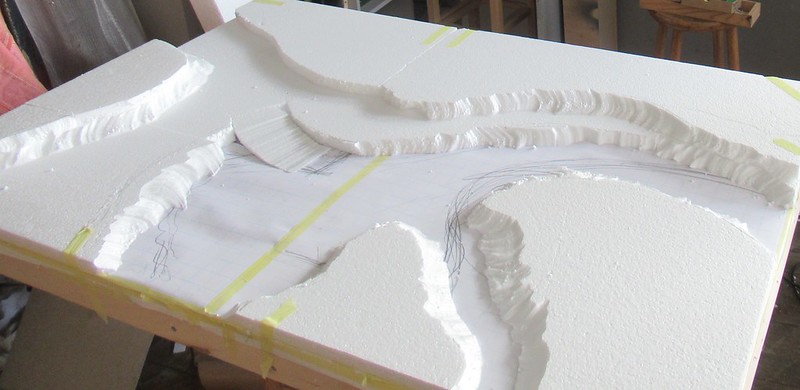 IMG_0012 (2) by Daniel Osvaldo Caso, on Flickr
 IMG_0013 (2) by Daniel Osvaldo Caso, on Flickr
 IMG_0014 (2) by Daniel Osvaldo Caso, on Flickr
 IMG_0015 (2) by Daniel Osvaldo Caso, on Flickr
 IMG_0016 (2) by Daniel Osvaldo Caso, on Flickr
 IMG_0017 (2) by Daniel Osvaldo Caso, on Flickr
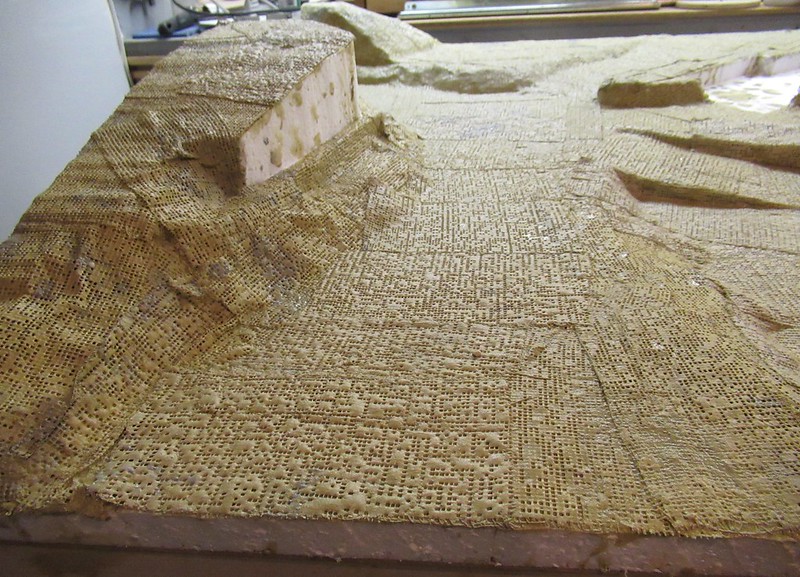
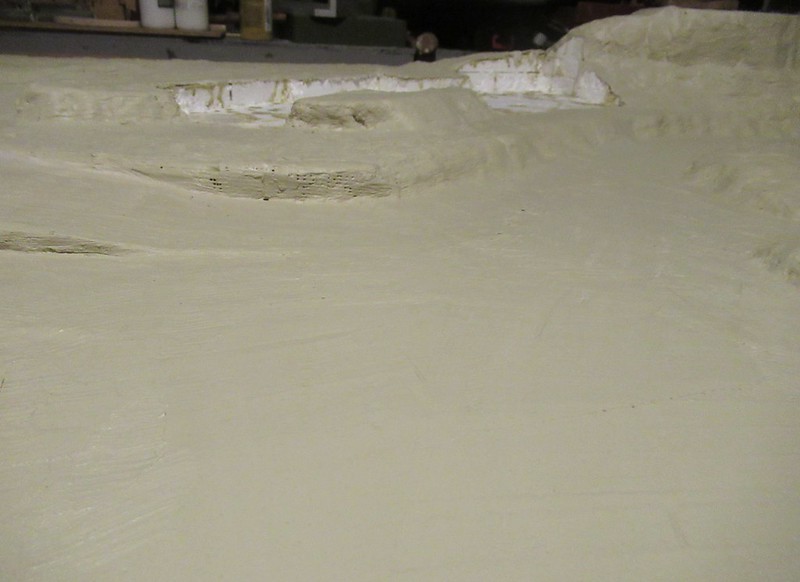
It may seem I have 'modelled' the foam to sugest certain ground or rock surfaces but is not so yet. The 'serrated' surfaces and edges are simply product of my ijnpatience and not allowing the hot wire to take it's time. But I don't care because all those surfaces are going to get a plaster layer or may be even plaster bandage. The only important thing at this stage is to determine the areas and their volumes without entering in details.
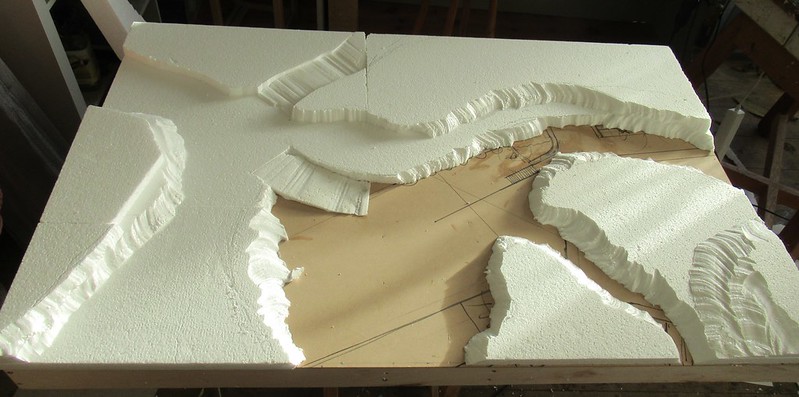
At this point I decided to give what had been done a go so everything was taken from the baseboard, the original paper layer removed and all p[ieces laid again in their places, this time with glue.
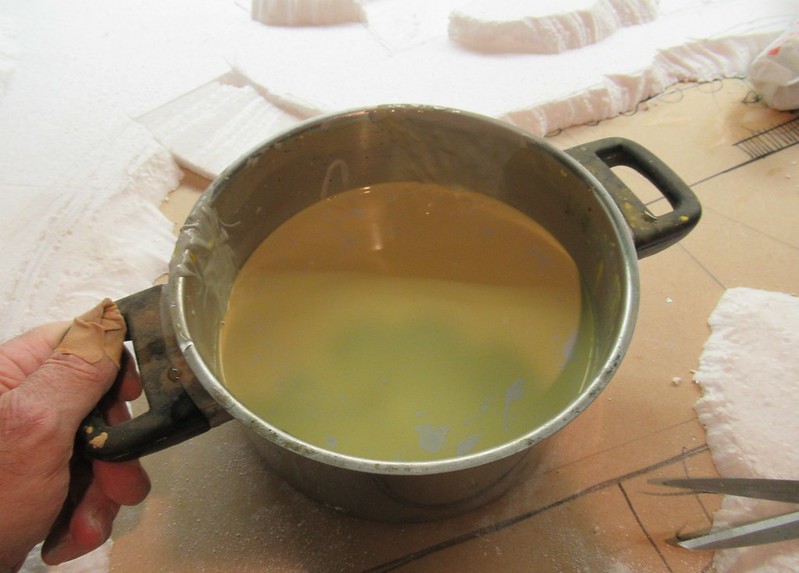
I had no more silicone kit at home so I used super-fast PVA and when it run of it I continued using the super-strong version.
(A modeler is not someone that 'needs this or that' but one who model with whatever he has.
 IMG_0001 (2) by Daniel Osvaldo Caso, on Flickr
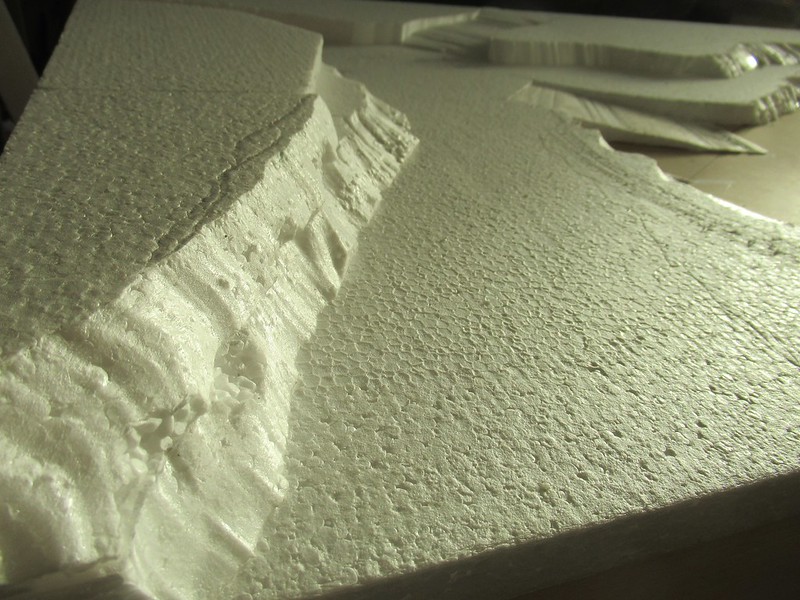 IMG_0002 (2) by Daniel Osvaldo Caso, on Flickr
 IMG_0003 (2) by Daniel Osvaldo Caso, on Flickr
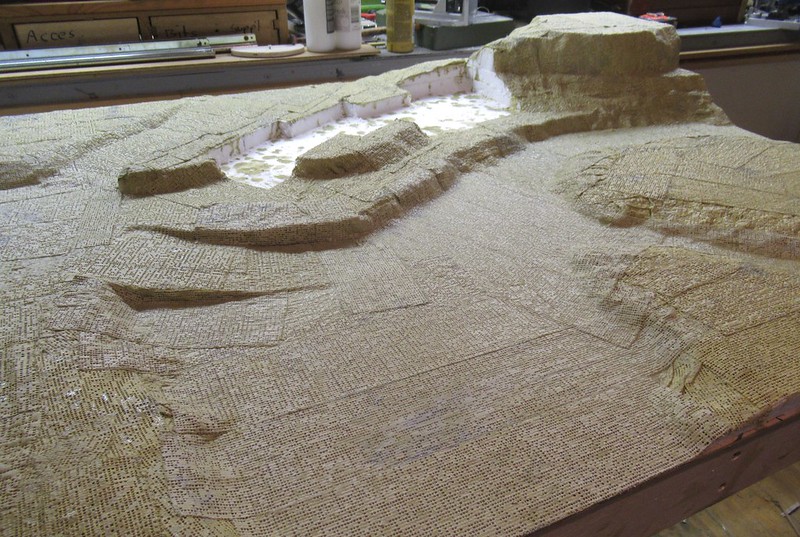
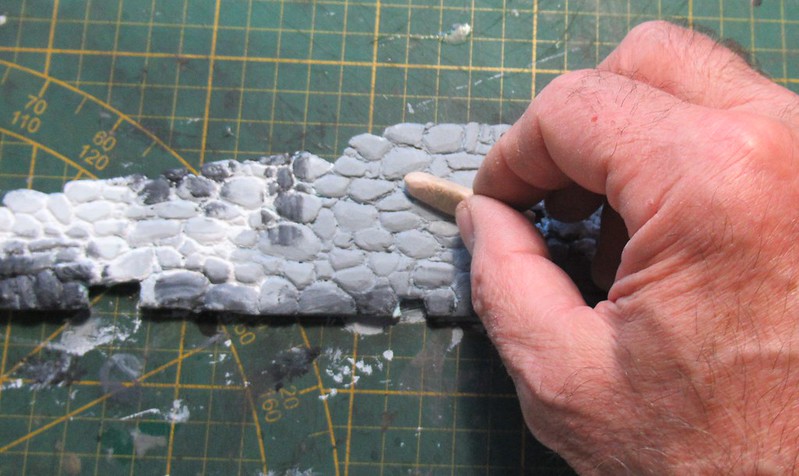
As you can see, I sanded a bit the serrated surface of the ramp and the upgoing street but that will be modelled later with plaster. Now I focus on the general structure and volumes.
 IMG_0004 (2) by Daniel Osvaldo Caso, on Flickr
 IMG_0005 (2) by Daniel Osvaldo Caso, on Flickr
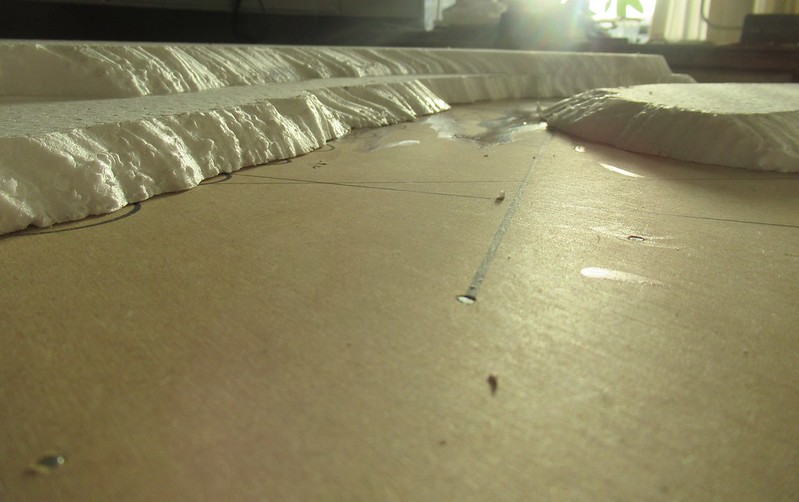 IMG_0006 (2) by Daniel Osvaldo Caso, on Flickr
 IMG_0007 (2) by Daniel Osvaldo Caso, on Flickr
 IMG_0008 (2) by Daniel Osvaldo Caso, on Flickr
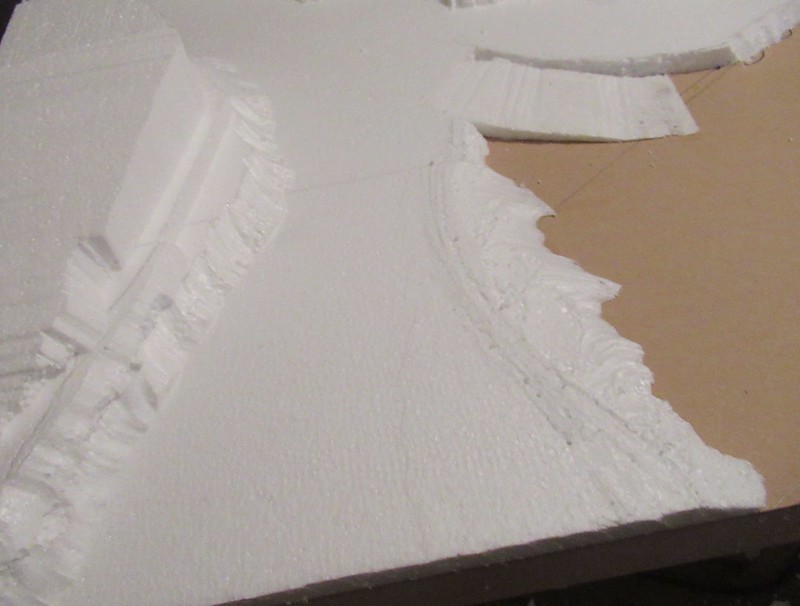 IMG_0001 (2) by Daniel Osvaldo Caso, on Flickr
 IMG_0002 (2) by Daniel Osvaldo Caso, on Flickr
 IMG_0003 (2) by Daniel Osvaldo Caso, on Flickr
 IMG_0004 (2) by Daniel Osvaldo Caso, on Flickr
 IMG_0005 (2) by Daniel Osvaldo Caso, on Flickr
 IMG_0007 (2) by Daniel Osvaldo Caso, on Flickr
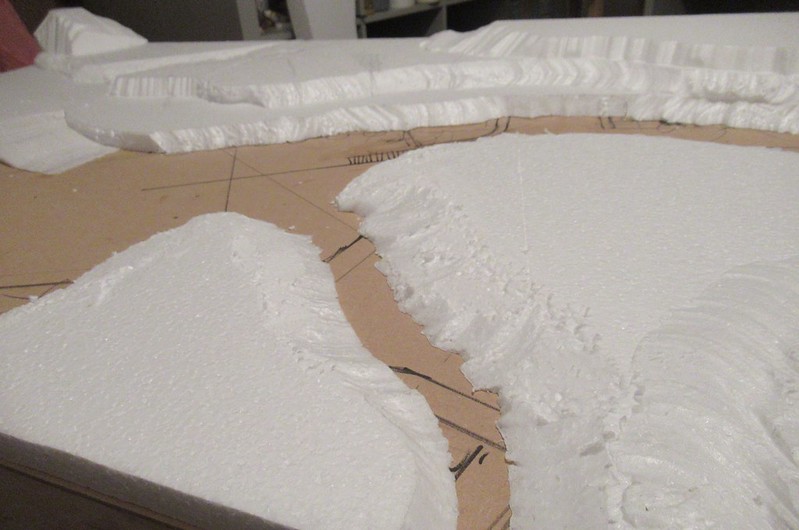 IMG_0014 (2) by Daniel Osvaldo Caso, on Flickr
More tomorrow or next day.
Daniel