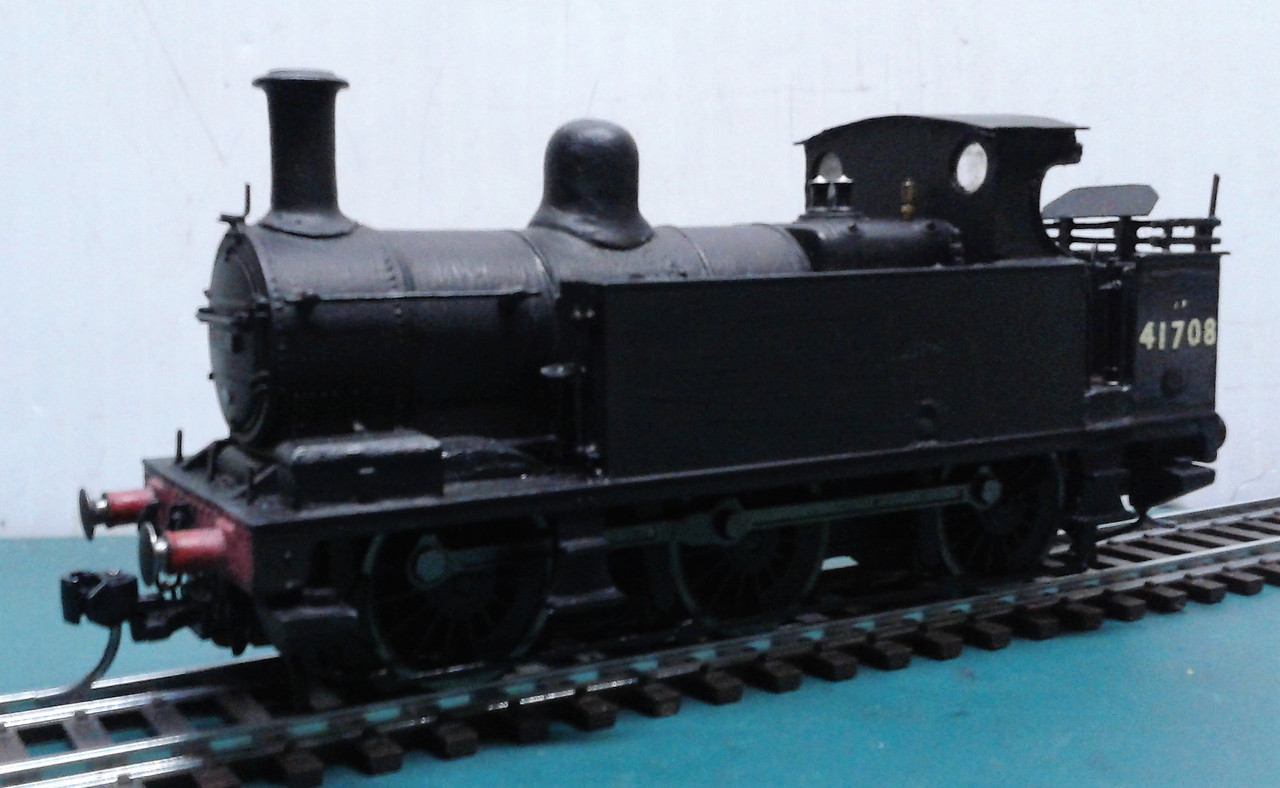
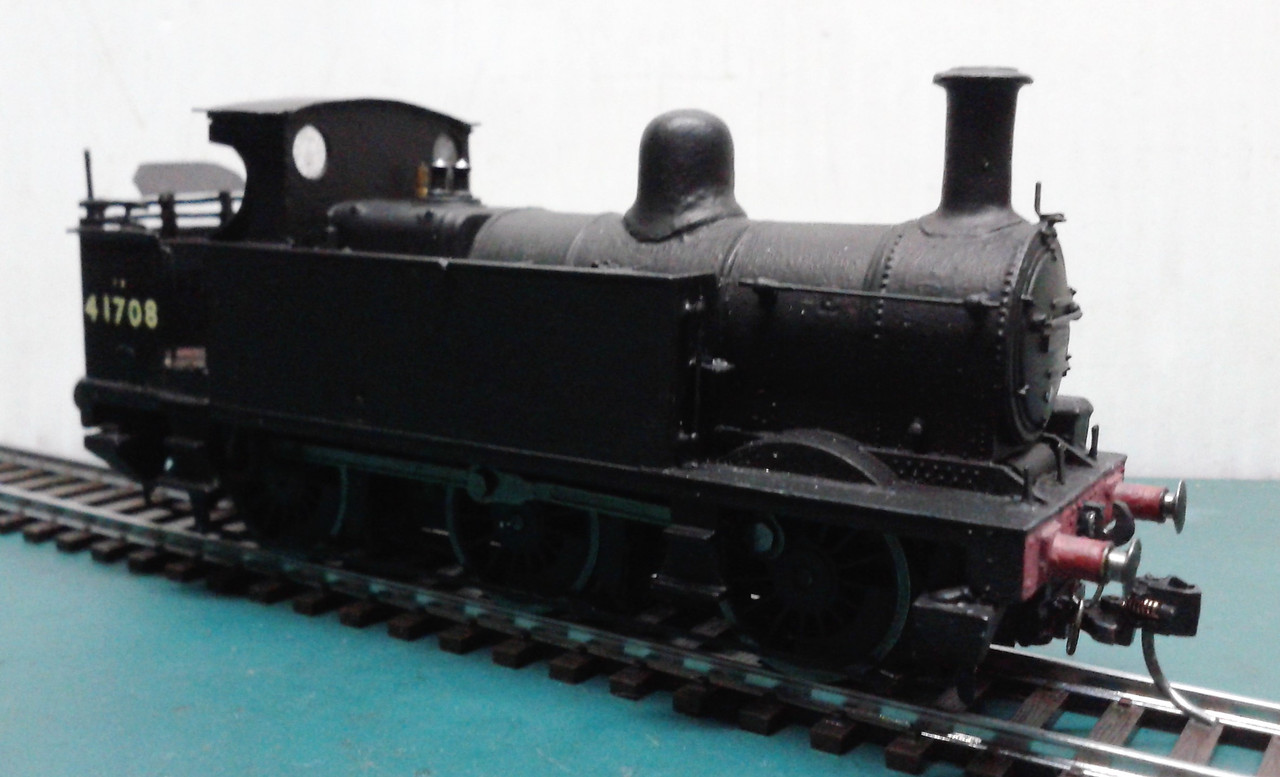
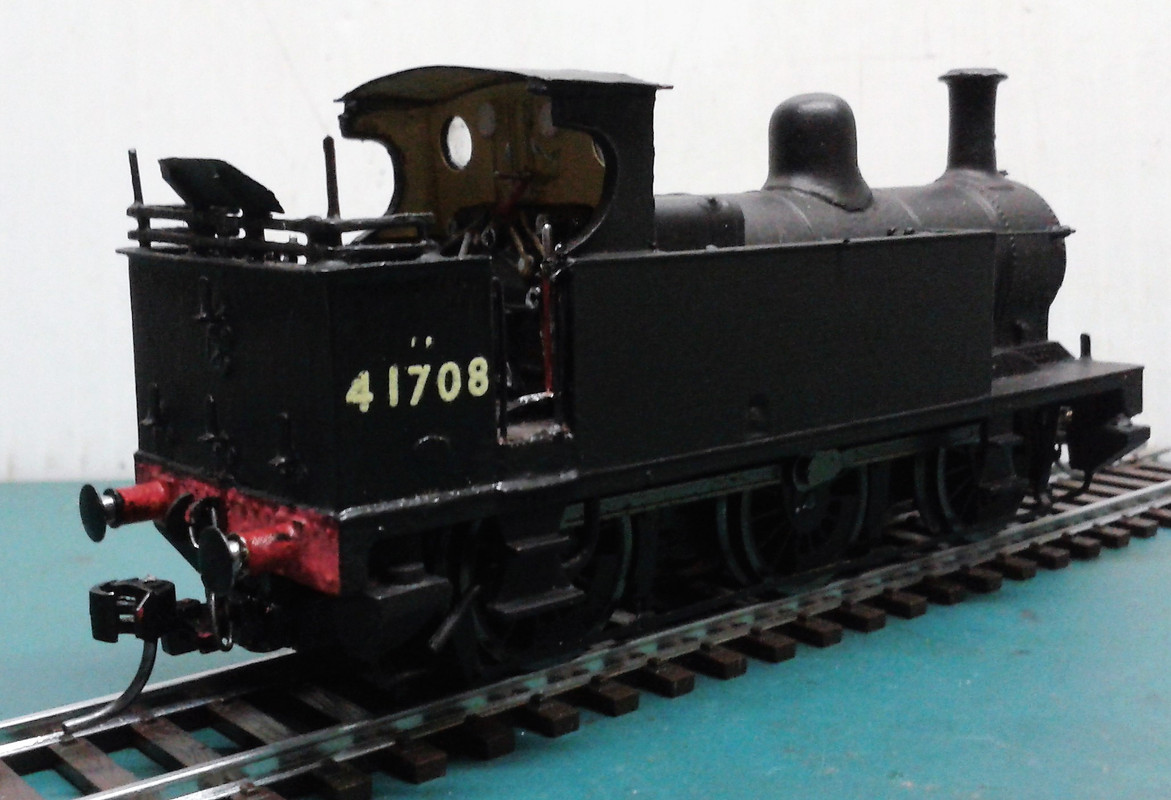
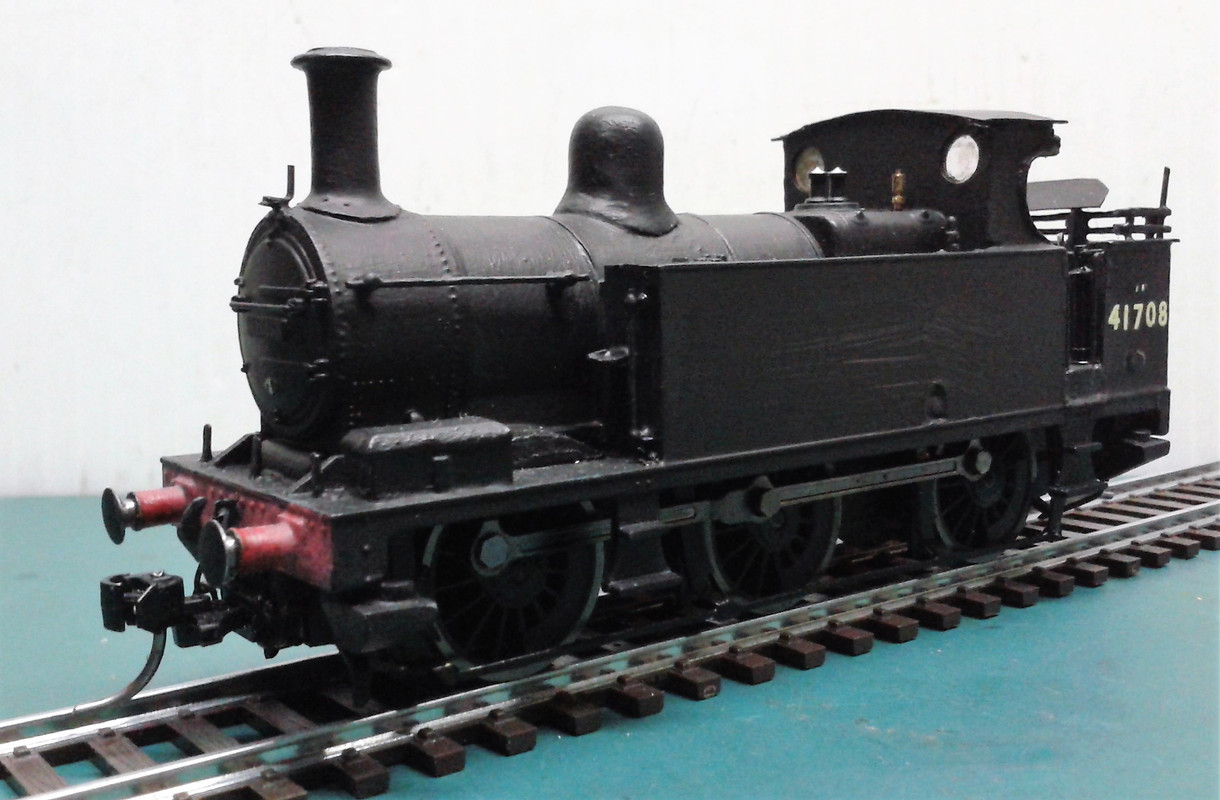
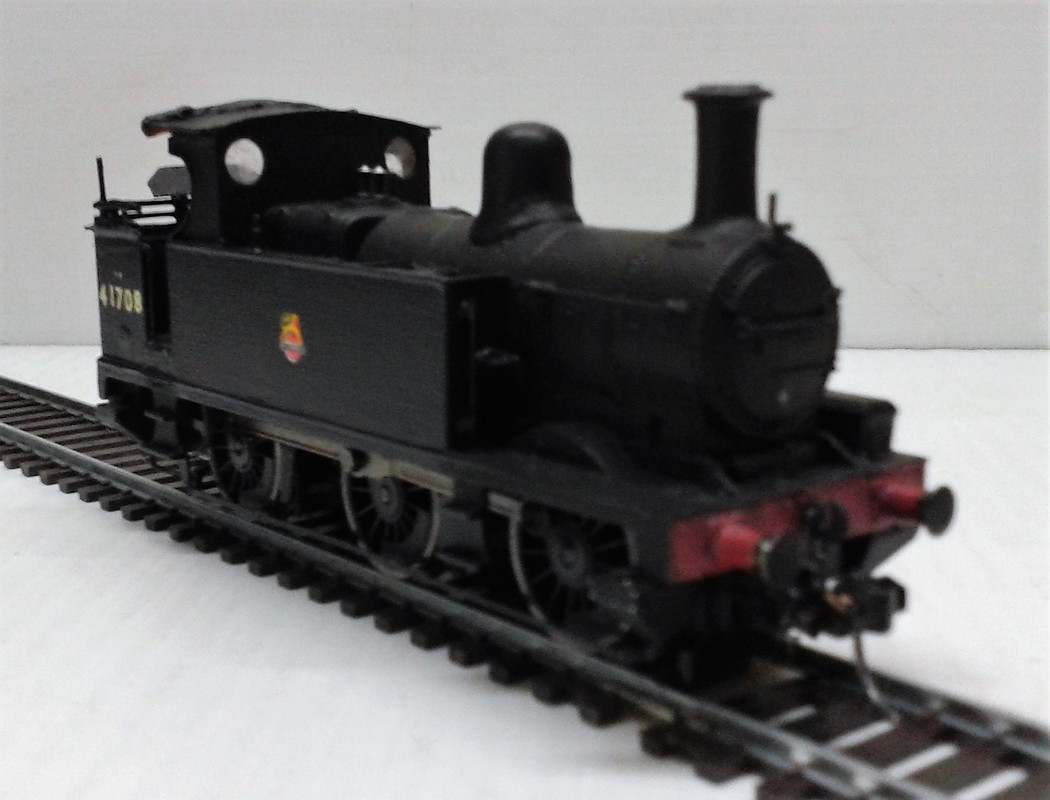
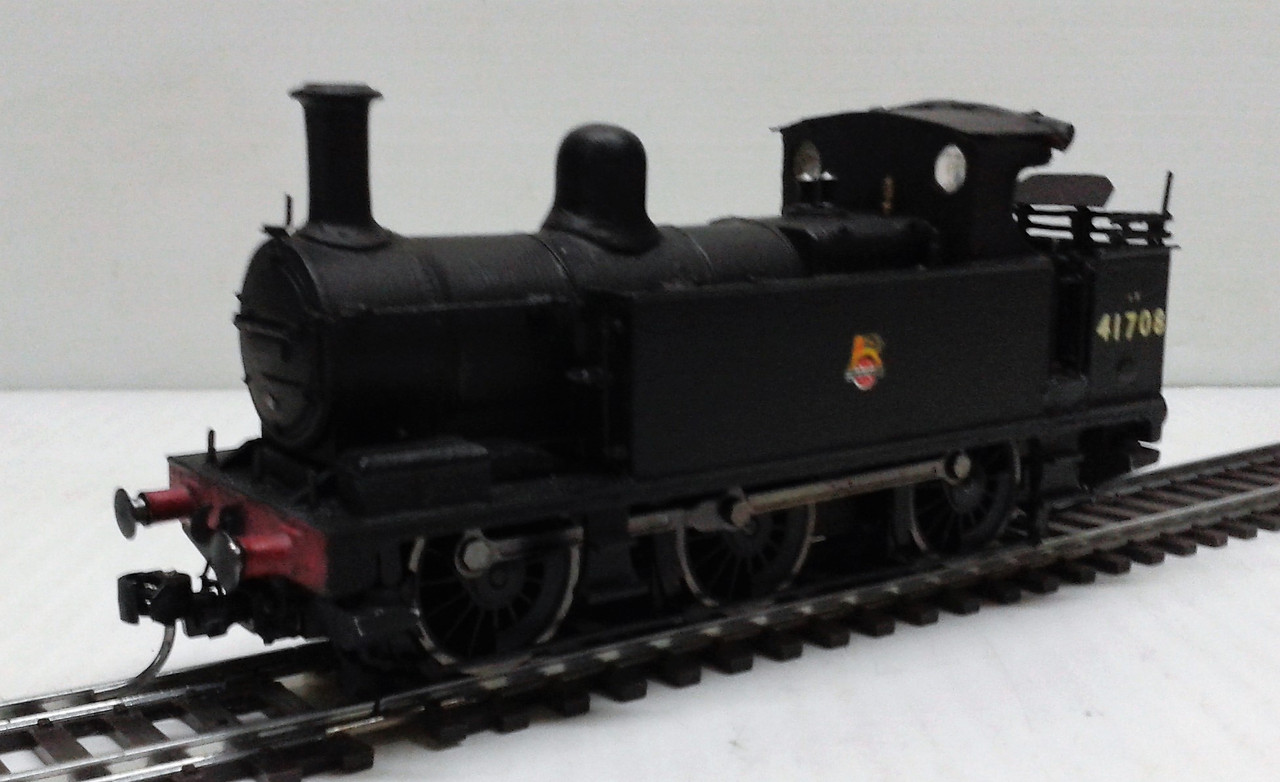
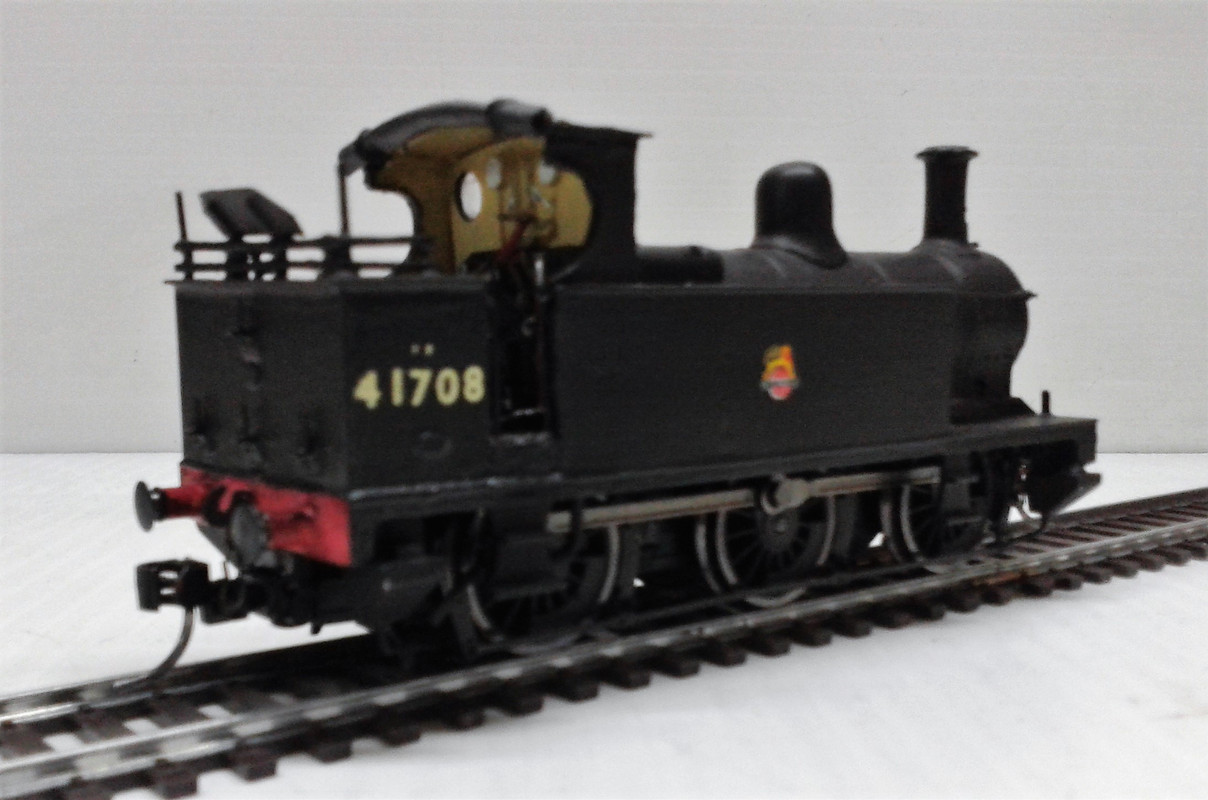
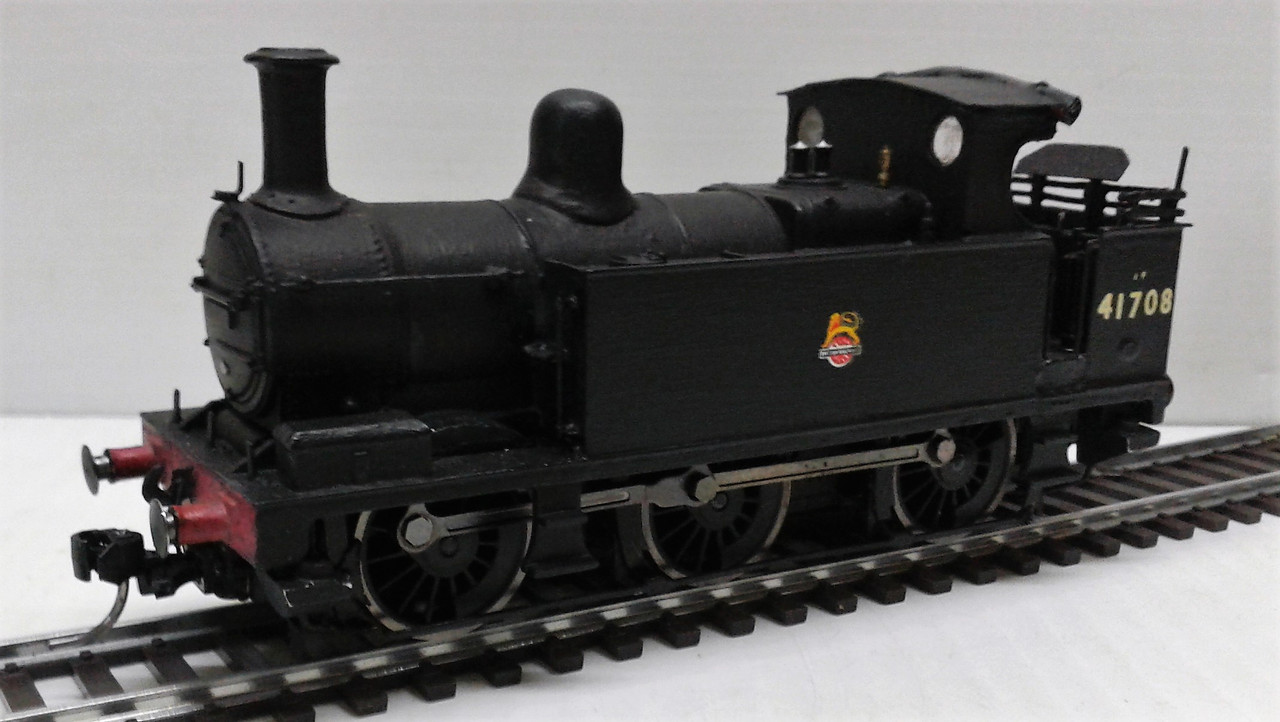
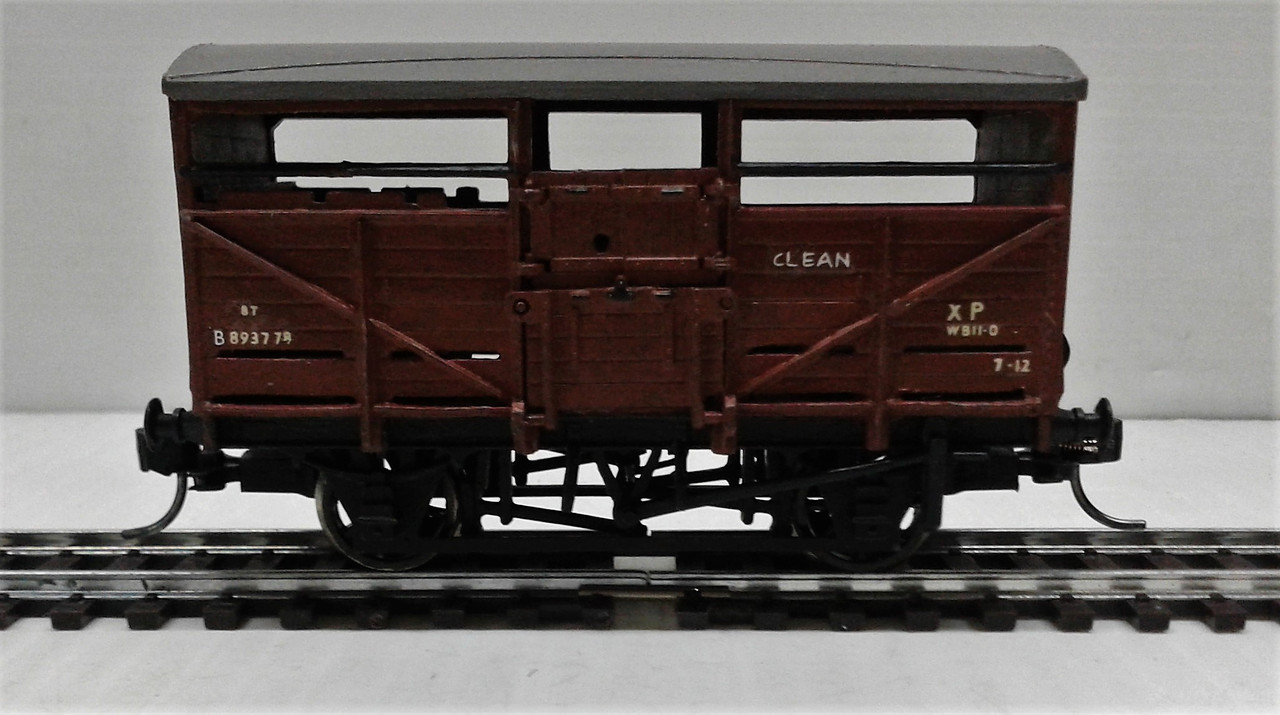
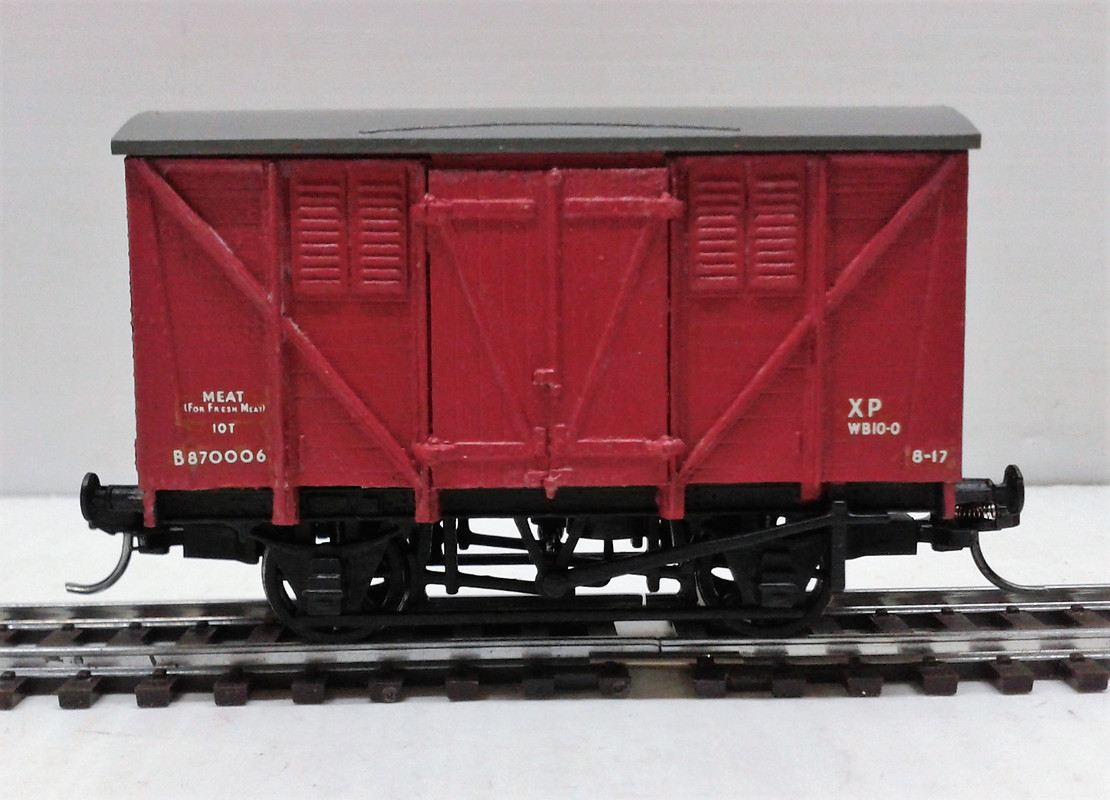
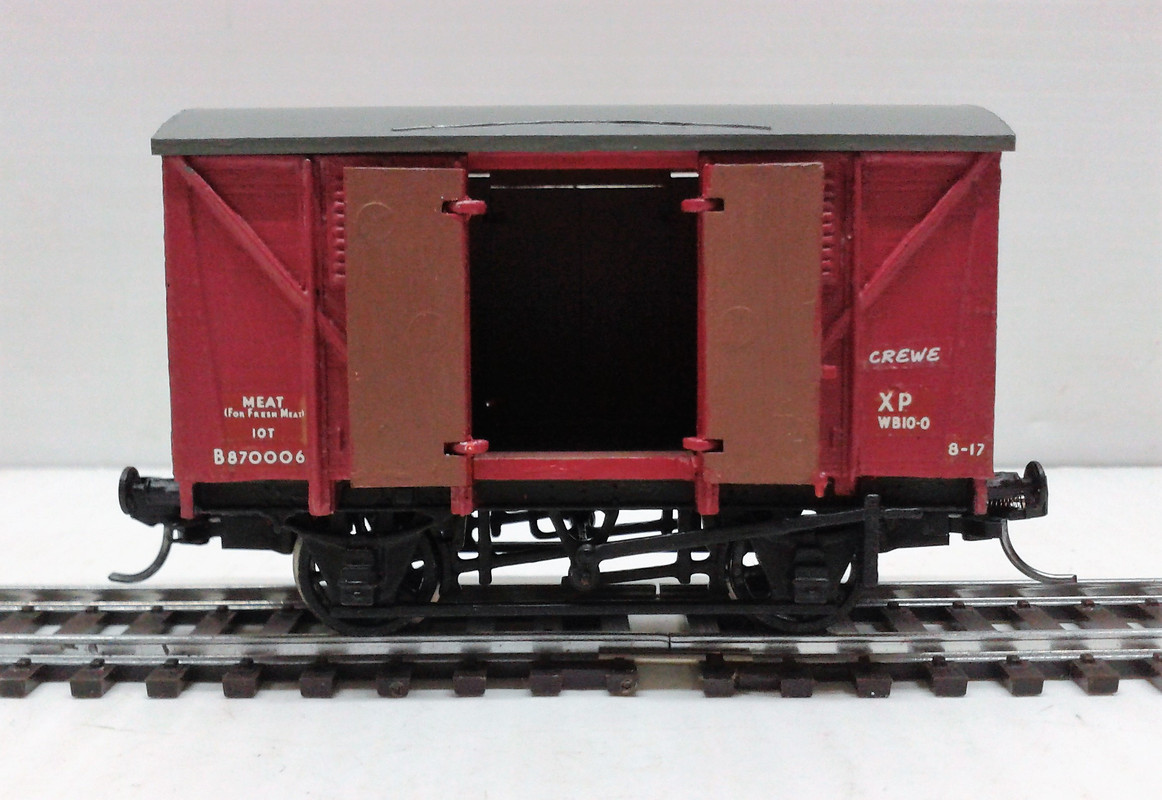
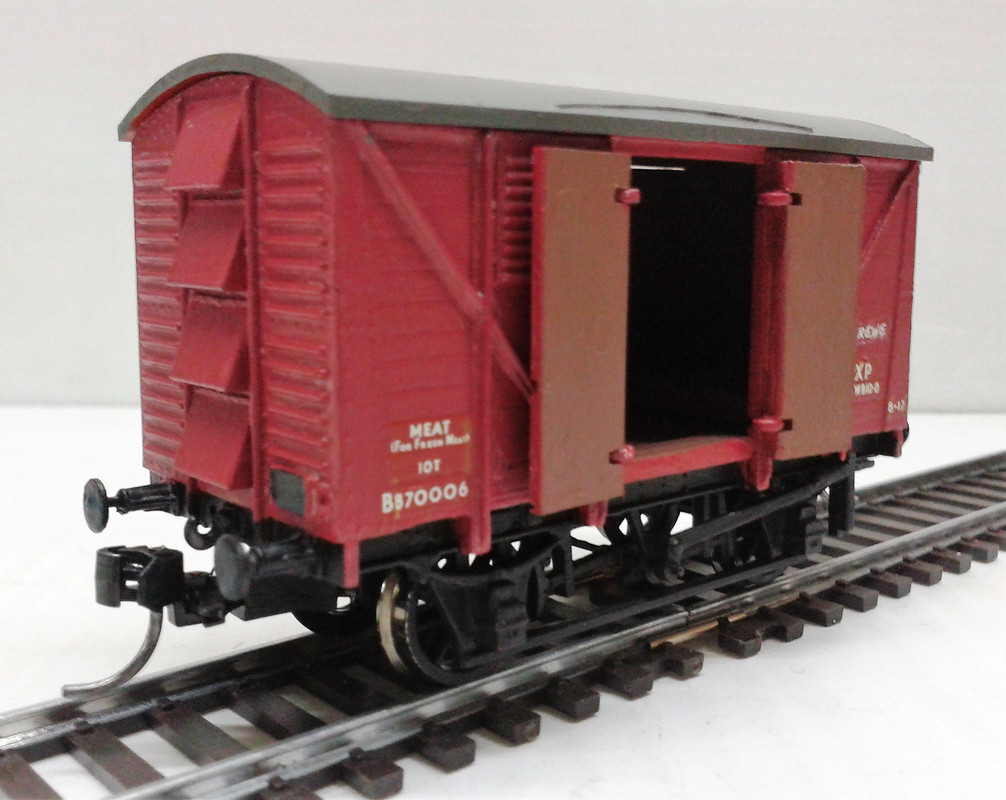
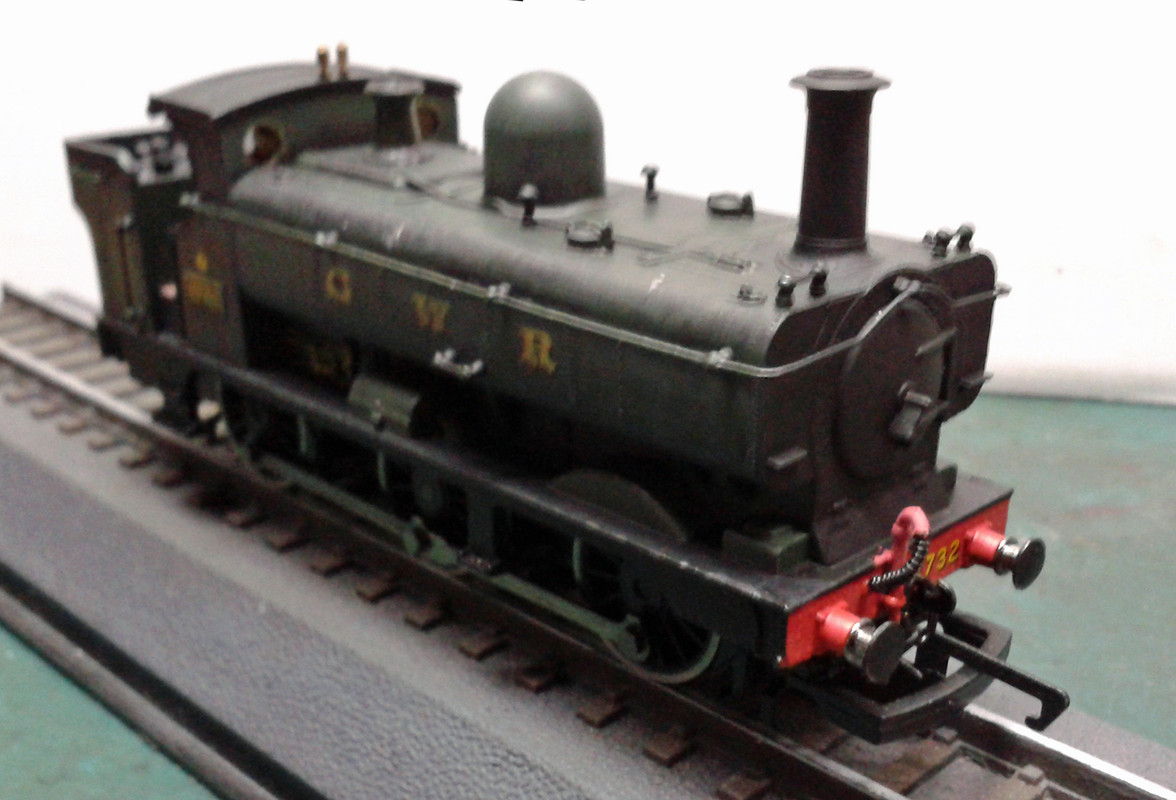
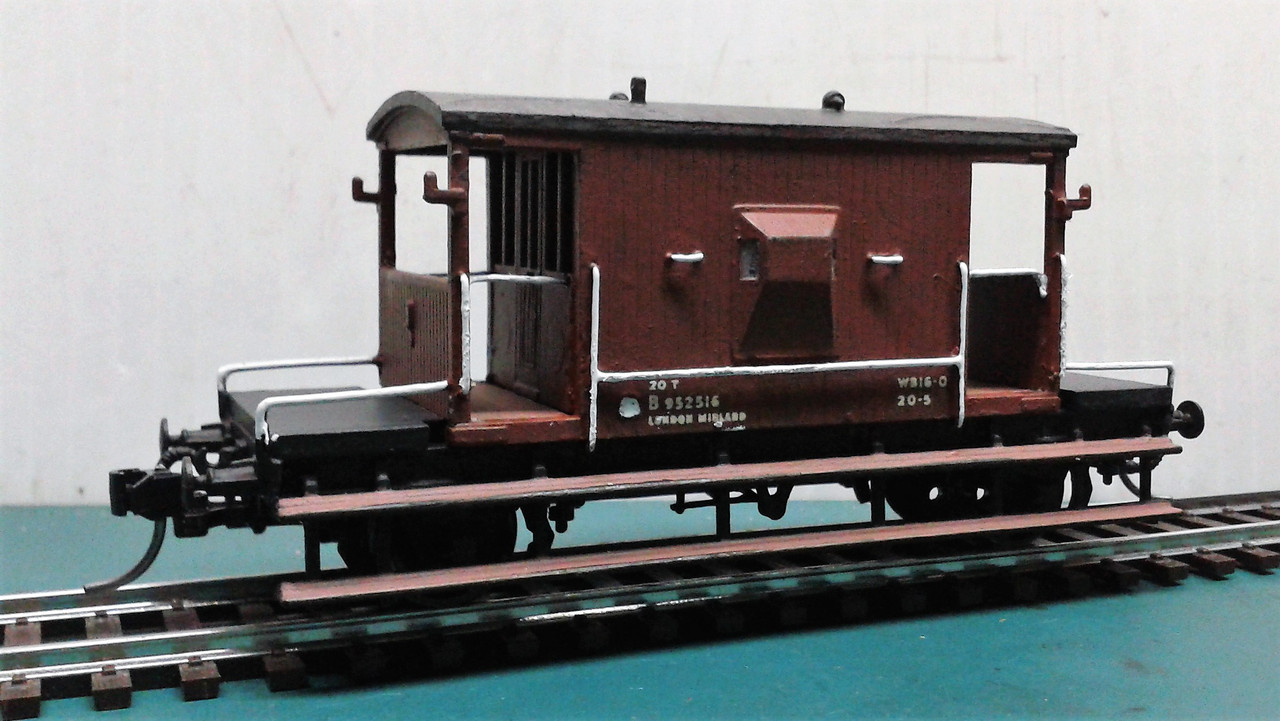
Thanks Sarah - your reply re-inforces the vital Rule Number 1 - always have a decent photo of the loco you are intending to model.sarah wrote:The instructions are OK....but the 1F does have an error, as the drawing shews the toolbox alongside the front splasher (Port or Left Side). All the photos I have so far seen shew the toolbox to be just behing the Lamp Iron, and just impinging on the front of the splasher (So I had to move mine!)Ex-Pat wrote:Very nice job on the 1F - and the photos take me back to childhood in Derby, so much so that I would put money on the loco to the right of 41710 being 45509.
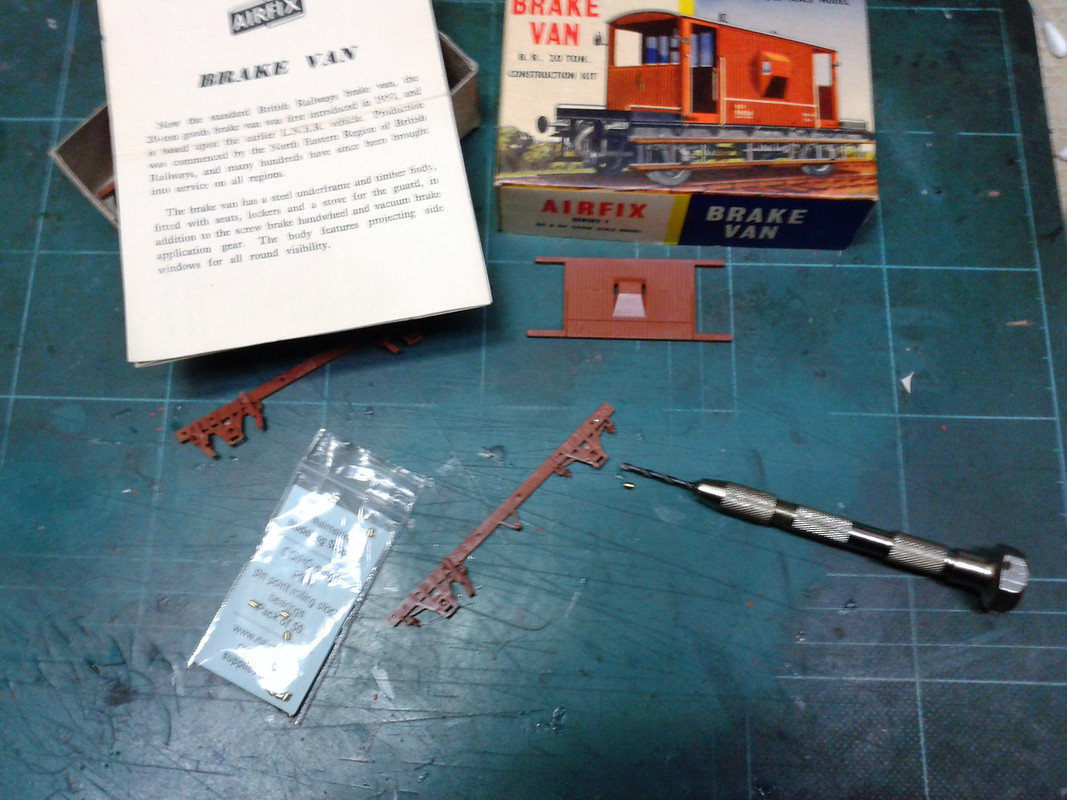
How did you find the Crownline kit instruction-wise and quality-wise?
Dare I start my Crownline J36 kit, or just wait for Hornby's announcement?
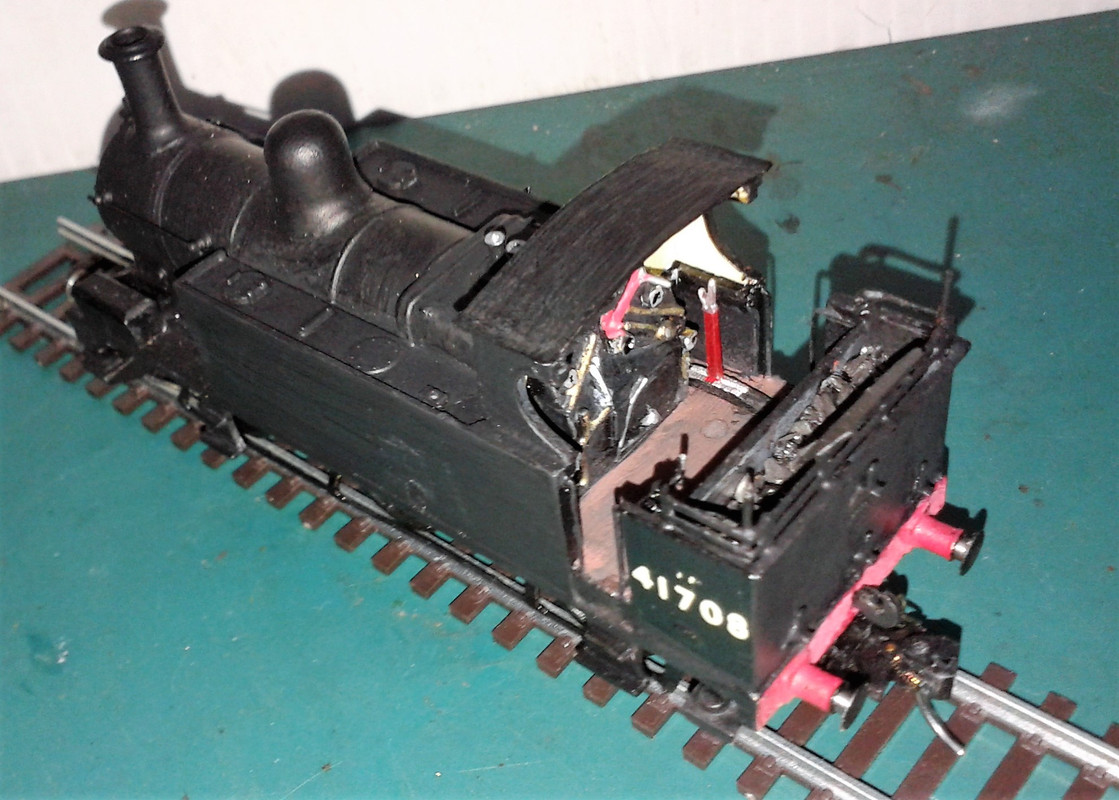
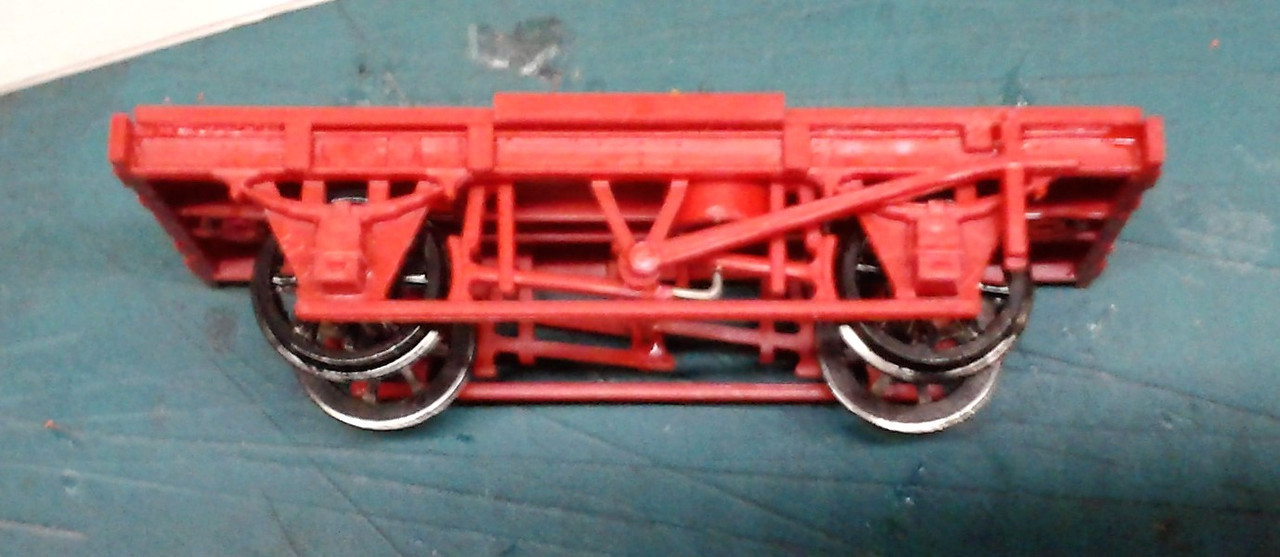
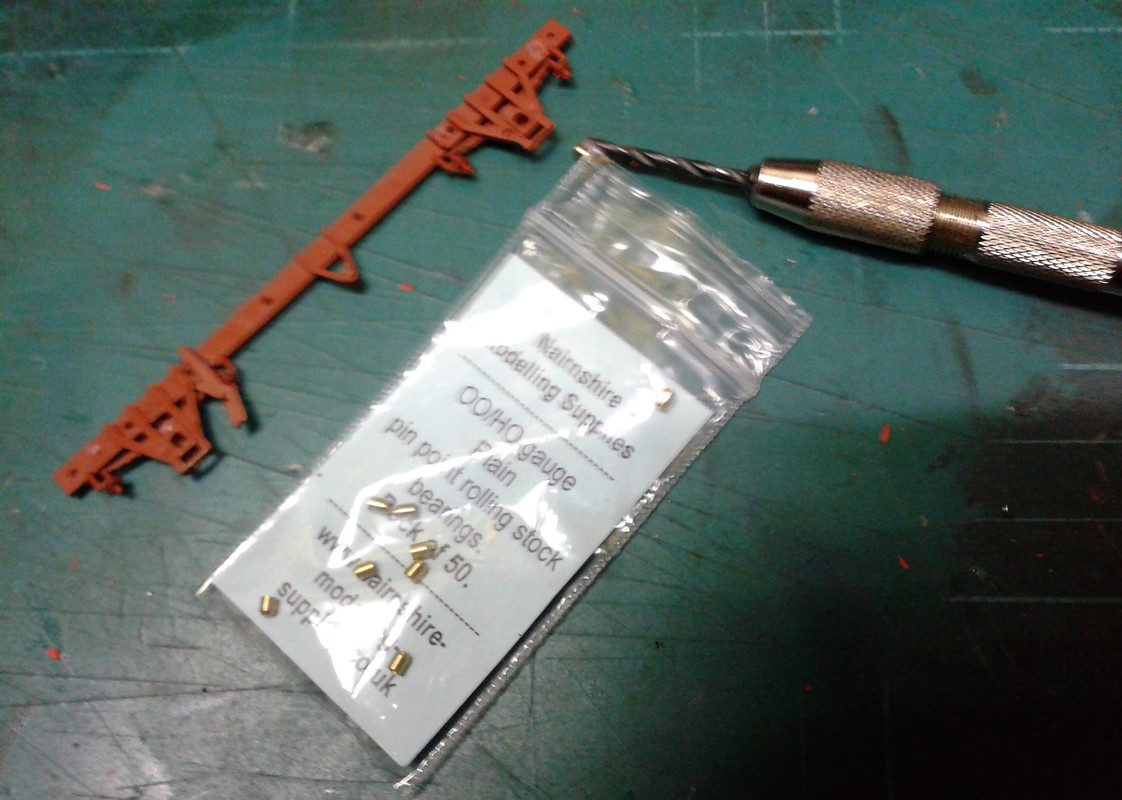
The drawing is a bit flaky, in that the photocopier must have been running low on toner?
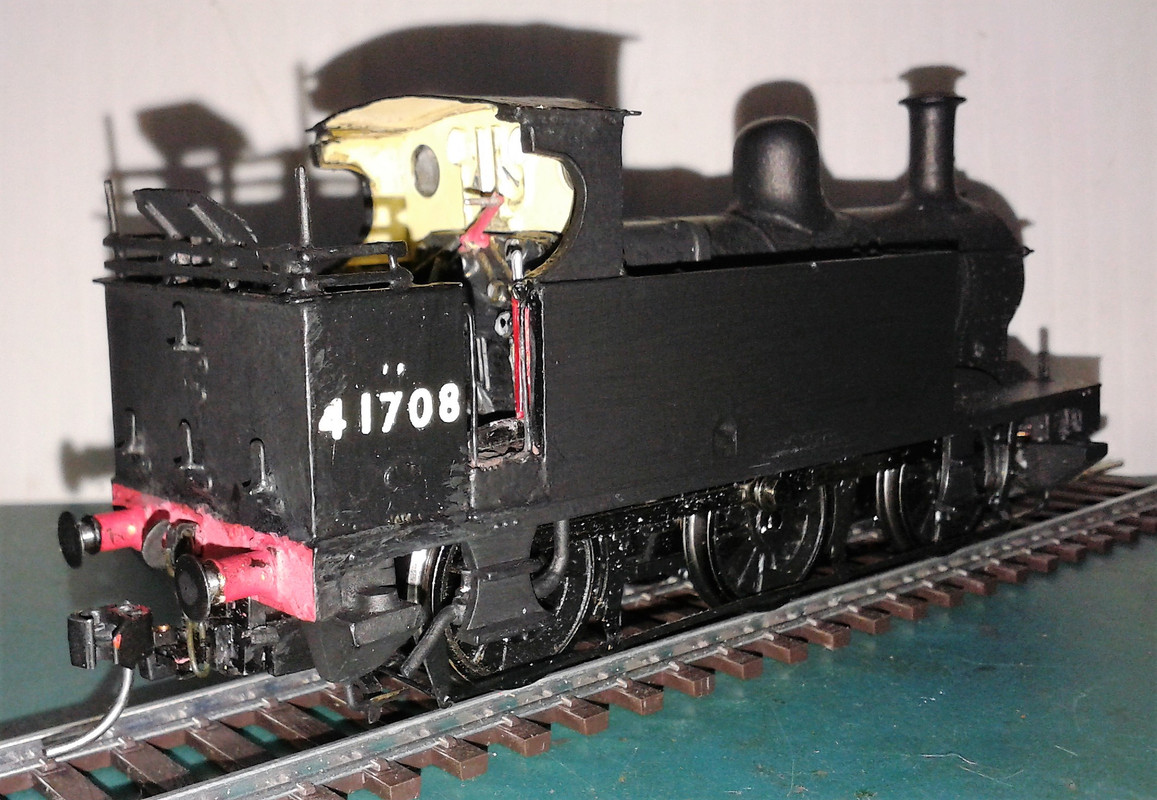
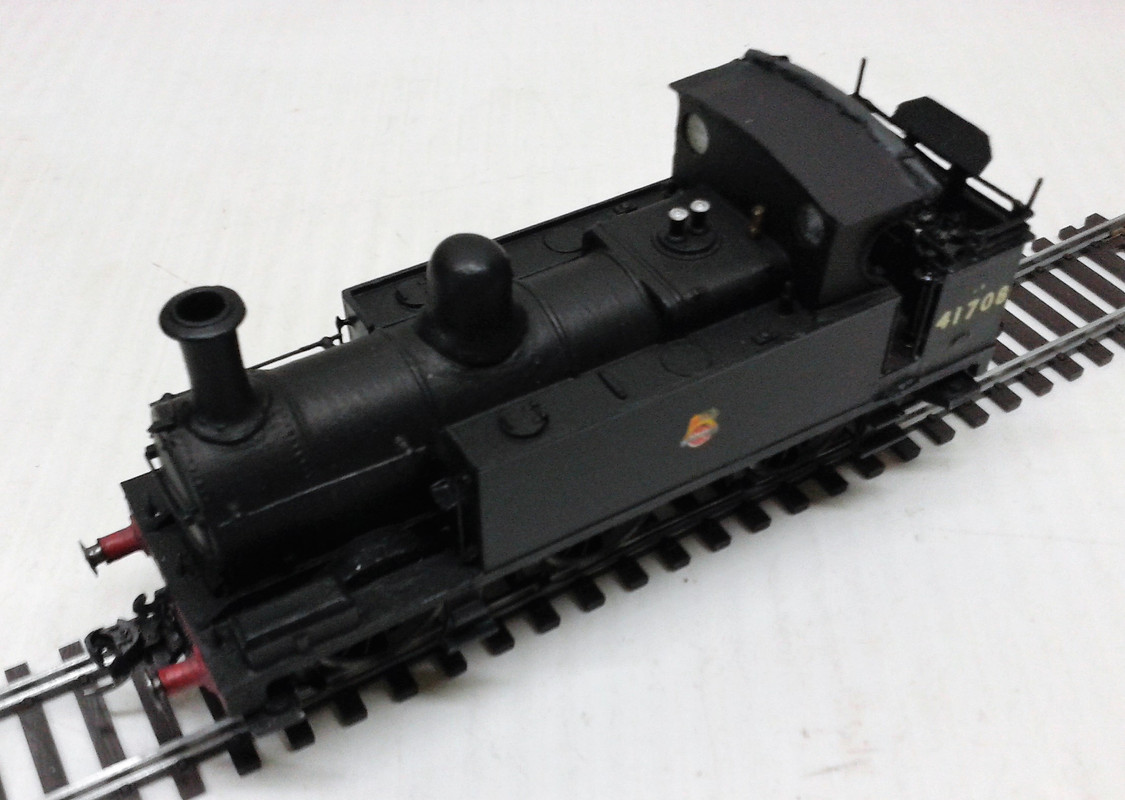
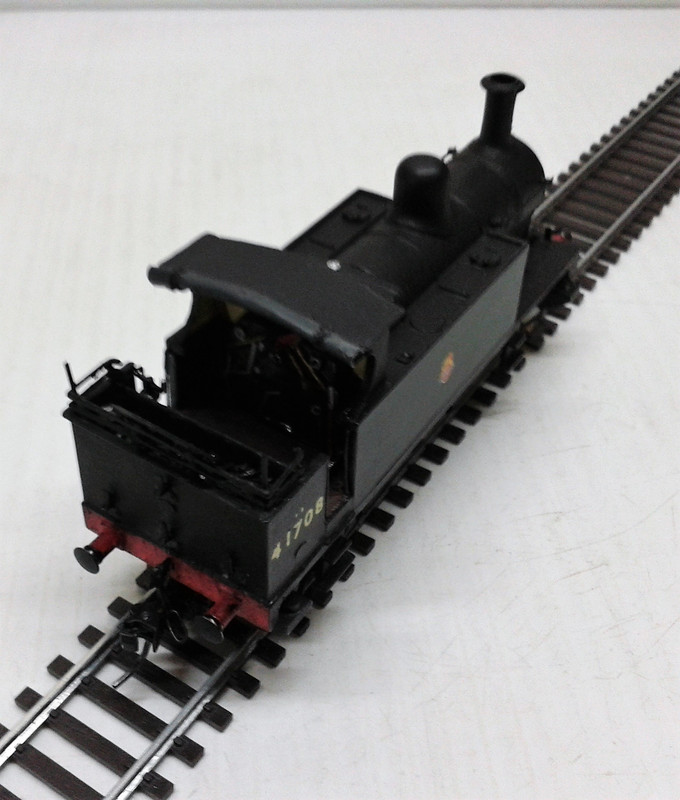
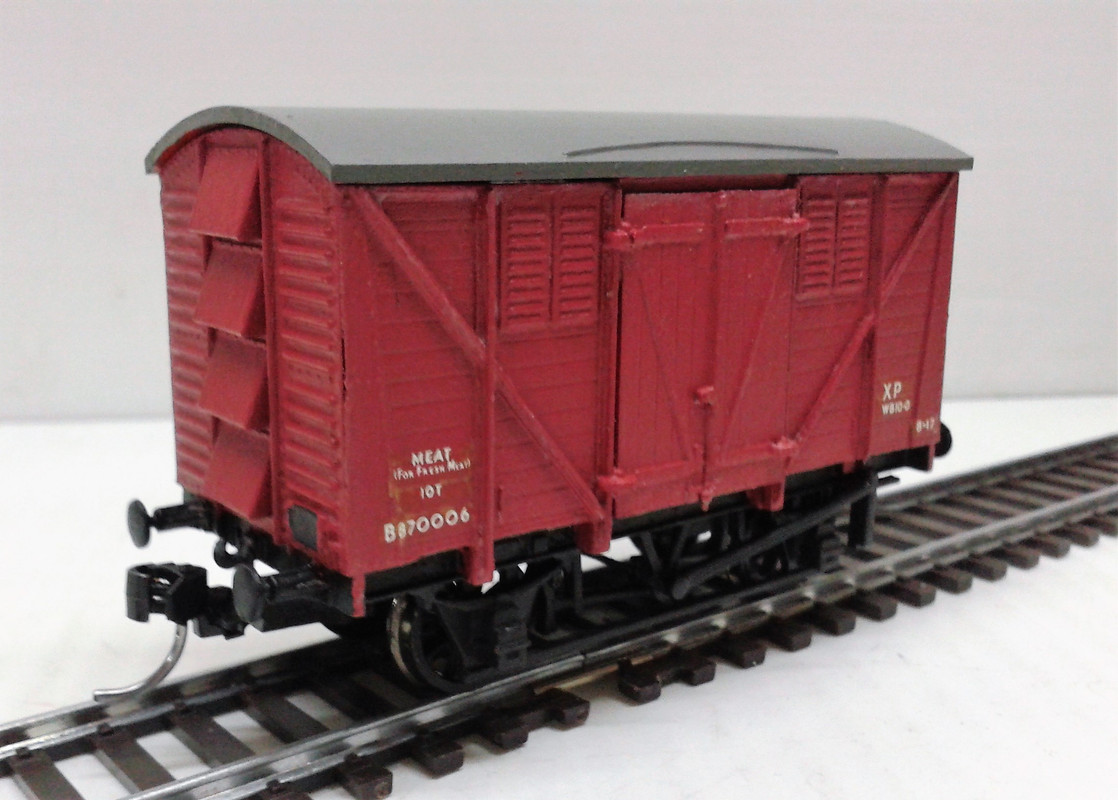
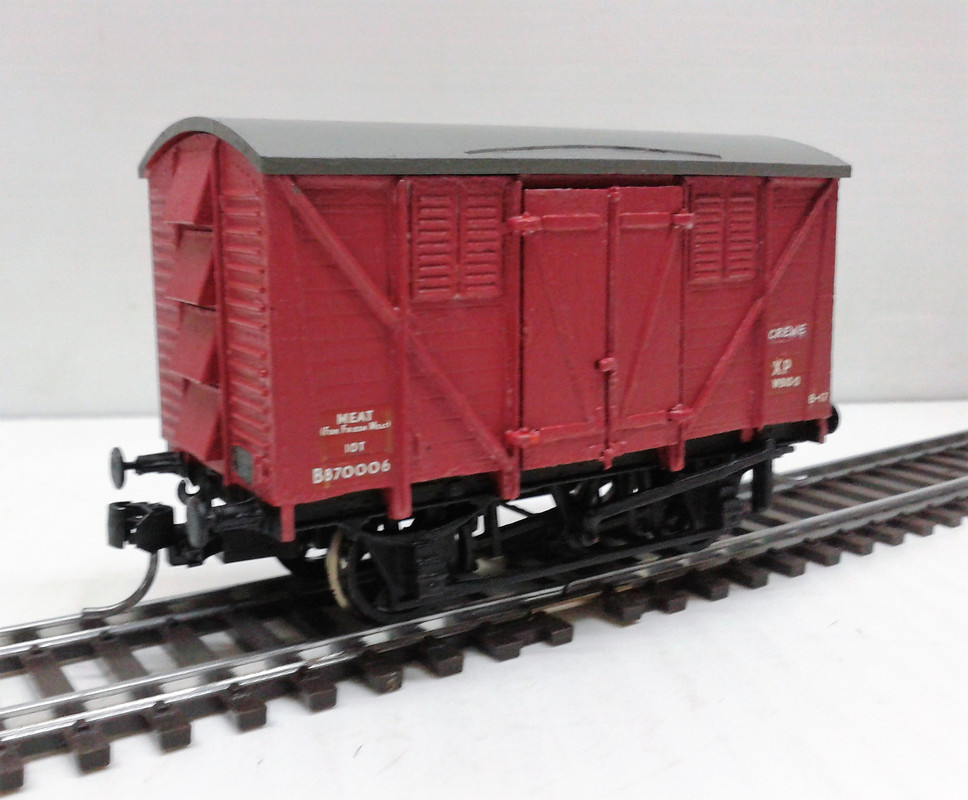
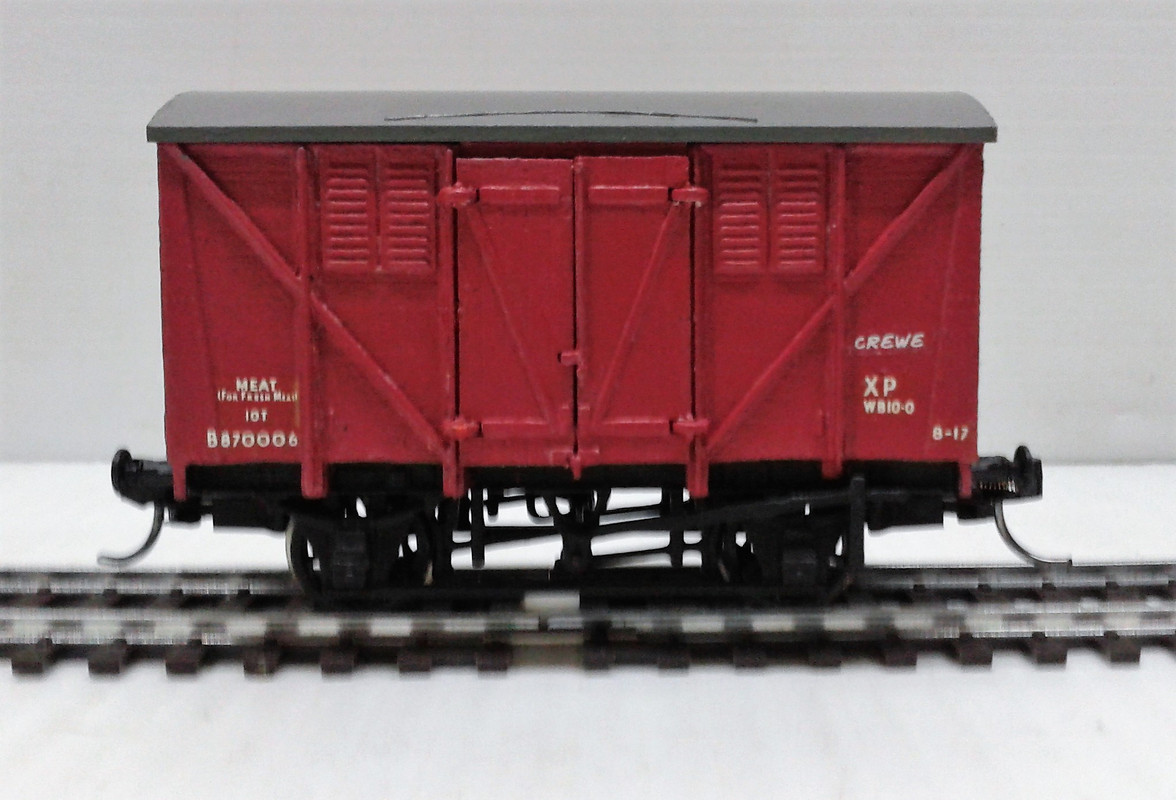
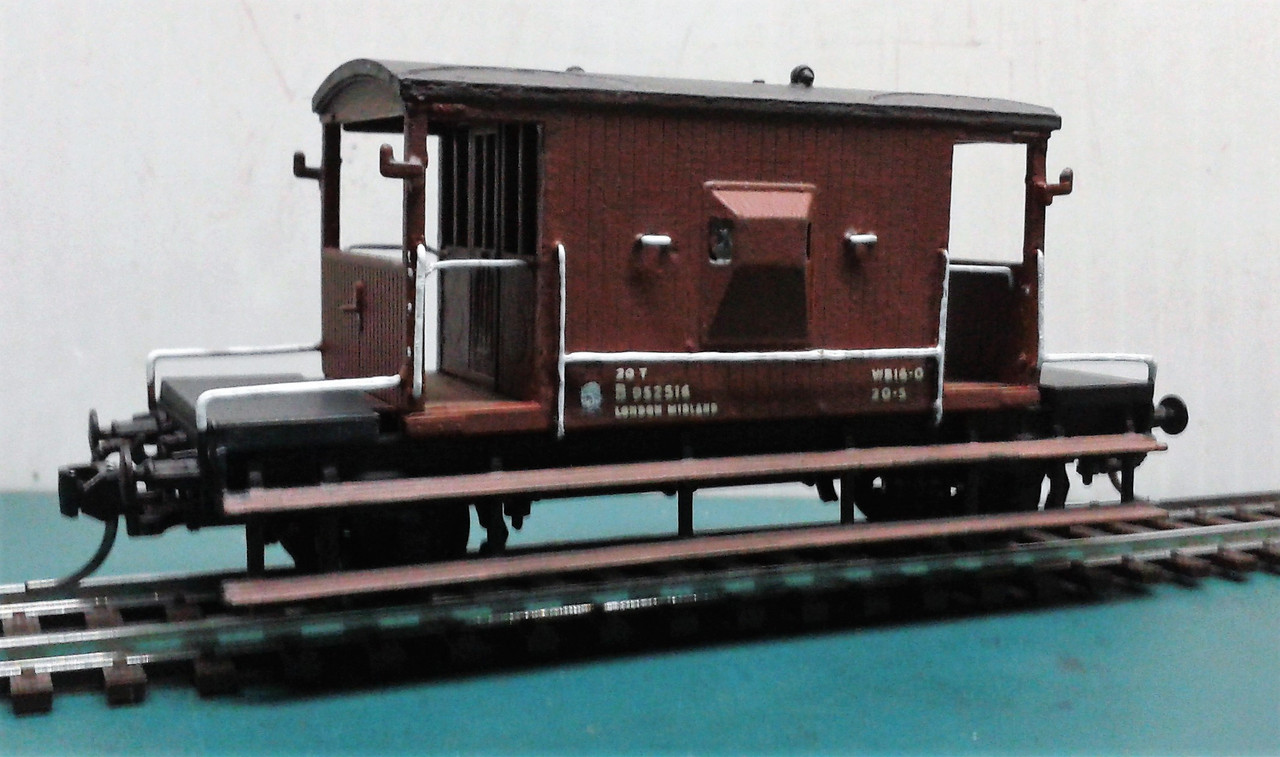
The roof has half-etched lines to form the side edges...the instructions here a a bit vague, or I was not thinking correcty, twice!
The instructiins say to fold the edges horizontal.....but I folded them vertical....
Then I re-read the instructions, and folded them right over onto the roof....well almost horizontal I was thinking!
Finally it clicked....the photos shewed my error, the roof edges actually overhang the cab sides!
So, finally correct!
The J36....a NBR Loco....nice!
http://www.brdatabase.info/locoqry.php? ... &id=601036
I would say that there are two options....
Wait and see, and possibly gasp at the pricing? (And sell the kit on? )
Build the model, and possibly sell it to "upgrade" later?
And as a generality - I find too many instructions in life seem to be written by somebody who knows what they are doing, but cannot put themself in the eyes or shoes of the customer.

 [/url]