Rayne St, Fictional N-Gauge Layout - Update 22/01/13

Post pictures and information about your own personal model railway layout that is under construction. Keep members up-to-date with what you are doing and discuss problems that you are having.
Post Reply
StevieDay
Posts: 360
Joined: Fri Dec 10, 2010 6:37 pm
Location: Chelmsford, Essex

Rayne St, Fictional N-Gauge Layout - Update 22/01/13

Post by StevieDay »

After reading the boards for a while & admiring the quality of the layouts on here. I thought I'd take the plunge & create a thread for my layout Rayne St.

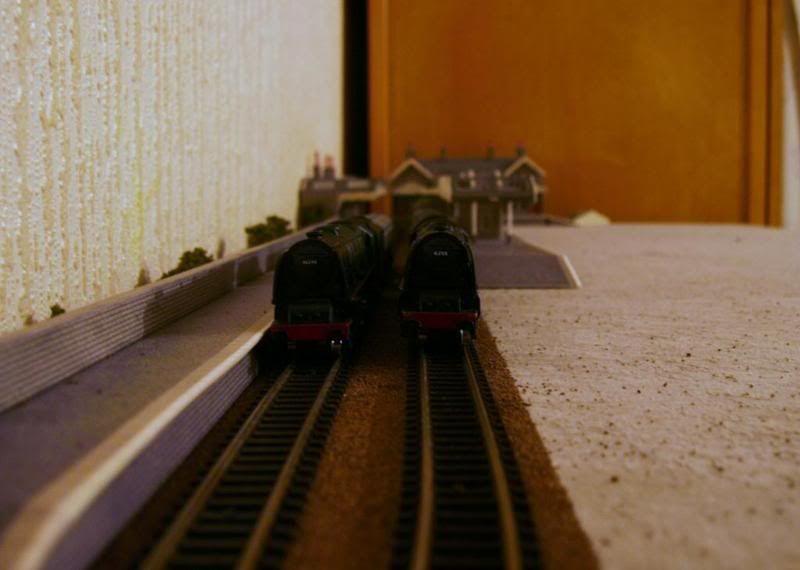
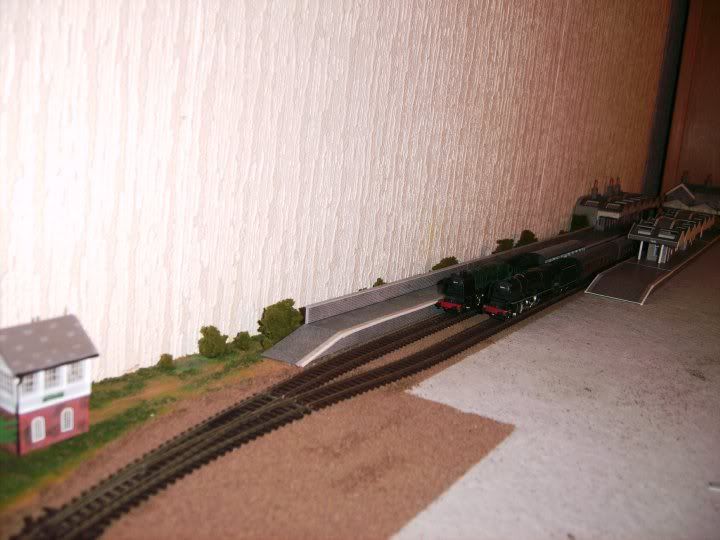
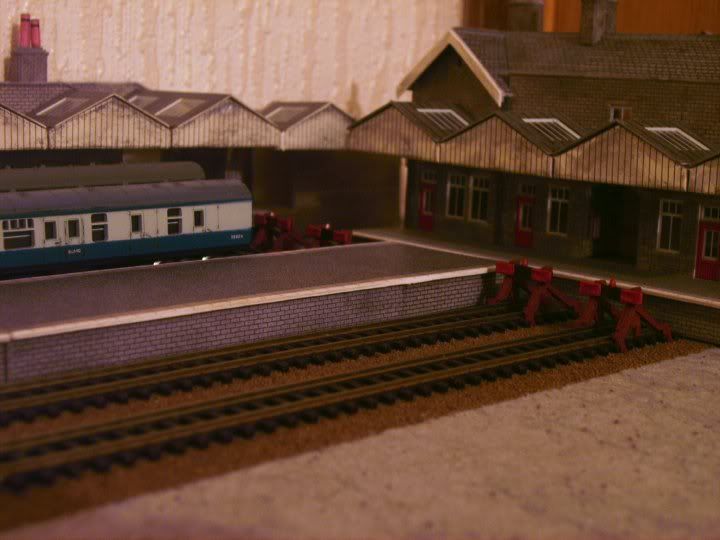
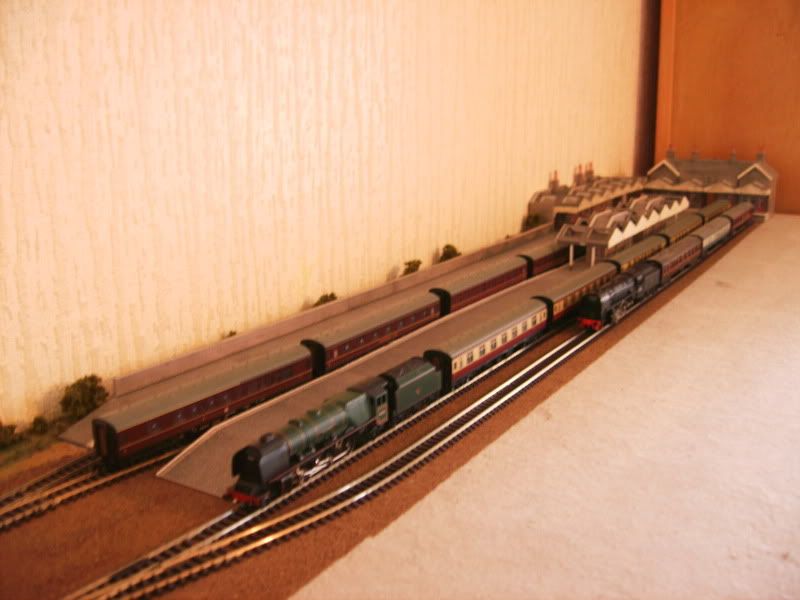
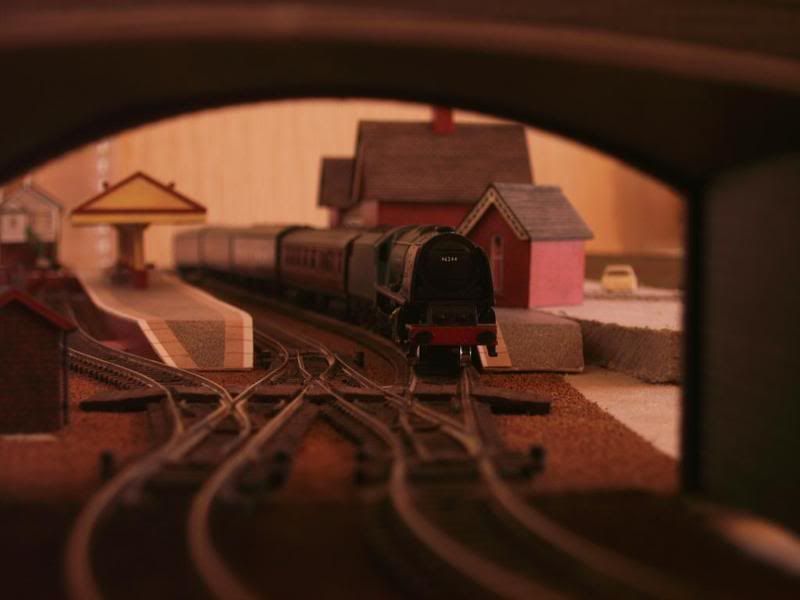
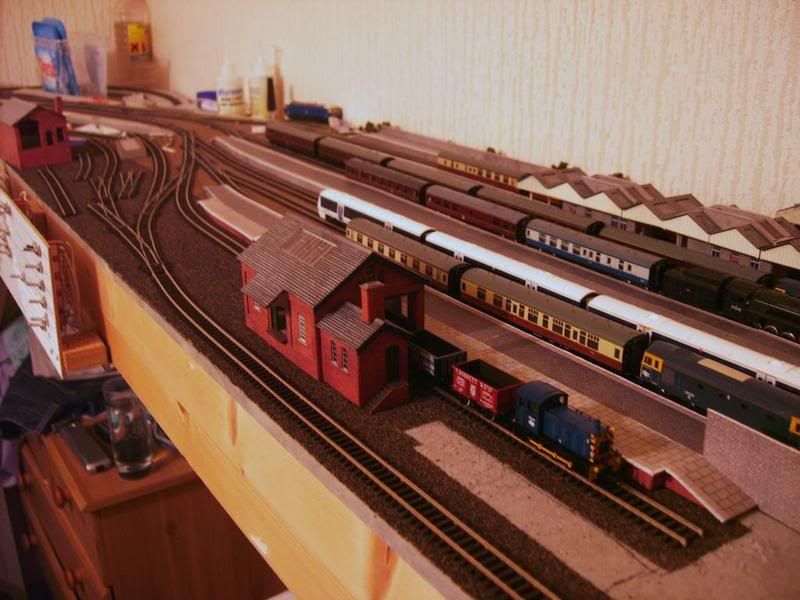
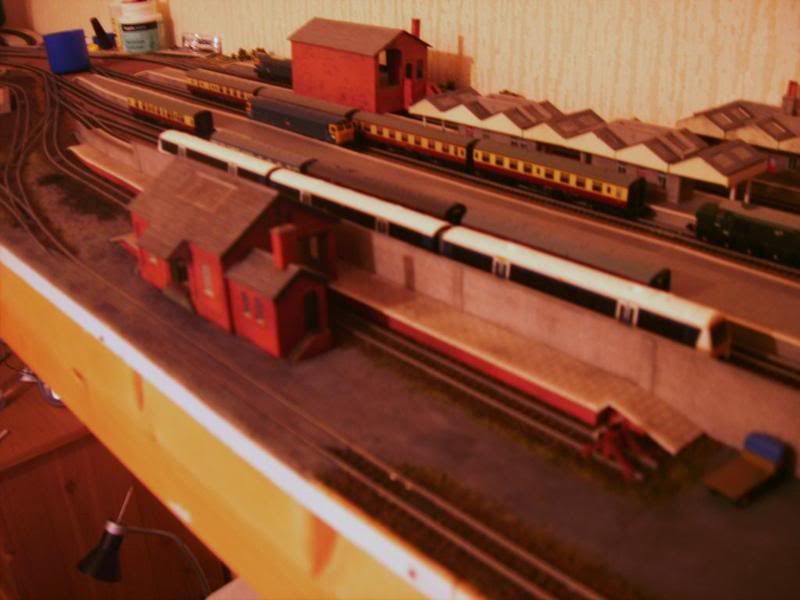
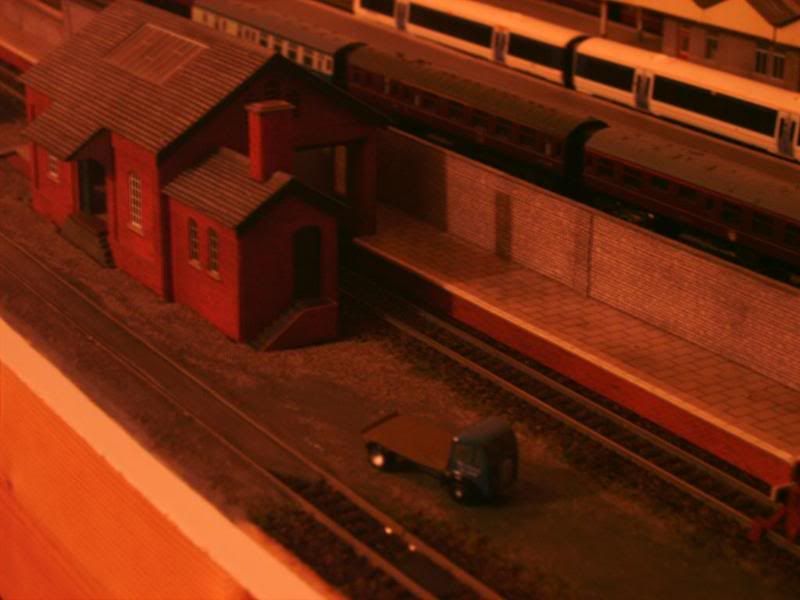
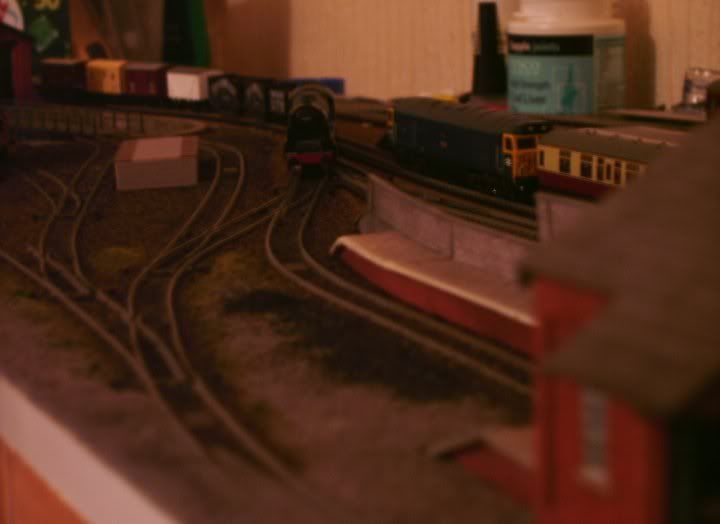
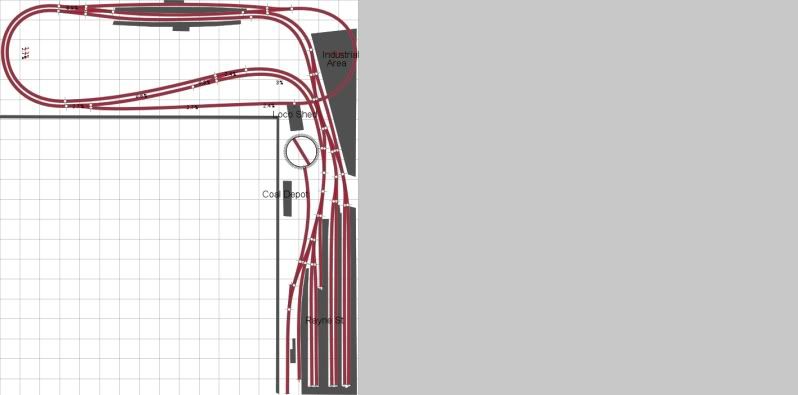
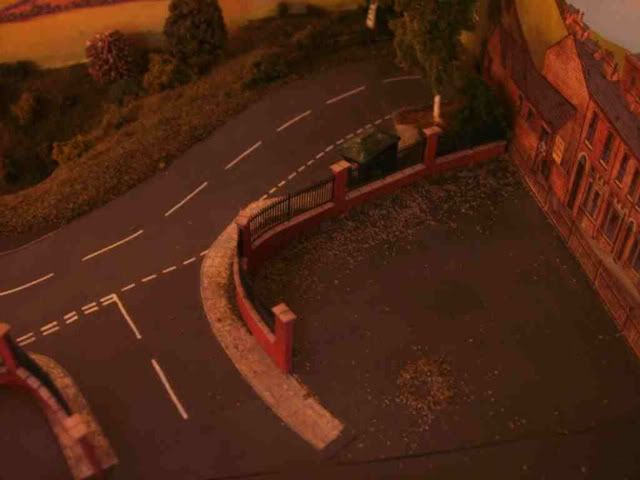
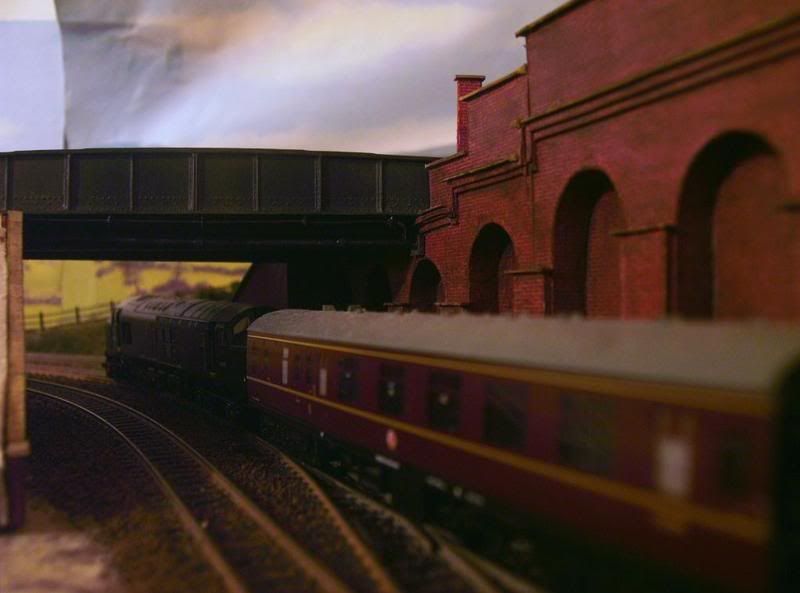
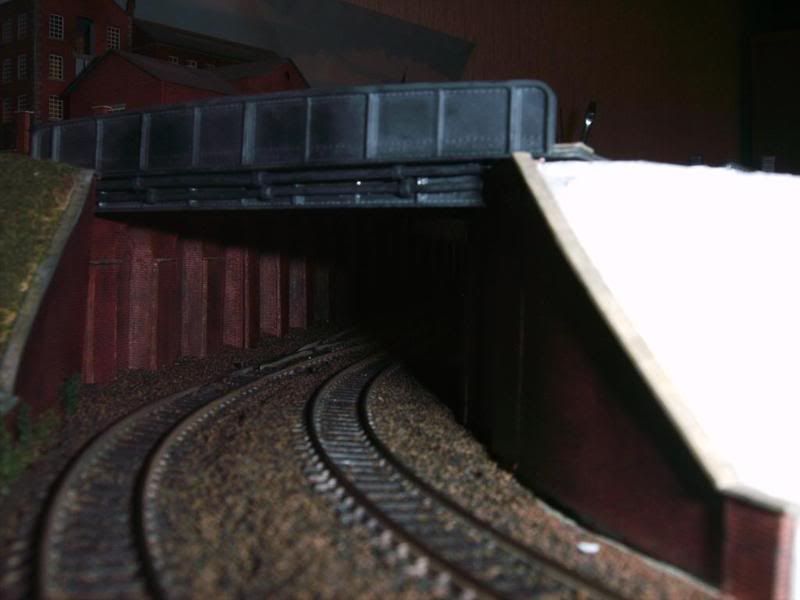
AlthoughThe village of Rayne in Essex did have a station on the old Bishop Stortford to Braintree branch line which closed in the 1960s. Rayne St though, is a fictional n-gauge layout, with a terminus & a branch station. I aim to set it in the period of 60's to late 70's so I can run both steam & diesel. But then again if I see something I like..... :)

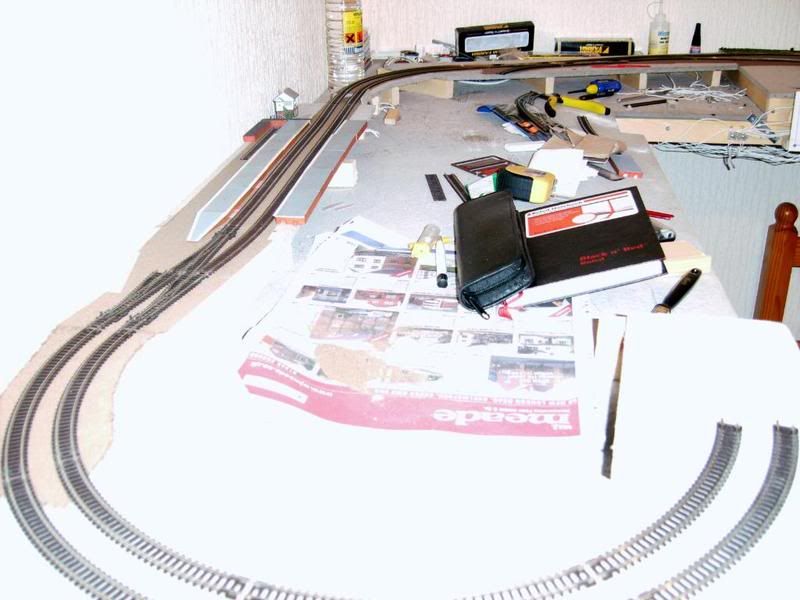
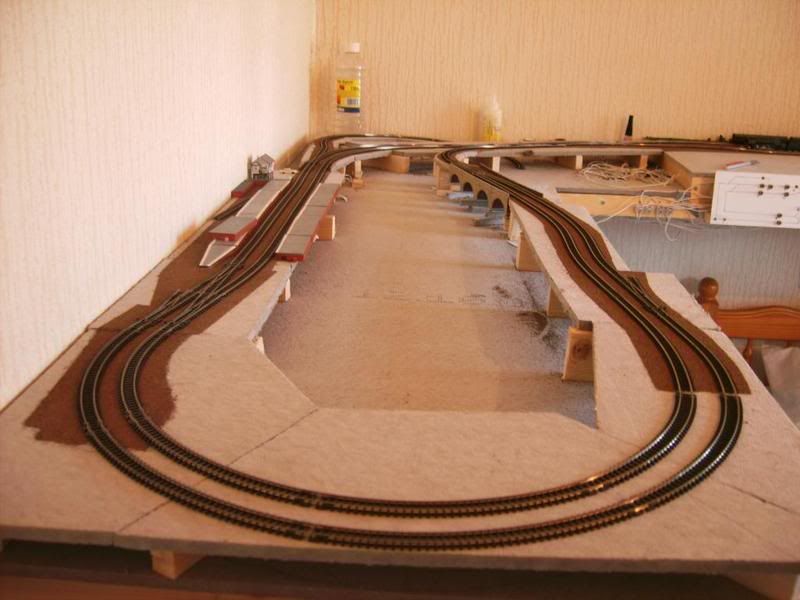
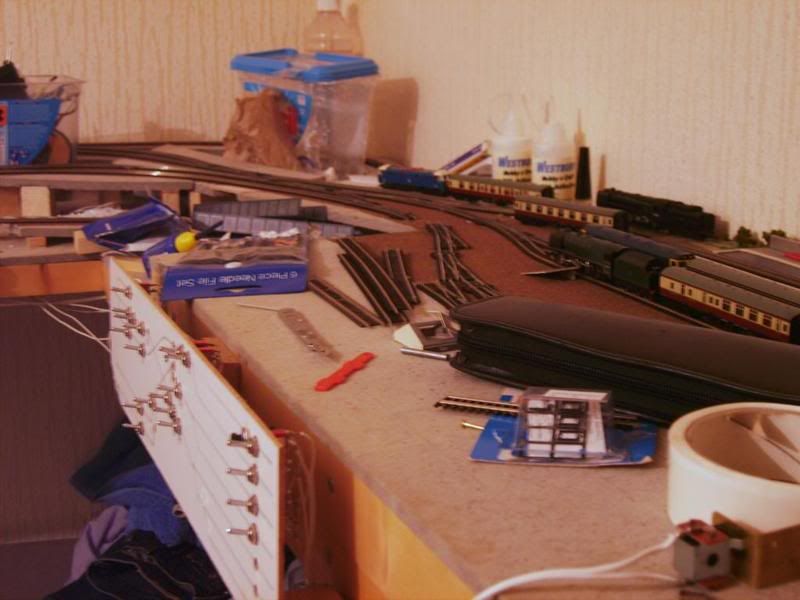
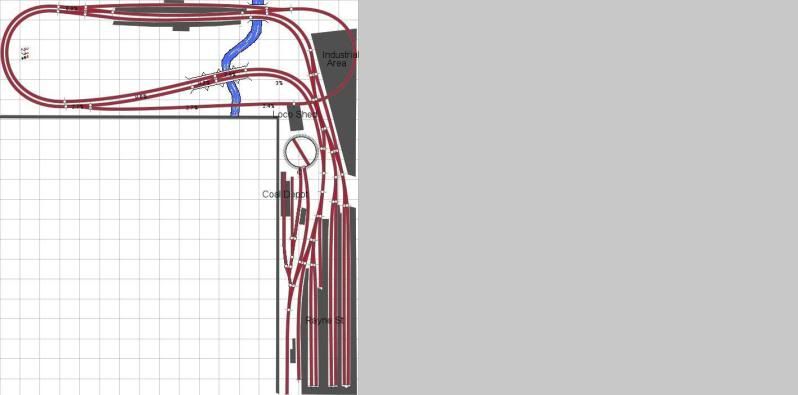
I started the layout in 2007 & is in the form of an L shape. 6ft down one length & 6ft 6in down the other, the 6ft board is 22ins wide & the other is 18ins.
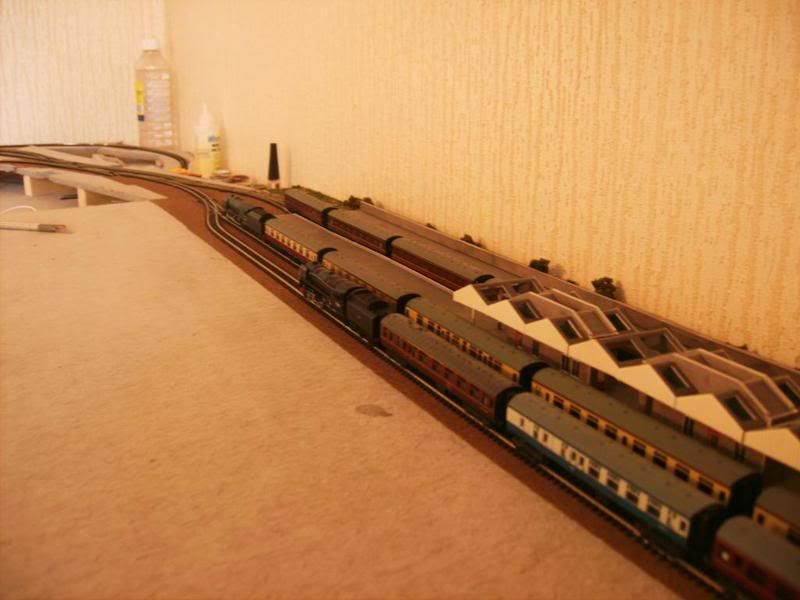
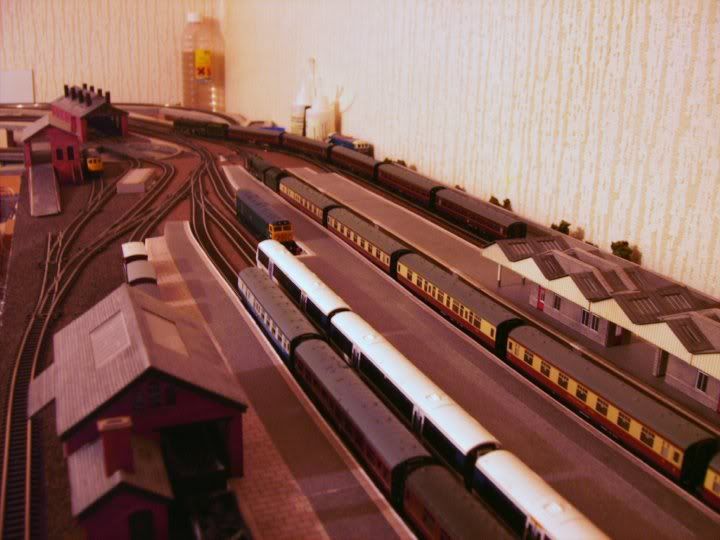
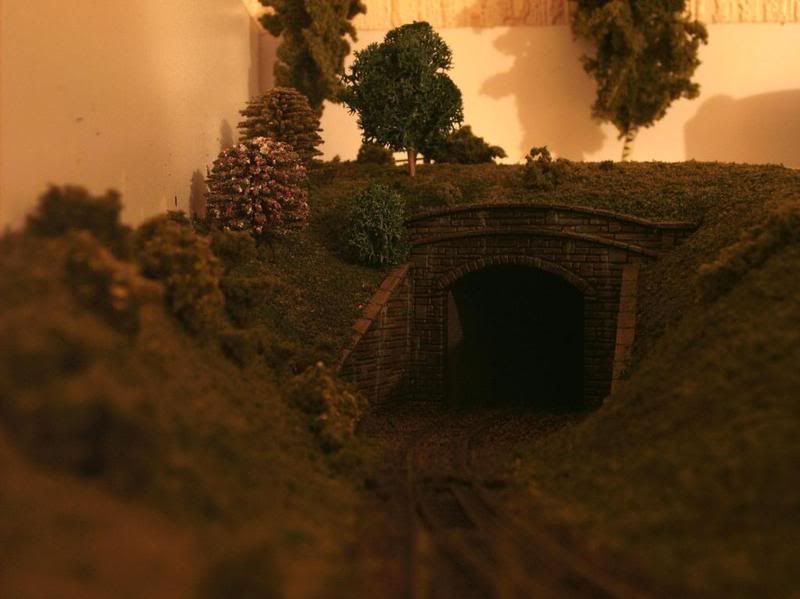
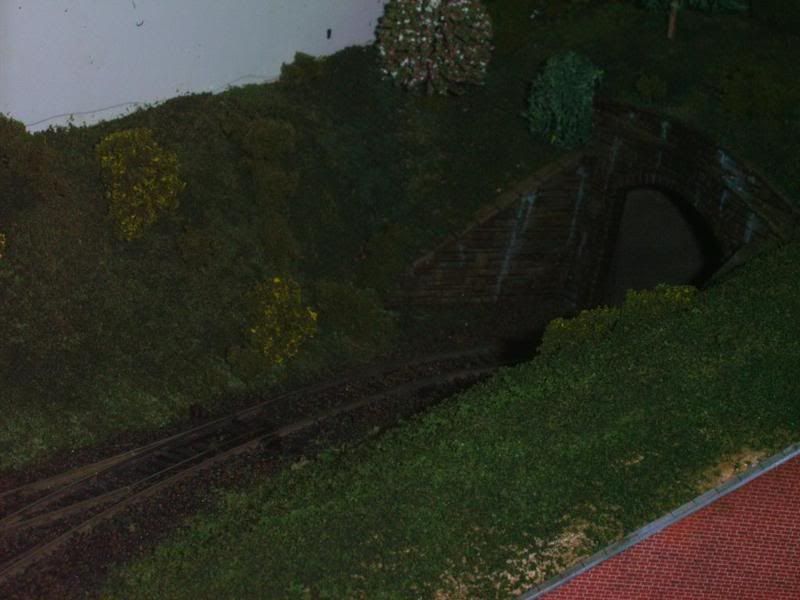
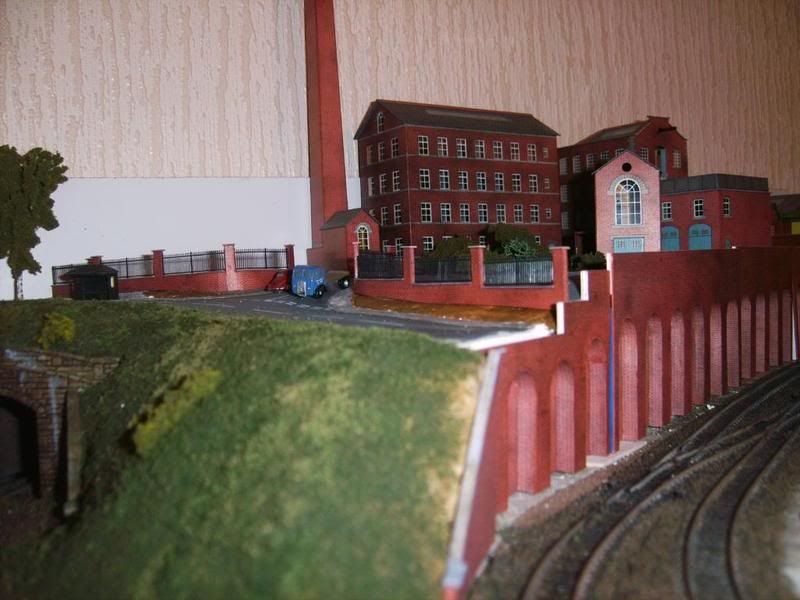
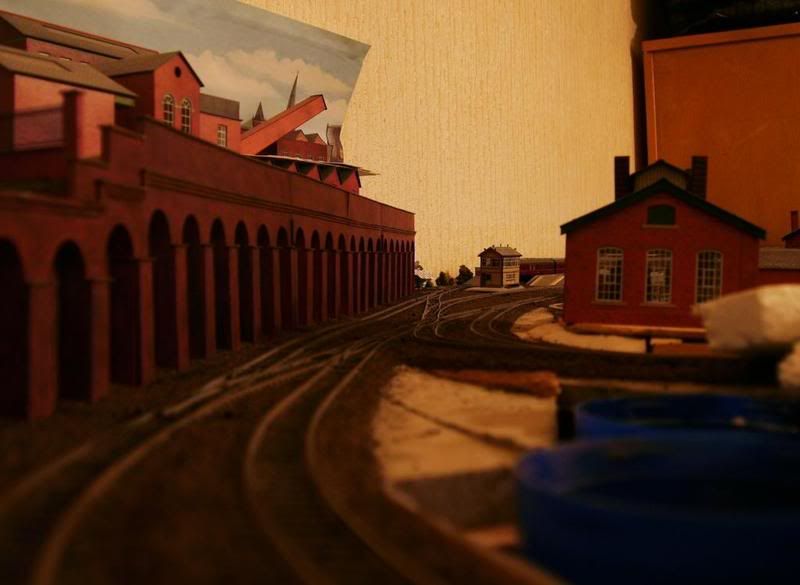
I'll show how the layout had progressed during this time. There is still plenty to do & although not much got done in 2010 I hope to be doing a lot more this year.

I hope I've followed the instruction on how to post images correctly, so here goes.

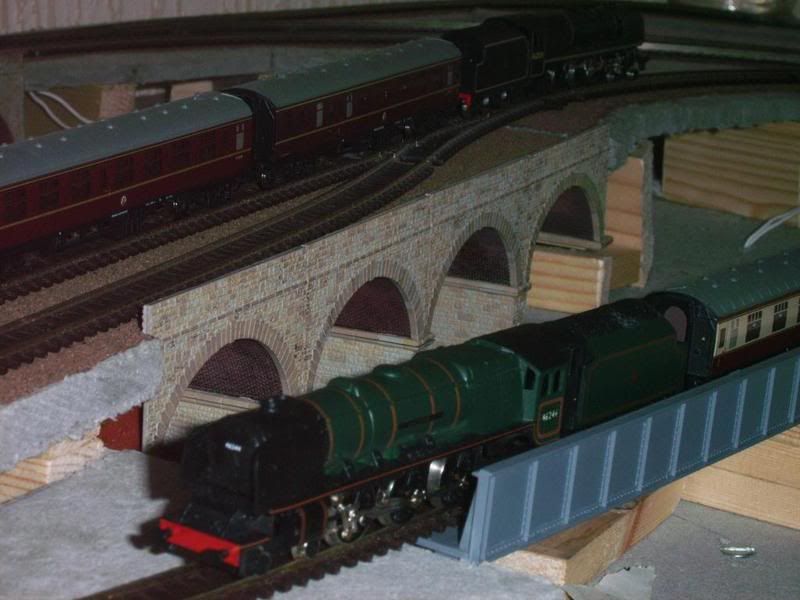
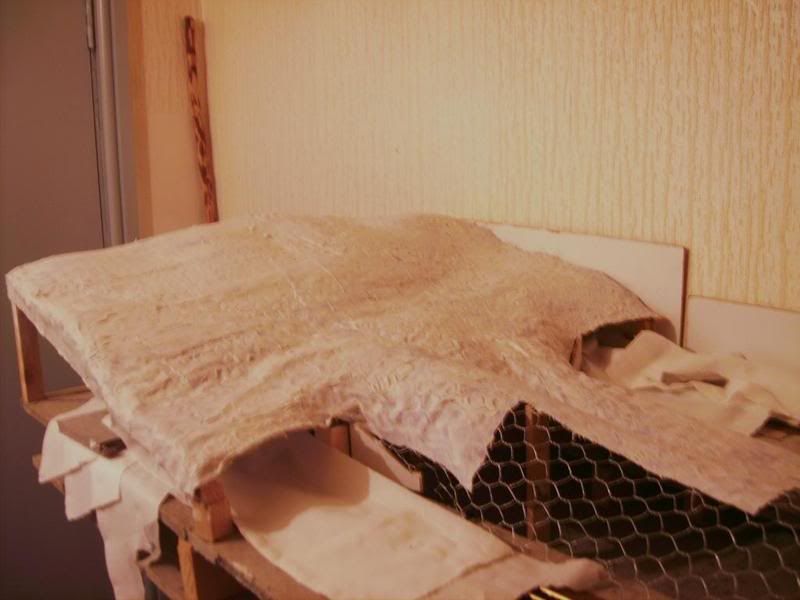
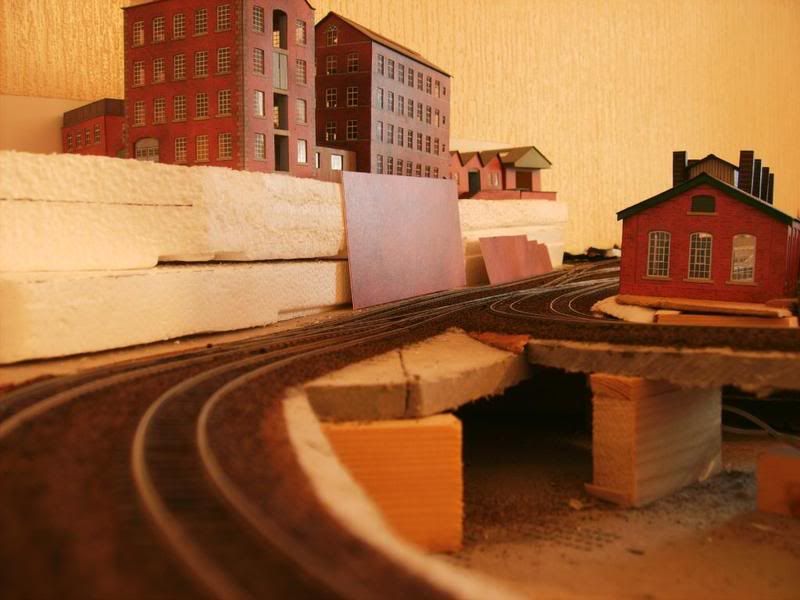
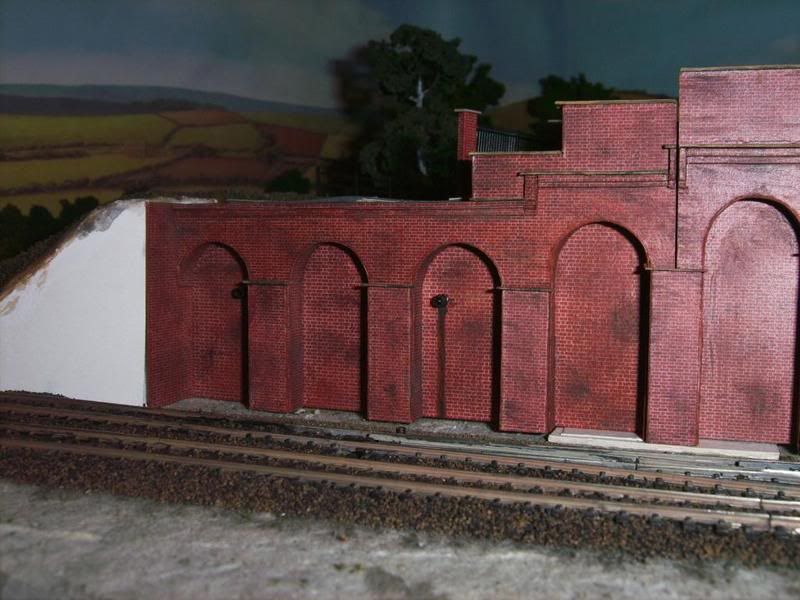
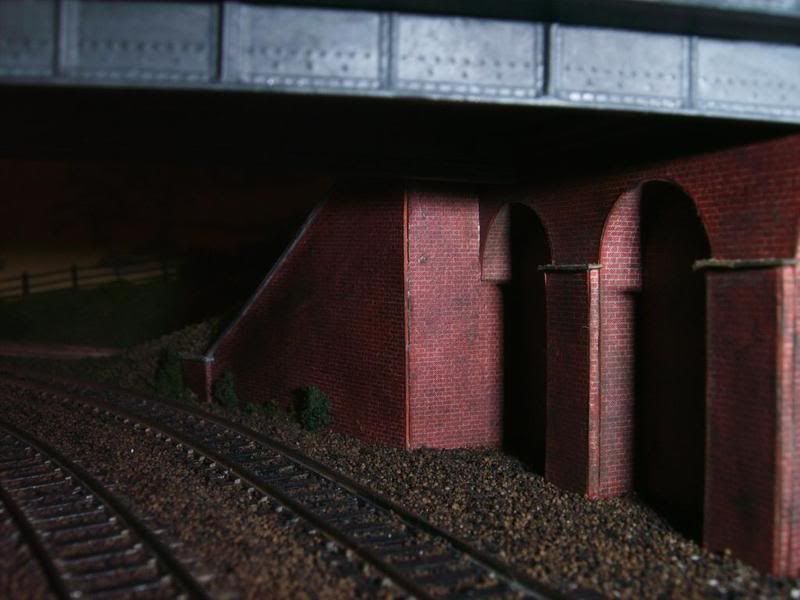
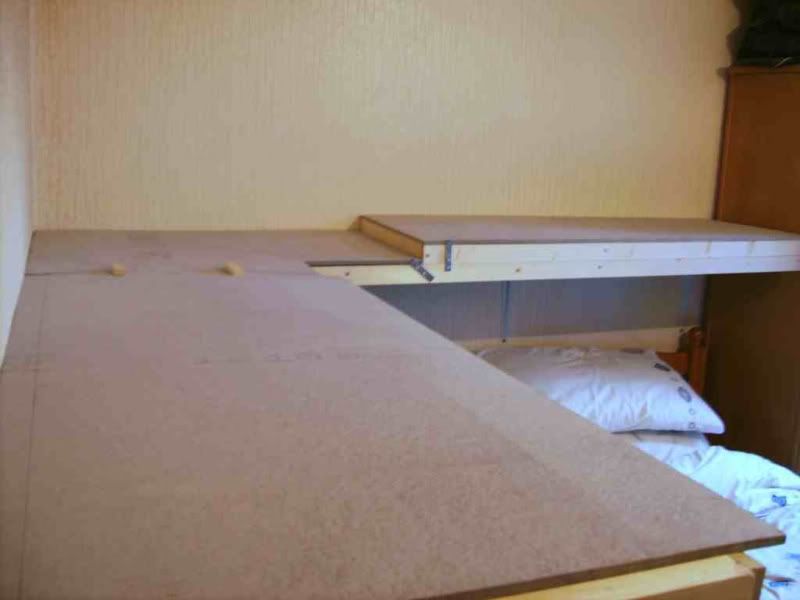
Bases boards mounted up on the wall 13/01/07. The step between the two is intentional so I can create some scenery below track level, including a low level viaduct.
Image

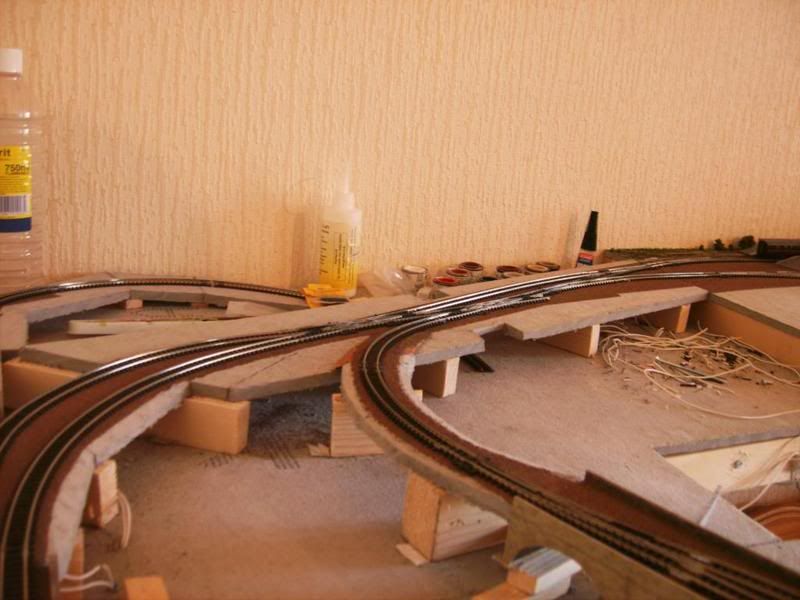
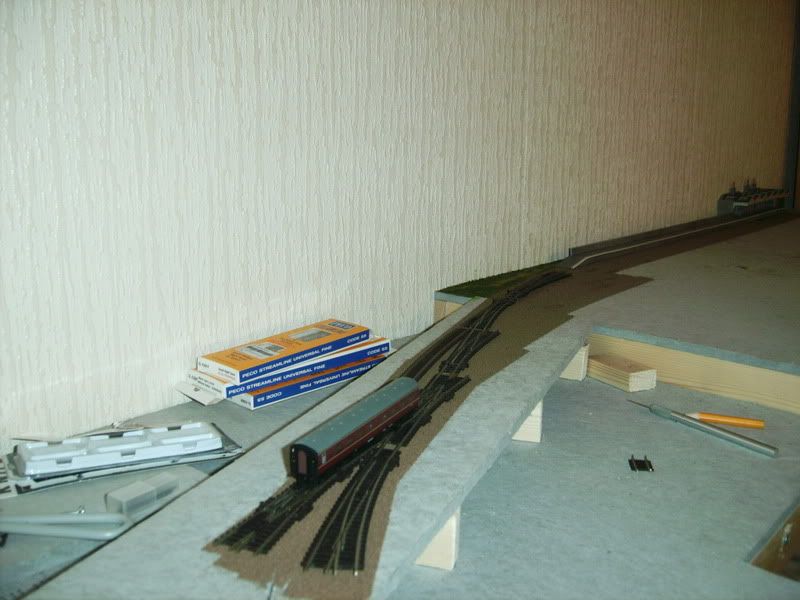
1st track laid 31/01/07
Image


EDIT.........Yeyyyy it worked!!!! :lol:

Steve
Last edited by StevieDay on Tue Jan 22, 2013 6:38 pm, edited 3 times in total.
Regards,
Steve

My Layout;- Rayne St, Fictional N-Gauge Layout http://www.newrailwaymodellers.co.uk/Fo ... hp?t=30856
StevieDay
Posts: 360
Joined: Fri Dec 10, 2010 6:37 pm
Location: Chelmsford, Essex

Re: Rayne St, Fictional N-Gauge Layout

Post by StevieDay »

Back in the late 70's when I was 15/16, I used to have a tail chaser n-gauge layout. Then late in 2006 I got the urge to start again. So I started reading magazines, BRM etc & started planning. Size restriction of the room, meant that I'd have to mount the layout directly onto the wall, using brackets.

For ballasting. The technique I employed was to 1st lay/glue doublesided sticky tape to the base board & cover this with ballast. The ballast was, simply brushed over & rolled into the tape by rolling the roll of d/sided tape over it. The excess then brushed off & collected to be used again. (This technique also helped smooth over the joins between the sections of sundela boards I used, which I found was not overly keen to be flat). Then lay the track upon this & then later complete the ballasting with the dilute pva technique.

1st Station Builings & part of Island Platform 09/02/07
Image

1st Station Builings & part of Island Platform 09/02/07. (The small scenic area behind the platfrom & where the signal box would later be changed to a brick embankment).
Image

Track extended further around Mar 2007. The plan was for main line to loop around from the terminus. Through a branch station (yet to be named) & back around to the terminus. As with all plans, this would be modified.
Image
Regards,
Steve
Regards,
Steve

My Layout;- Rayne St, Fictional N-Gauge Layout http://www.newrailwaymodellers.co.uk/Fo ... hp?t=30856
StevieDay
Posts: 360
Joined: Fri Dec 10, 2010 6:37 pm
Location: Chelmsford, Essex

Re: Rayne St, Fictional N-Gauge Layout

Post by StevieDay »

I still had a few of the old stock from my old layout from 1978/9 & started purchasing new carriages, wagons & locos plus a couple of 2nd hand Graham Farish Duchess class locos I came across in the model shop. I have to say that after almost 30yrs away from the hobby, how disappointed I was in the quality of the detailing of the farish coaches. Although my 30yr old lima & grafer mk1 coaches were a slightly under scale, the detailing was much better & coupled closer too. Though I'm glad to say, there has since been vast improvements in quality of the stock.

Apologies in quality of the pictures. Not a great digital camera & it seems a lot of the resolution was lost when uploading them to photobucket.

Image

Apr 07. Tracks to Platforms 3 & 4 laid. Just 3 more platforms, goods yard, turntable & loco shed to go :)
Image

It was at this stage that I decided that just the loop around back to the terminus, wouldnt give me sufficient play interest. So I decided to lay point at the branch station so I could have a single line that would branch off, enter a tunnel & come back under the main line & rejoin at the other side of the board. Giving a single line which could circuit around one of the boards. It was at this point I wish the step between the 2 boards was 1cm higher, as I had to under cut/thin the board holding the main line to accommodate it.
Image

Regards,

Steve
Regards,
Steve

My Layout;- Rayne St, Fictional N-Gauge Layout http://www.newrailwaymodellers.co.uk/Fo ... hp?t=30856
User avatar
SR/ScR Fan
Posts: 647
Joined: Thu Oct 11, 2007 8:28 pm
Location: Camberley
Contact:

Re: Rayne St, Fictional N-Gauge Layout

Post by SR/ScR Fan »

Hello Steve!

I love the look and idea of your layout. Any chance of a track plan? I have to agree with you about the old Lima and Minitrix N gauge stock, in my mind it was "chunkier" and had a better profile, especially MK1 carriages.

Keep it up, and would love to see more photos

Cheers

Rob
StevieDay
Posts: 360
Joined: Fri Dec 10, 2010 6:37 pm
Location: Chelmsford, Essex

Re: Rayne St, Fictional N-Gauge Layout

Post by StevieDay »

Thanks Rob, yes they were chunkier & detailing on doors & handles were much better than the new farish ones were.

I've a near complete plan on Anyrail (not quite enough parts in the limited free version), I'll see if can complete it & post up here.

Meantime here's some more pictures;

Apr 07. Main loop completed with viaduct temporarily in place. The 180 radius will be hidden by the lines going into a tunnel & covered by scenery.
Image

Lines leading to Rayne St terminus. These would be modified so that there are two main lines for each aprroach to the station. Also the single line at back of board, will be covered by an industrial area & a river will flow from under the branch station line & under the viaduct.
Image

Apr 07. Single in loop completed.
Image

Jun 07 I didnt like the solid platform parts I bought for the branch station, they didnt butt up squarely. So built some more using a Metcalfe platform kit
Image

View of station from where tunnel will be.
Image

I forgot to also say that track is code 55, except in the tunneled areas which is code 80. And one of the radius from the viaduct is also code 80. This was because I had to have trackfeed at that point & it was easier to solder to . A mistake I admit.
Regards,
Steve
Last edited by StevieDay on Tue Jan 18, 2011 5:24 pm, edited 2 times in total.
Regards,
Steve

My Layout;- Rayne St, Fictional N-Gauge Layout http://www.newrailwaymodellers.co.uk/Fo ... hp?t=30856
StevieDay
Posts: 360
Joined: Fri Dec 10, 2010 6:37 pm
Location: Chelmsford, Essex

Re: Rayne St, Fictional N-Gauge Layout

Post by StevieDay »

July 07. Scenery started over double line to be tunnelled. This was done by creating a wooden frame skeleton, which was covered by chicken wire. Then coated by strips of cloth coated in wet polyfilla. Then when dry, a layer of polyfilla applied on top.
Image

Aug 08. The line over the viaduct was changed so it is now a double line & prep work done for laying rest of lines into the terminus.
Image

Oct 07. Lines into terminus completed. And goods yard under construction.
The end of each line can be isolated & auto uncoupling done by a formed metal uncoupler attached to a coupler, passing over a permanent magnet in the track.
Image

Oct 07 Track into goods yard completd.
Image

Dec 07 Track laid up to coaling yard, turntable & metcalfe loco shed installed
Image

Steve
Regards,
Steve

My Layout;- Rayne St, Fictional N-Gauge Layout http://www.newrailwaymodellers.co.uk/Fo ... hp?t=30856
Terrier

Re: Rayne St, Fictional N-Gauge Layout

Post by Terrier »

Hiya Steve, capitol work chap, just caught up with your progress here and it's coming on great. I am also green with a little bit of envy, as i noticed you managed to bend the arch brick work and fix them in place on the ratio viaduct kits, how'd you do that? :shock: i had all kinds of probs with that, but am slowly working on an alternative after splitting the thin sheets i had. Cracking job fella. Also i like the idea of the main running area and will keep an eye out for updates with keen interest. Thanks for sharing it with us all chap. :)

Chris (Terrier)
StevieDay
Posts: 360
Joined: Fri Dec 10, 2010 6:37 pm
Location: Chelmsford, Essex

Re: Rayne St, Fictional N-Gauge Layout

Post by StevieDay »

Thanks Chris,
Yes installing the curved brick work was a sod. Forget the instructions Ratio give, where they say slide the curved brick sheet between the grooved slots of the assembled stone arches. I tried this & the fit is too tight to slide the sheet more than a quarter if the way, before friction becomes too great. I also ended up with a split sheet & had to repair it.

This is from memory. I assembled it in the following way;

1, Add the track side stone walls, as per instruction onto each arch.
2, For each stone arch check that the topsheets fit into the slots provided. But DONT glue into place, put them to one side for now.
3, Bend & form the brick sheet to the correct shape & fit into the curved slot of one arch. Check alignment is ok & run glue into the join (the side of join that wont be visible after assembly)
4, Then add the other side of the arch. You'll find that the curved side of the sheet you're trying to attach to has splayed out. But dont worry though a little fiddly, it will fit into place. Check alignment on a flat surface & run glue into join.

You should now have the curved brick sheet with the stone arches attached to either side

5, Slide in the topsheet. Check alignment is square (you may have to fettle edge of top sheet to correct alignment) & glue into place.
6, Add support struts to strengthen.

When you come to glue each completed archway compartment together & attach the stone footing which the peir is attached to. That the brickwork of the arch now bows inwards. This is because the supports to strengthen the arch is not strong enough to hold the brickwork at right angles to the arch. I ovcercame this by adding inserts between the struts to push the brickwork back out. But becareful. Cos too much pressure can cause the two sections to separate.

Image
Regards,
Steve
Regards,
Steve

My Layout;- Rayne St, Fictional N-Gauge Layout http://www.newrailwaymodellers.co.uk/Fo ... hp?t=30856
StevieDay
Posts: 360
Joined: Fri Dec 10, 2010 6:37 pm
Location: Chelmsford, Essex

Re: Rayne St, Fictional N-Gauge Layout

Post by StevieDay »

So where into 2008. Here I added a shrub bedding area & footpath at the end of Rayne St main terminus station building. This faces the wardrobe & cant be viewed properly in situ. One day I'll relocate that ruddy wardrobe.

Image

Finally after over year of laying track etc. I finally had to do it............. Paint the track & complete the ballasting. Painting the track consisted of using a dirty mix of browns, greys, blue & black diluted enamel paints. Keeping the mix varied so not to have a uniform look & making areas such as points the dirtiest. And an initial dirtying of the sleepers. I realised at this point, that painting the track before laying it down would have been a lot easier. Bending over trying to paint the in facing rails when you have a chronic back & neck ache is real pain :?

Mar 08. Goods yard ballasted & scenic work of goods yard. Goods yards enterance to the right, with a roadway leading over the tracks to wards the coal yard.......mmmmmm not sure what the Coaldrop building is doing on the platfrom :lol:
Image

Image

Same area looking up the line. Duchess of Hereford hauling goods to the shed. The plastic platform is where the loco recoaling station will be.
Apologies in the poor picture quality, seems to've been lost in the upload to photobucket lol :(
Image

Regards,
Steve
Regards,
Steve

My Layout;- Rayne St, Fictional N-Gauge Layout http://www.newrailwaymodellers.co.uk/Fo ... hp?t=30856
Terrier

Re: Rayne St, Fictional N-Gauge Layout

Post by Terrier »

Thanks for the feed back on the viaduct construction Steve, also, i just read all the thread, lol, apologies, i tend to skim read most threads and look at the pics. i thought it was being recently being built, i was also thinking, crikey, i need this chaps mojo to get on with mine! Great stuff, nice to see the natural progression of a tip top layout, looking forward to more. :D

Top stuff!

Chris
StevieDay
Posts: 360
Joined: Fri Dec 10, 2010 6:37 pm
Location: Chelmsford, Essex

Re: Rayne St, Fictional N-Gauge Layout

Post by StevieDay »

Thanks Chris I hope it hleps solve the problem & if only things could move on that quickly :lol:

By May 2008 I finished ballasting & painting the track. It was during this time I made the final change to the track plan. I wasnt to happy with the siding in the branch station & decided to run it on through to join up with the single line that runs under the industial area (at this stage not built).

Also here's an almost complete track plan I drew up recently on Anyrail, but had run out of pieces in the free version. From the left fork in the point leading from the goods station is a line running parallel to the line up to the turntable. Between these two lines will be a Coaling Stage. Also from this line will be a line leading up into the Coal Depot with spur running next to the depot.

Image

Construction on the industrial area & building of metcalfe kits began. The centre section can be removed for access to the tunnel.
Image

Entrance to the tunnel is a peco item painted with enamels, weathered & whitish water staining. This initial scene was built using shaped polystyrene coated with polyfilla, painted brown, coated with scatter materials & a few trees & shrubs.
Image

Image
Regards,
Steve

My Layout;- Rayne St, Fictional N-Gauge Layout http://www.newrailwaymodellers.co.uk/Fo ... hp?t=30856
StevieDay
Posts: 360
Joined: Fri Dec 10, 2010 6:37 pm
Location: Chelmsford, Essex

Re: Rayne St, Fictional N-Gauge Layout

Post by StevieDay »

July 08.
The industrial area is to be fronted by a brick embankment. This was made from brick paper & card. The arches are 10 scale ft wide & the embankment rises up to 40 scale ft above the rails. In this photo the coping stones are yet to be added & end bricks in the steps of the wall.
The walls leading to the entrance of the industrial area, are made from cardboard faced with brick paper & spear fencing from Wills (I think). And the bus shelter is scratch built.
Image

This is the road running by the industrial area. Made from cardboard, painted with a suitable colour from a test pot. The white lines are hand painted.
Image

The embankment from where a road bridge will be added taking traffic from the industrial area. The waste drainage pipes are made from the sleeve of single wire, painted & glued in place.
Image

Aug 08
1st sections of embankment complete & fixed in place. Only another 30 odd arches to go eeeeek :shock: :lol:
Image

Oct 08
Road bridge constructed & placement check.
Image

Bridge installed & services pipes added.
Image
Regards,
Steve

My Layout;- Rayne St, Fictional N-Gauge Layout http://www.newrailwaymodellers.co.uk/Fo ... hp?t=30856
Zebra
Posts: 42
Joined: Sun Jan 10, 2010 9:17 pm
Location: Isle of Wight,UK

Re: Rayne St, Fictional N-Gauge Layout

Post by Zebra »

Lovely layout.
your trackwork and ballast look really great,very nice scenic detail too.
Looking forward to more pictures.

Steve
Do you hear the voices too???
User avatar
SouthernBoy
Posts: 1753
Joined: Sun Oct 08, 2006 11:01 pm
Location: The past: We do things differently there

Re: Rayne St, Fictional N-Gauge Layout

Post by SouthernBoy »

Some neat work there StevieDay - especially that last set of photos with cutting walls, they look quite convincing. And I have to say you did a good job painting the white lines on your road too.

How do your trains like the incline like on your loop line? It looks a bit steep to me (but could just be the angle of the photograph).

Either way - nice to see another N gauge layout on the go and please keep the updates coming :)
StevieDay
Posts: 360
Joined: Fri Dec 10, 2010 6:37 pm
Location: Chelmsford, Essex

Re: Rayne St, Fictional N-Gauge Layout

Post by StevieDay »

Thanks guys. Yes Southernboythe incline is steep & steeper than I wished for. The initial mistake when I calculated the gradients was not to take into account the transitions zones from incline to flat. This made inclines steeper than I wished for. My diesel stock especially the new class 37s cope with them very easily. But my 2 old farish locos when pulling 5 carriages need a bit of a run up :lol: . And my new 2 car 108 which is only powered at one set of bogies struggles badly when coming up the incline into the station. I thought of adding a set of traction tyres to it. But the brake details are too close to wheels to allow for them. When finances allow I'll purchase another 2 car unit & couple the two powered cars together. With the unpowered cars at either end of the rake & hopefully this will give a much better traction.

In the meantime. I've completed the track plan in "Paint". Leaving just a written description for the missing pieces was a bit shoddy :D .
Image

And here's the view from the otherside of the bridge. Pressing Shift & R will improve the resolution of the picture.
Image
Regards,
Steve

My Layout;- Rayne St, Fictional N-Gauge Layout http://www.newrailwaymodellers.co.uk/Fo ... hp?t=30856
Post Reply