It Now Begins Again

Post pictures and information about your own personal model railway layout that is under construction. Keep members up-to-date with what you are doing and discuss problems that you are having.
Post Reply
Shaun Wilson
Posts: 397
Joined: Tue Jan 10, 2012 5:57 pm
Location: Banff , Aberdeenshire

It Now Begins Again

Post by Shaun Wilson »

Well finaly made a start to a slow build. I say slow as im guessing this layout will take me a long time to complete.

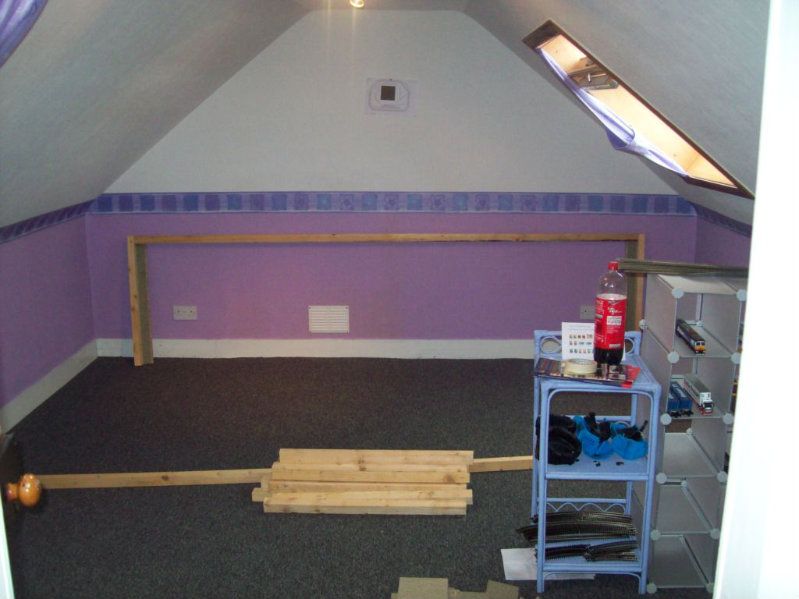
Its not going to be based on any particular place or era, it will mainly be what i want it to look like. Todays progress seen me build the baseboard.

Image
some frame built,

Image
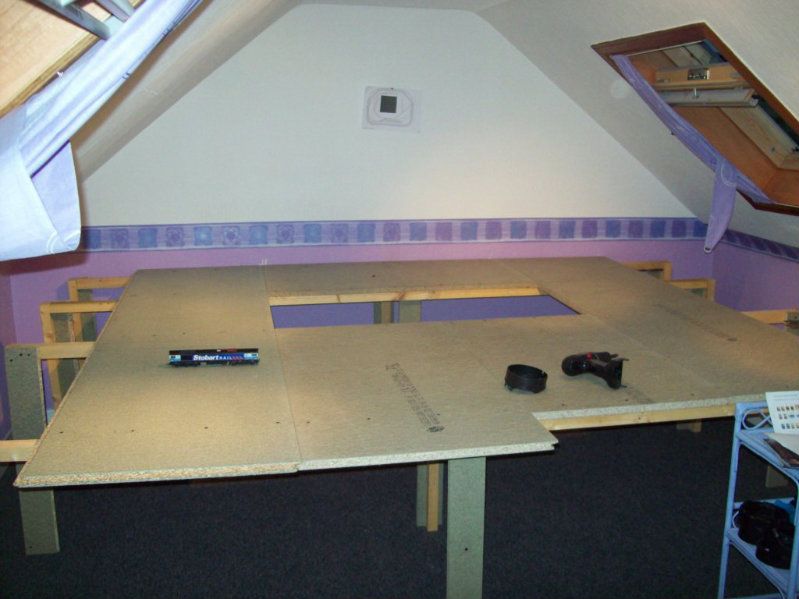
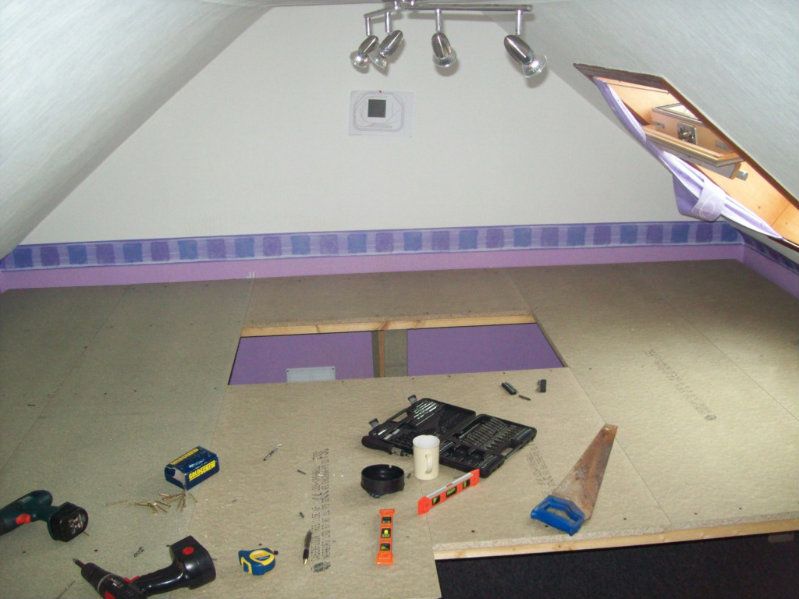
frame up time for the top sheets

Image
top left corner to the bottom left is 4.3m, along the back wall is 3.7m

Image
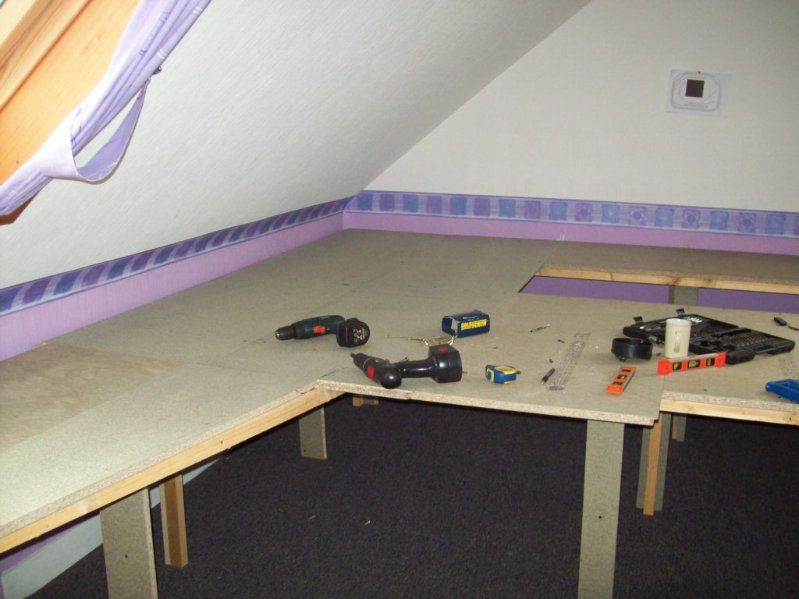
this is where the shunting yard and container depot will be

Image
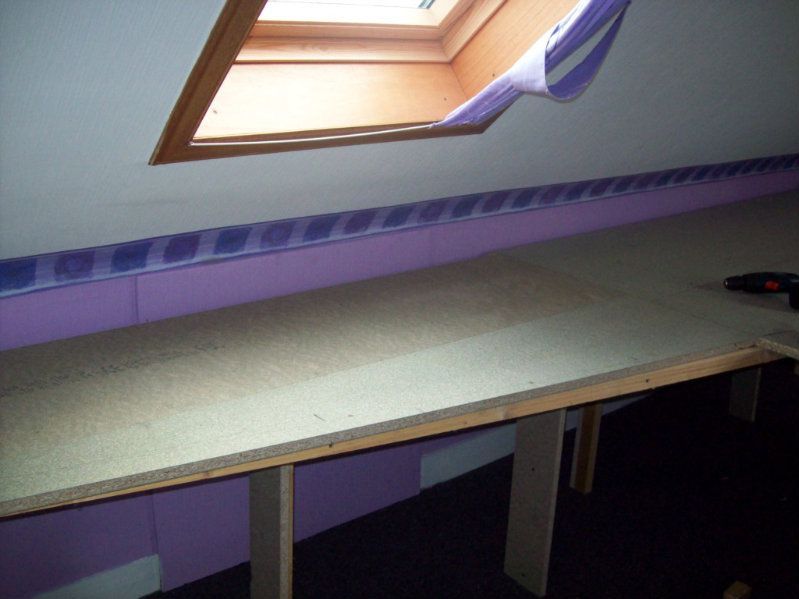
base board complete.

Now this is my first ever layout, so will be an experience if anything.

This month will see me lay some track but i have no definate plans as of yet so will look at some ideas i have and go from there.
Last edited by Shaun Wilson on Wed Jun 19, 2013 1:13 pm, edited 1 time in total.
Kevuk3
Posts: 183
Joined: Thu Mar 03, 2011 6:27 pm
Location: Wolverhampton

Re: It Now Begins

Post by Kevuk3 »

Excellent room you have there , watching with interest.

Kev
craw607
Posts: 462
Joined: Sun Aug 02, 2009 9:12 pm
Location: up the junction

Re: It Now Begins

Post by craw607 »

Looks like a good start will you be putting in more supports for the layout base
as it is suprising how the baseboard can deviate as I found from experience.
Although it might be the way that the photos show the supports.
John
Shaun Wilson
Posts: 397
Joined: Tue Jan 10, 2012 5:57 pm
Location: Banff , Aberdeenshire

Re: It Now Begins

Post by Shaun Wilson »

I might put in some extra supports in between the legs that are there just for added security, ive used 600mm x 2400mm x 22mm caber floor which is tounged and grooved for the top sheeting, frame is built up of 2" x 1.5" wood. once i had completed the baseboard i thought i should test it out by standing on it and rocking about, it did not move up or down or side to side a single mm. so sturdy, but as with everything the older it gets the more likely it is to sag. :lol:
Shaun Wilson
Posts: 397
Joined: Tue Jan 10, 2012 5:57 pm
Location: Banff , Aberdeenshire

Re: It Now Begins

Post by Shaun Wilson »

Question time.

This will be dcc (eventualy)

1, whats the best points to use, insulfrog or electrofrog, long or short.
2, whats the best track to use peco or hornby
3, track underlay, whats the best option, ie cork, foam etc
4, i was thinking of using a mixture of flexi and set track, would i be better to use just flexi and cutting to size.
5, electrical - best gauge for using as bus wire and for droppers.
6, track - code 100 or code 75, i will be running all bachmann diesel locos.

im sure theres more questions to come so be prepared.

many thanks in advance.

shaun
seanhellen
Posts: 209
Joined: Sun Jun 10, 2007 7:24 pm

Re: It Now Begins

Post by seanhellen »

Answer time :D

1. I used peco large electrofrog points (SL-E188/189), with the proper wiring...so glad I did too :D

2. Again, I used peco code 100 flexi track - when you get used to it, its easy to use.

3. I havent used any underlay for mine, but then again, I dont mind the noise :) Some people use cork floor tiles and others use rolls of cork from the model shop...i would have thought the tiles would be cheaper

4. I use flexi throughout...dont have much of a choice since code 100 only comes in flexi :) as I say its easy when you get used to it. Also, setrack only comes in code 75.

5. I used 1.5mm twin and earth wire. I stripped it all down (16.5m of it!!!!) so you have red and blue wires (for the bus) and bare earth wire for the droppers from the track. If you are going for point motors, I used 8 core alarm cable...once I started I realised I only needed to use 6 core but never mind...im using cobalt motors so if you use peco/hornby/seep then it will probably be different bu alarm cable is defo the cheapest - £20 for 100m...would have been about £80 for that with normal wire from gaugemaster (for example)

6. I use code 100. Not had any experience of 75 flexi but apparently its harder to bend flexi 75 as its generally bigger/fatter lol

Hope I helped a bit. You've made a very good start there mate. Keep it up and any more Q's, don hesitate to ask 8)
Shaun Wilson
Posts: 397
Joined: Tue Jan 10, 2012 5:57 pm
Location: Banff , Aberdeenshire

Re: It Now Begins

Post by Shaun Wilson »

Thanks for the info, think you may have got a little mixed up with the codes :lol:

i know exactly what your saying though. I have 10 lengths of code 100 and some hornby set track from my flying scotsman set so might ditch the whole lot a go code 75. when looking at your layout and the vids the track looks a lot finer compared to what ive got and for the better aswell.

I have radius 18" , 21" and 24" tracksettas which i presume will be radius 2 , 3 and 4 and i also have the straight which i picked up in ebay on an impulse buying spree :lol: looks like they will be useful after all.

How do you find using the dcc, some versions look complecated but others seem straight forward.

Your input is very much appreciated sean.

regards

shaun
seanhellen
Posts: 209
Joined: Sun Jun 10, 2007 7:24 pm

Re: It Now Begins

Post by seanhellen »

Ah, now you see, thatll teach me to give out advice :oops: yep, your right, every time I say 100, I mean 75 and vice versa lol. I use 75 :D

I like using dcc compared to dc. You can make the loco crawl. I broke my (now broken) mallard in on dc as I didnt have a decoder at the time. I turned the knob literally just past the stop in the middle and it wheelspun a little. Once I got the decoder in, turned it to speed 1 notch and it crawled...then I went and broke it :oops:

Wiring for dcc is easier than dc, easiest way to think about it is make sure every piece of track has power at all times...not so much every piece has a dropper, just as long as it has power...like my sidings, it has 3 pieces of track, but droppers are only at the end of it, not every piece. To remember which dropper goes to which rail when your under the boards, just think the rail closest to the wall (or bookcase in my case) is blue/red/whatever colour

Glad I did decide to go with dcc

Tracksettas - yep, thats the conclusion I came to, they are (near enough) equivalent to the settack radius. I looked all over for different pics/vids with code 100/75 in and finally went to 75...cant waIt to see what it looks like when ballasted :D
Shaun Wilson
Posts: 397
Joined: Tue Jan 10, 2012 5:57 pm
Location: Banff , Aberdeenshire

Re: It Now Begins

Post by Shaun Wilson »

Many thanks again for the info buddy, think i will go with code 75 aswell.

Ive got a rough idea what i would like it to look like, will put my idea into scarm and post a copy. That way i can have it double checked before i get to laying the track. :)

Making the locos operate at crawling pace is what appeals to me, just cant get that with dc.

cheers again

shaun
seanhellen
Posts: 209
Joined: Sun Jun 10, 2007 7:24 pm

Re: It Now Begins

Post by seanhellen »

No probs mate :D Glad to be of help.

Definately post a trackplan, what are you modelling, OO or N?

I tried crawling with dc (H&M duette) and even with the "slow" switch on, it still took off. One thing that takes a lot of gettin used to is the acceleration/deceleration on dcc...catches you off-guard if you just put the loco on and go (like me)...when you come to stop, you find the loco half way round the layout before it stops :lol:

I had to save the mallard from going off my bridge several times :lol:
Shaun Wilson
Posts: 397
Joined: Tue Jan 10, 2012 5:57 pm
Location: Banff , Aberdeenshire

Re: It Now Begins

Post by Shaun Wilson »

OO gauge , easier to fiddle with :lol:

I have a twin duette, got it from a friend for free, for being an old power supply it has never let me down. :)
I had to save the mallard from going off my bridge several times
:lol: :lol:

Would this be ok for my bus wire http://www.rapidonline.com/Cables-Conne ... V-6A-62325

regards

shaun
seanhellen
Posts: 209
Joined: Sun Jun 10, 2007 7:24 pm

Re: It Now Begins

Post by seanhellen »

Yep, agreed, it is a good lil power horse. Mine is a bit rusty as it was running a loft layout down south for at least 10 years and it hasnt got a single thing wrong with it...I got the 1-knob ones too :D

That wire is classed as the minimum size if memory serves, 1.5mm if you use solid wire like I did. And since i've used the min size on mine and nothing has even remotely gone wrong, I would say you'll be fine :) Although I would say that depends on how many locos you intend running, the more locos, the more current draw, therefore the bigger wire you need...I have run 2 for hours on end with no probs or even wire getting slightly warm :)
Shaun Wilson
Posts: 397
Joined: Tue Jan 10, 2012 5:57 pm
Location: Banff , Aberdeenshire

Re: It Now Begins

Post by Shaun Wilson »

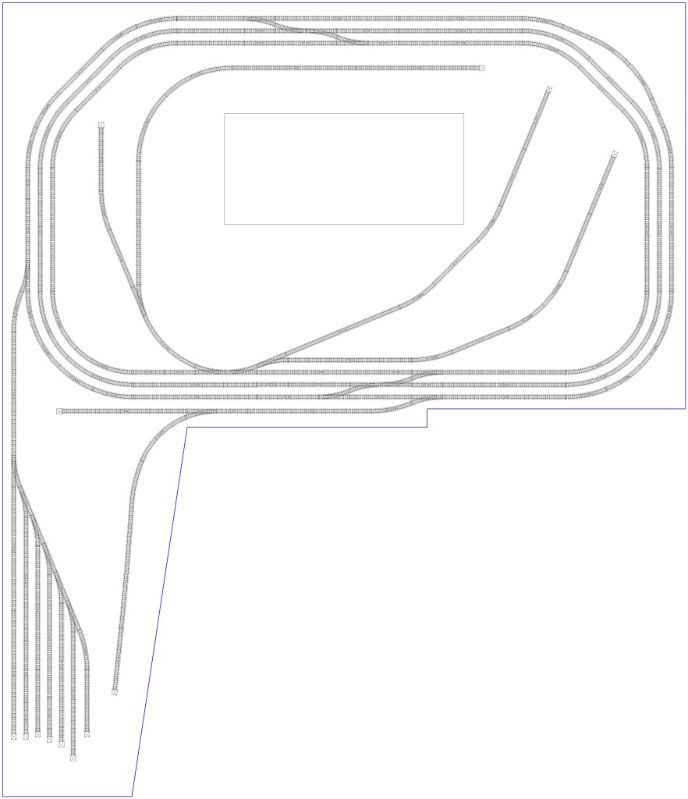
i will have potential to run 4 locos at the same time due to 3 loops and a fiddle yard, copy of my idea below but will change a little in time i would imagine :lol:

Image

top left corner - quarry with loading point
top right corner - power station maybe
inside loops right - couple big factorys with unloading point
inside loop left - maintenance and re-fueling sheds
bottom left - container depot and shunting yard
next to yard - 2 store sheds for locos.
jon_c
Posts: 99
Joined: Thu Sep 02, 2010 11:21 pm

Re: It Now Begins

Post by jon_c »

Nice plan Shaun. I wouldn't do too much more planning at this stage. Plonk some track down and see what it looks like. Are you still going for freight only?
seanhellen
Posts: 209
Joined: Sun Jun 10, 2007 7:24 pm

Re: It Now Begins

Post by seanhellen »

Very nice plan you have there shaun. :D

As I always say, a plan is more of a guideline, it will never look the same on paper as it does on a baseboard :lol: as I found out with my siding...looked ok on paler, but didnt look right once I got it down :lol:

Another thing, make sure that your dcc system will be able to cope with 4 locos at once, otherwise your in a whole world
of the smelly brown stuff :lol: - is your stock new? I ask as I know (aka think) that some older locos can draw an amp each...thats a 4 amp booster you would need!!! Biggest ive heard of is 3.5 I think???
Post Reply