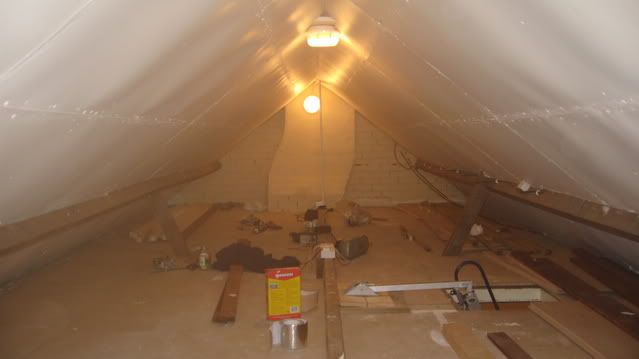
So first things first. The loft had to be converted from a draughty, dark and spider web ridden area into a dry, light spider web ridden area. So for the first time in 10 years I ventured up into the loft last July and started to clear out all of the mess, including metres and metres of copper piping, an old shower system, 2 large plastic water tanks (with no rodents thankfully) and rubbish spreading over the previous 30 years.
A few months and lots of spent cash, 15 sheets of 18mm chipboard, 1000 screws, 10 litres of magnolia paint , 250 quids worth of airtec insulation (an absolute must), and a favour from my electrician brother (who also fitted a loft ladder) a railway room was created.
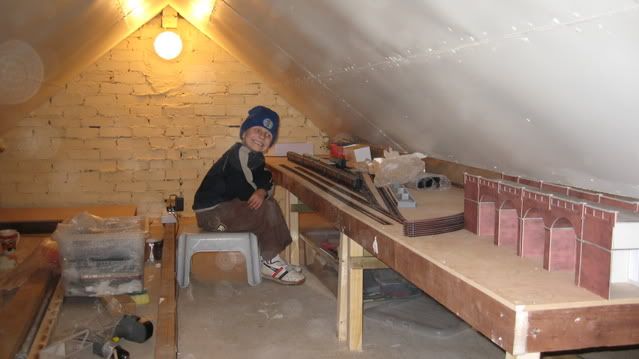
This was the first time that I had attempted anything on this scale before and the end result was more than satisfactory.
The next stage was to build a system of tables that spanned around the room. When doing this, ensure that you use planned wood. I did not do this and as such the layout has a dip near the loft hatch but it does not affect running performance and is barely noticeable.. I started in one corner and made my way gradually around in a circle. Here they are at the beginning with my six year old having a giggle looking dapper in his Leicester City Hat.
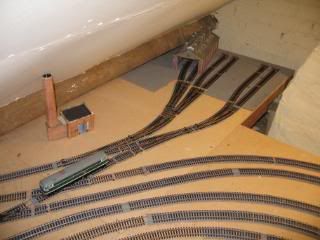
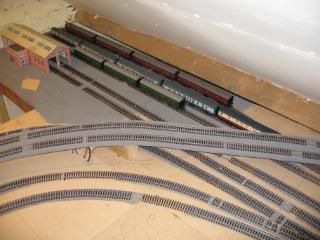
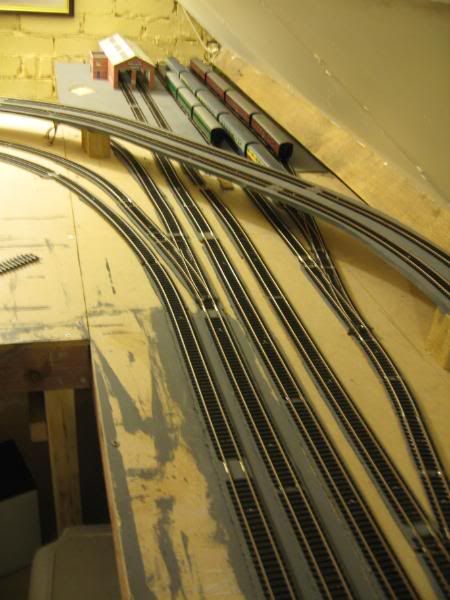
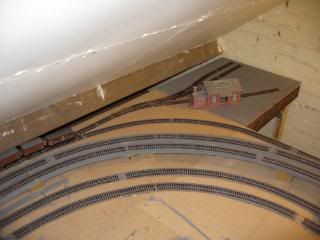
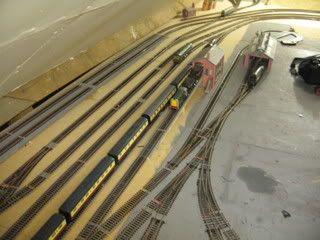
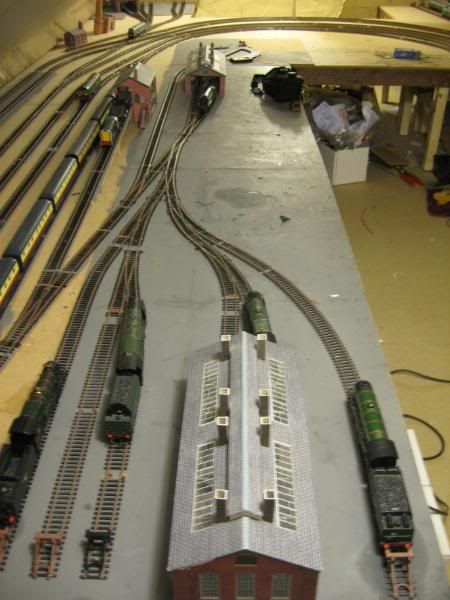
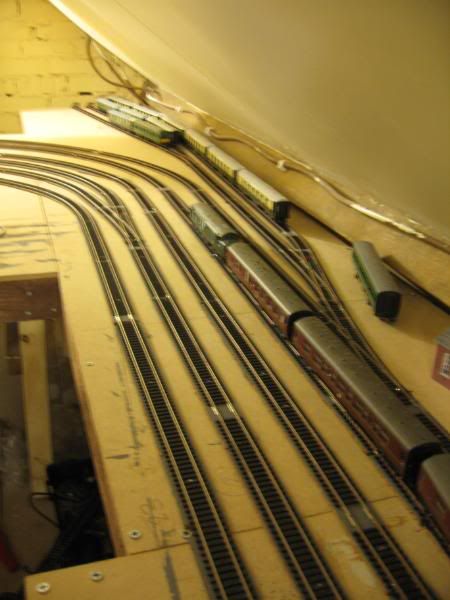
I now needed some track and thanks to The Great Eastern Toy Company in Norwich I was able to negotiate a large discount on 100 yards of semi flexible track and 40 express points, for a total price of 500 pounds. I had contemplated using just flexi track but the semi was able to keep its shape whilst negotiating curved inclines. Each piece of track and point were painted using Humbrol 113 paint. A process that took up 5 hours per day for some 2 weeks.
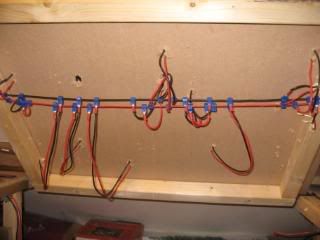
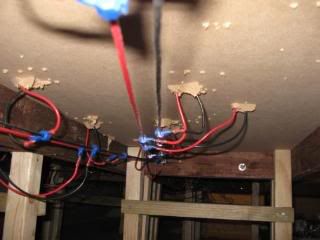
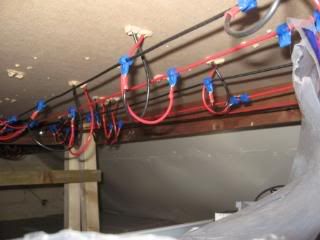
Although I had made a plan using XtrkCad I soon started to deviate from it as track was being put down. Each piece of track was to have drop outs attached and for DC the wiring was Ok but unfortunately totally unsuitable for DCC to which I will discuss later in this thread.
Over the next few months I soldered, stripped and attached hundreds of thin wires to the tracks, and drilled hundreds of tiny holes in the 12 mm mdf base boards. The track was then fixed atop of 3mm cork purchased at 3 quid a pack from B and Q in Norwich. In total 10 packs were bought leaving Norwich devoid of cork based materials for some time to come.
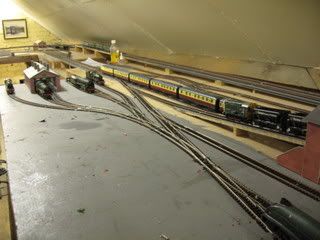
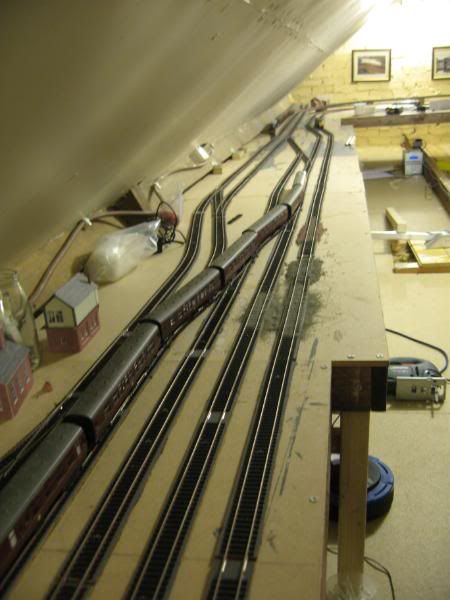
Along the way I constructed 2 sets of inclines as 2 loops had to pass over the main express routes. However on powering it all up I quickly discovered that the gradient was far too steep, at around 1:25 only locos were able to negotiate the stiff climbs. With a tear in my eye I duly ripped up the inclines and started again with a new gradient of 1:70.
My main concern whilst constructing my layout has been one of longevity, and as such they include carriage sidings, a large engine shed, a goods reception area, diesel depot and eventually a large freight yard. The next big change was to convert to DCC which meant taking up every piece of track and rewiring each piece and adding two power buses. I will cover this in the next post as the images that I have uploaded are too big to be shown right now.